I’ve been down with a cold all week which limited my shop time. There is nothing worse than breathing sawdust in when you’re sinuses are already clogged. Instead, I was inspired to learn some new design tools by Tim Celeski’s blog posts over at Popular Woodworking on what he calls digital woodworking.
I decided to sit down and spend some quality time with SketchUp. For anyone unfamiliar with this, it is a piece of software that allows 3D modeling and design. There is a free, very featured, version available for download for Windows or Mac. Prior to this week, my experience with the software was limited to using it for 2D room layout.
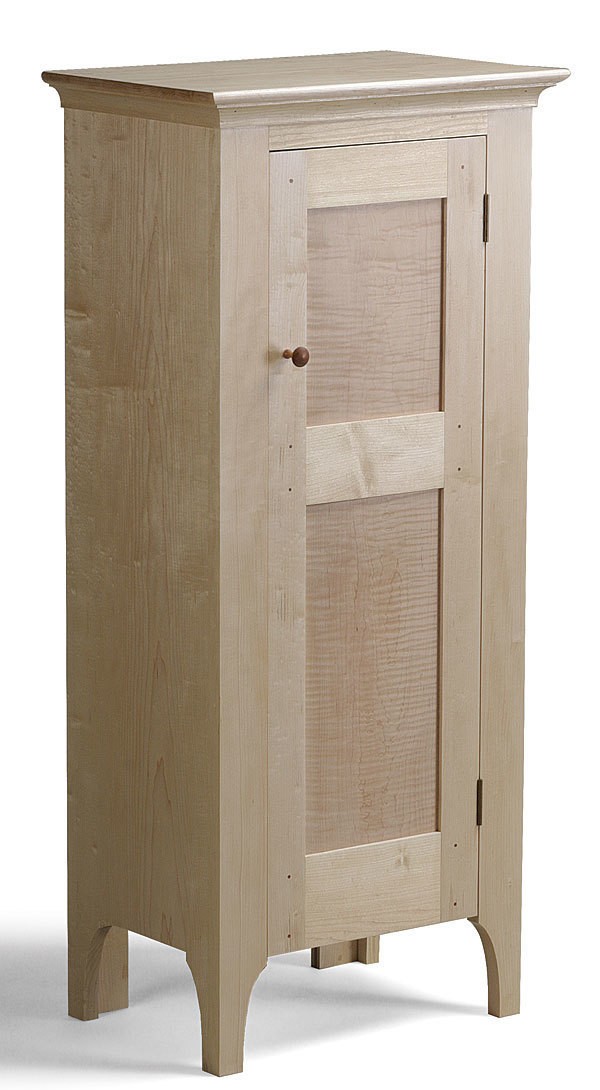
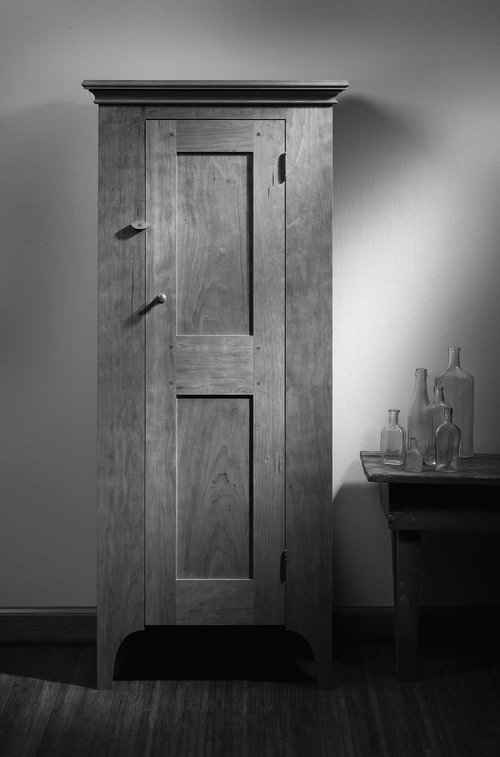
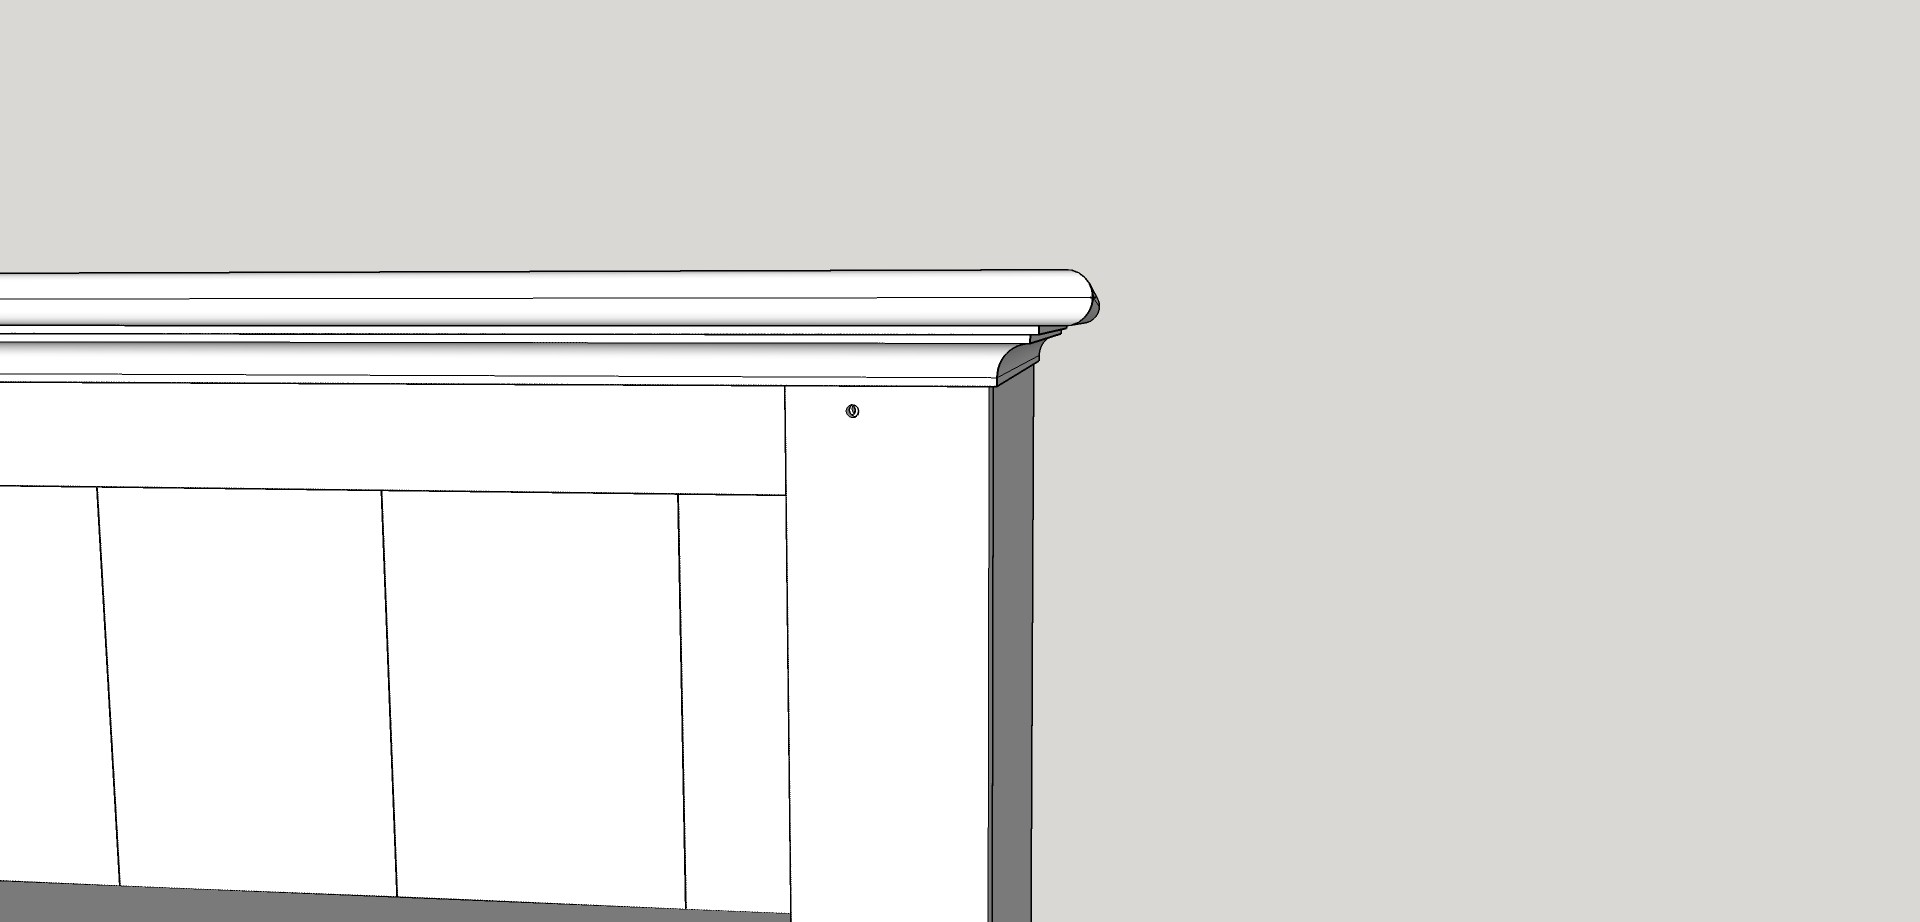
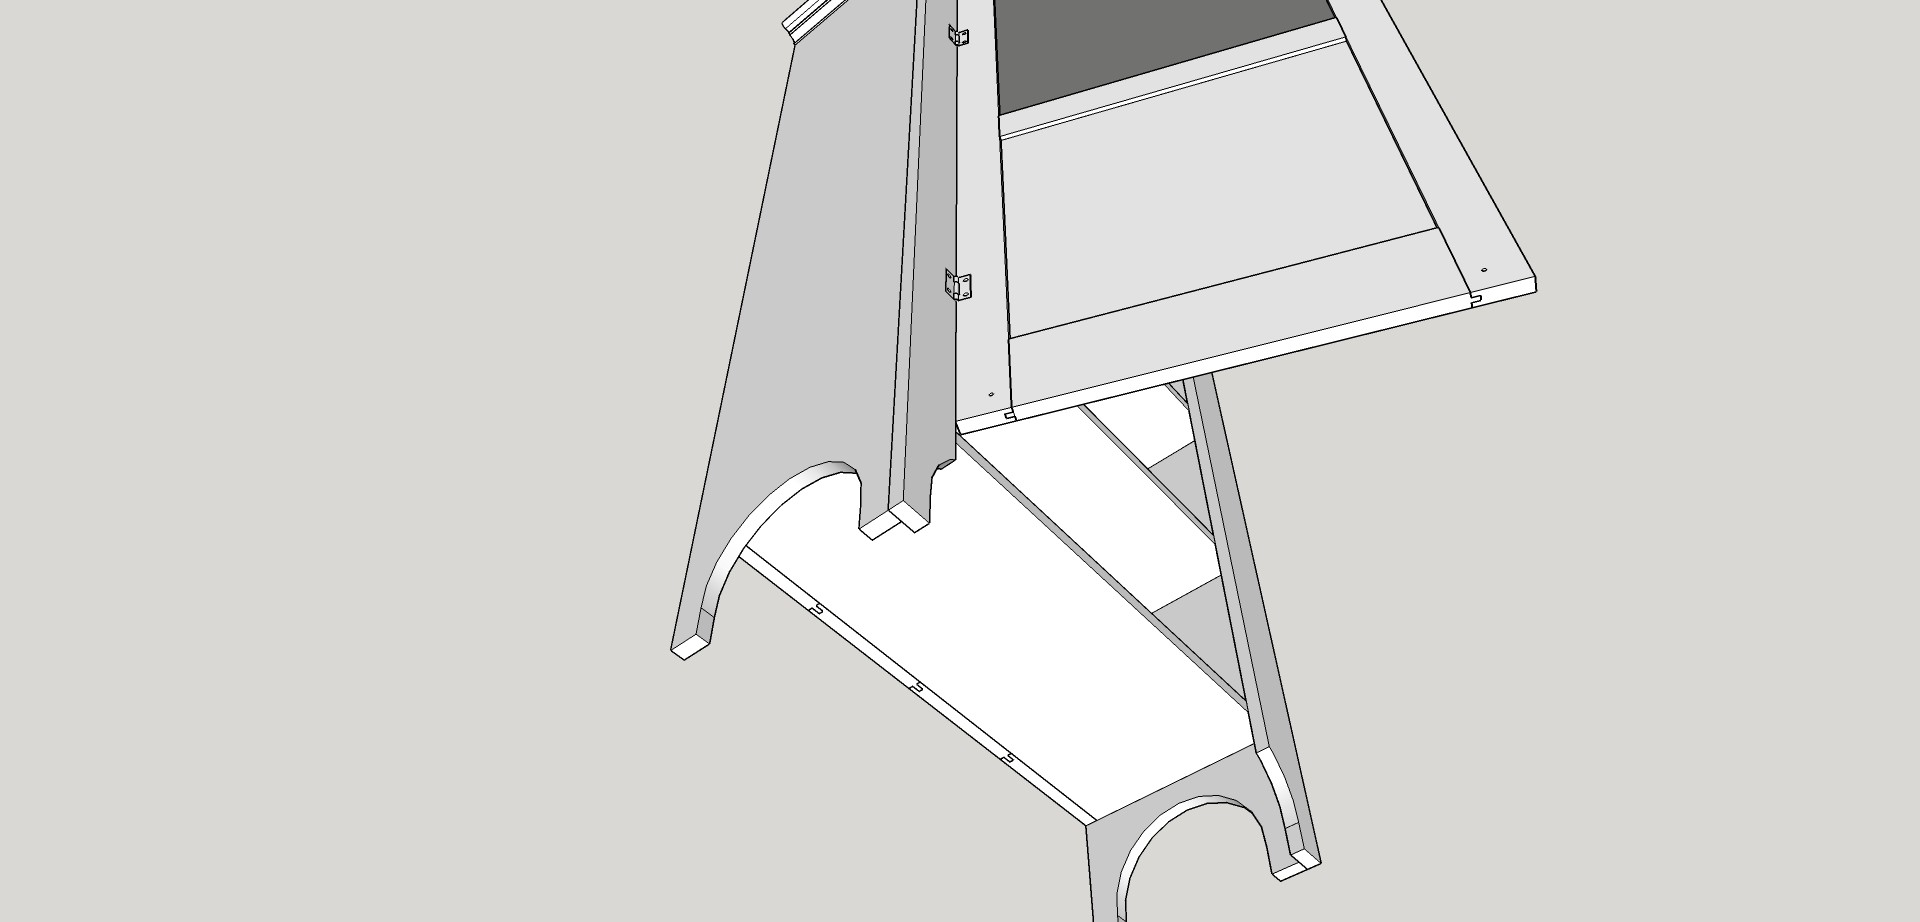
Just like anything with woodworking, I think the best way to approach learning something new is to use it as part of a project. With that in mind, I looked at some photographs of Enfield seed cupboards and decided to try “building” one digitally.
To make the end product more useful than just using a pencil and paper, I set out a few rules for going through learning the software:
1. Everything must be appropriately scaled/measured.
Using this software allows you to design something with exactly the right measurements that you will want to use in your final product. When you are done in SketchUp, you will be able to see if something looks off, needs to be changed, or looks just right.
2. I will include all of the joinery.
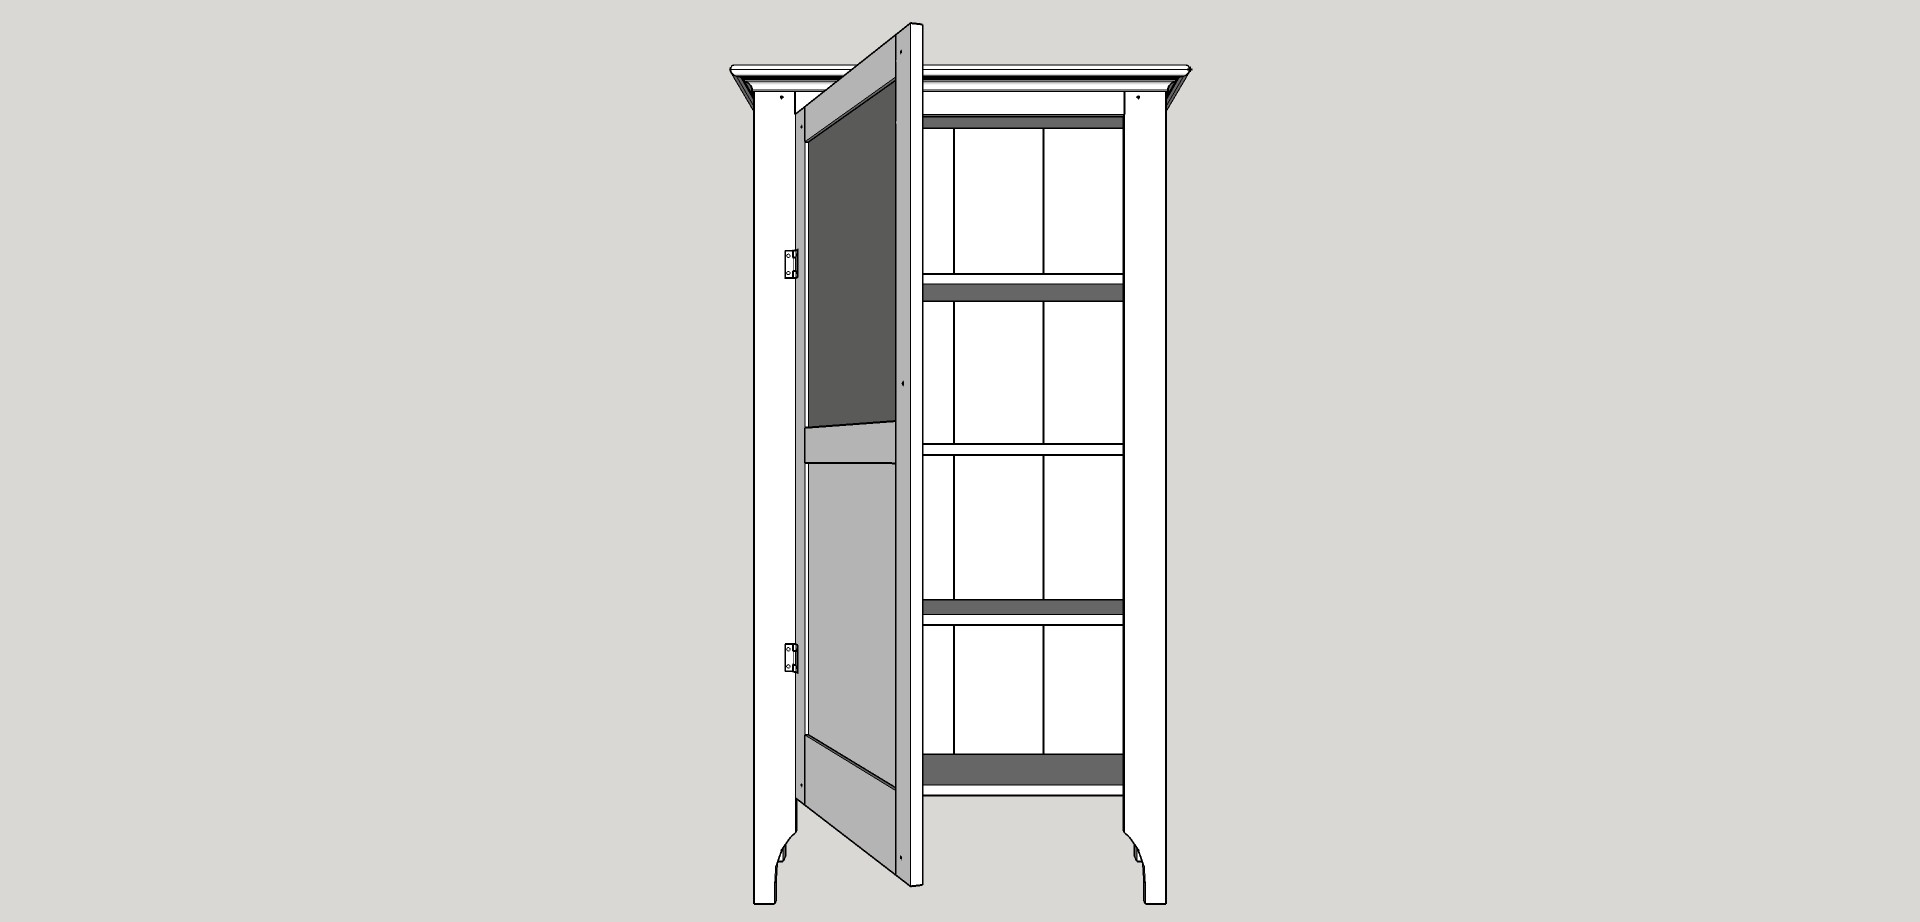
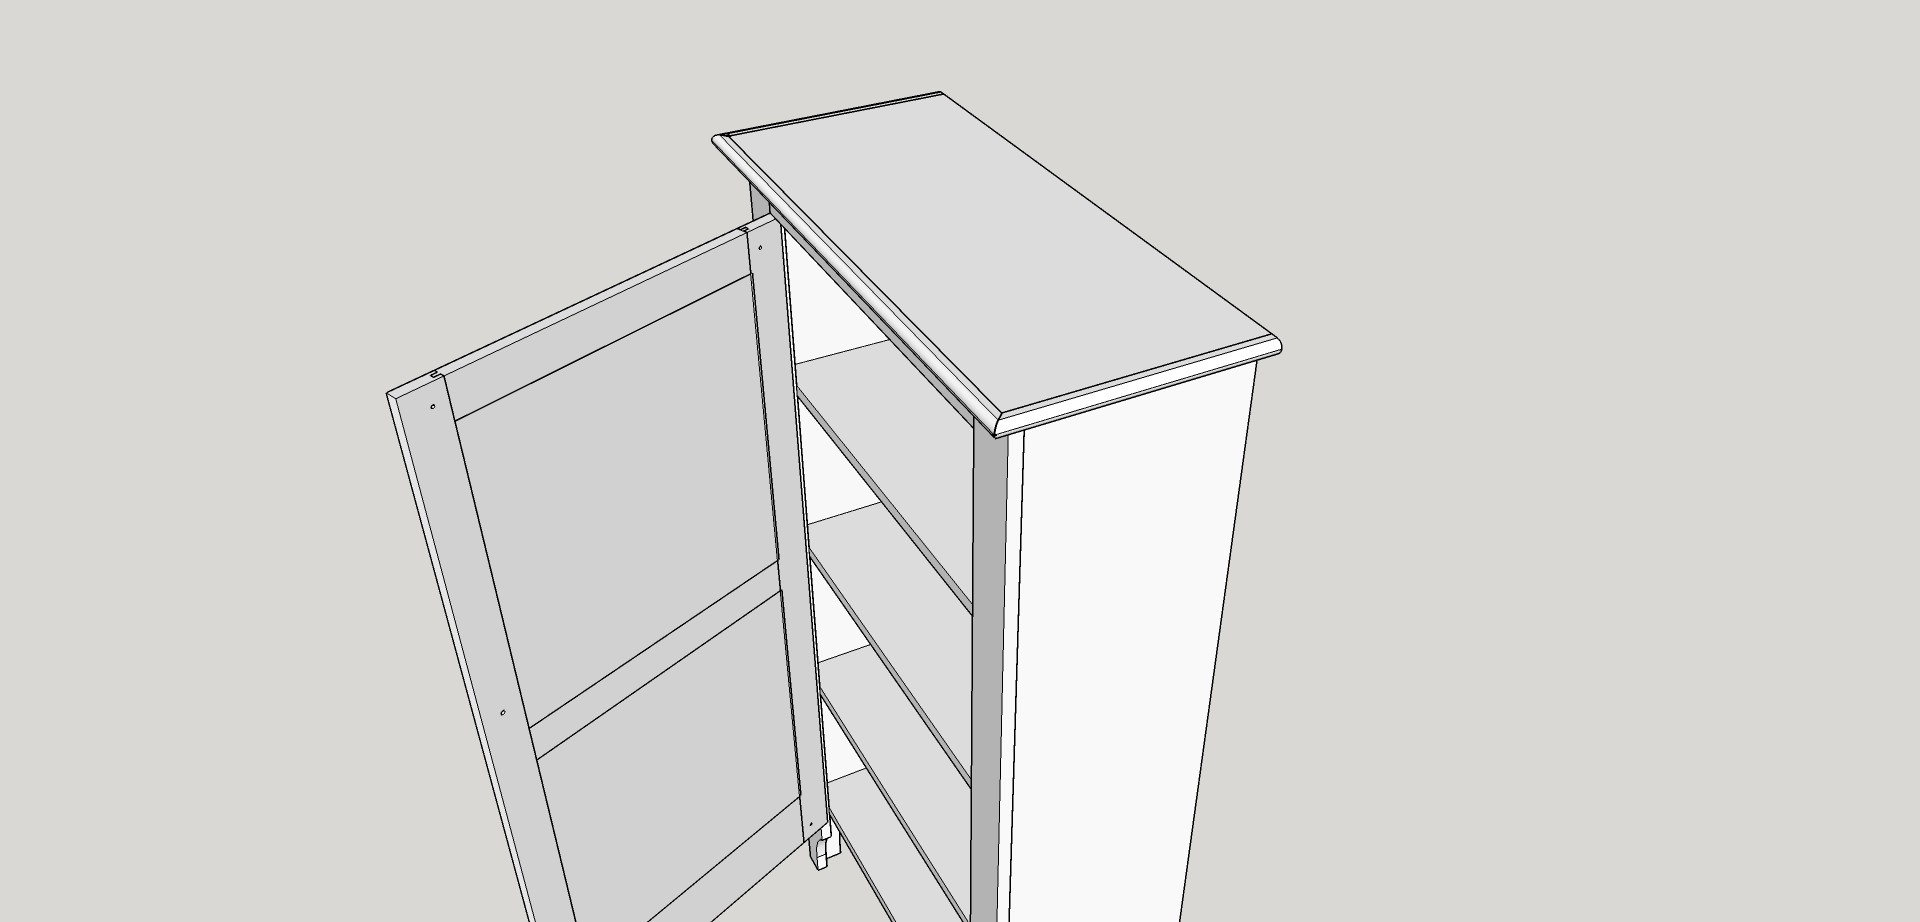
This meant learning to do more than just draw lines butting up against one another. With this project, joinery included dovetails, mortise and tenon joints, grooved panels, dadoed shelves, and drawbored pins. Adding these details let me learn to play with angles, fitting pieces together, and manipulating objects in the software.
3. I would have to learn to use curves.
The moulding on the underside of the top meant that I would need to learn to make curved objects in the software. Again, a perfect opportunity to learn to eyeball appropriate moulding and learn the limits of the software.
The most interesting part about this exercise was that it does more than just let you design an object and see it modeled. If you go through and make all of your pieces to the proper size, create all of the joinery, and fit everything together, you have done a test run of actually building the object. After this creating this project in SketchUp (which I will actually be building in the future), I better understand the building process, including the order of operations for everything involved.
One last benefit I noted with the software. There is an extensive 3D warehouse where people have uploaded their own designs. This means that you can do things like go out and get a set of hinges to install (yes you will need to add your hinge mortises to fit them), and put the entire product together. Also, there is a large extension warehouse. I added one that generates a cut list from the design. This should help when I buy the lumber for the build.

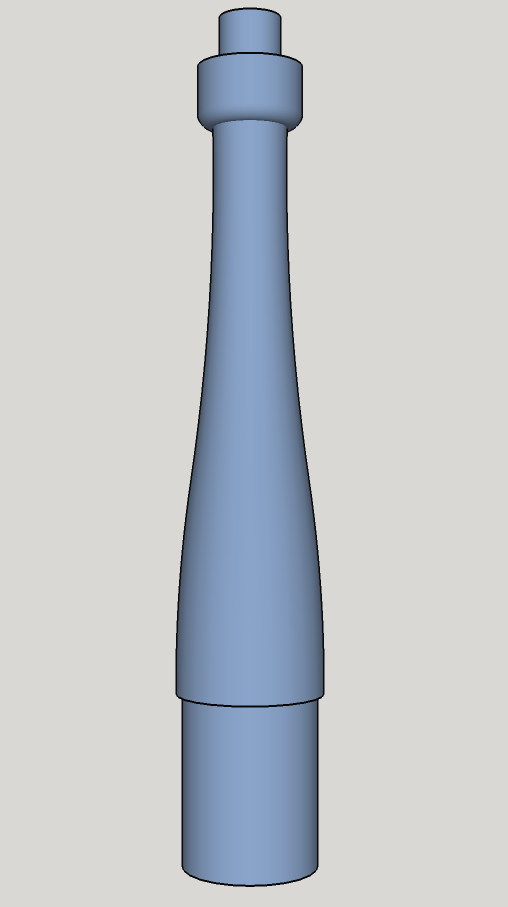 After completing this, I decided to learn a bit more about working with curves. A good place to start was trying to lay out the design for the post in the shaker chess table that I’m building. The “Follow Me” too allows you to pull a face around a path. It can be used for mouldings (which I did not know when I create the Enfield cupboard, or for creating turned objects. The object can then have a section plane added to print out a template and make a story stick for the turning.