I’ve been turning the post for the chess table inefficiently. I’ve generally done one step at a time on the post: bringing to round, turning the tenon, cutting down the area that will receive the sliding dovetails, etc. Unfortunately, I bungled the layout and won’t be able to use it in the final table.
Since all wood is good wood (so far), I decided to use this piece as a chance to practice skew work. Long planing cuts were the first place I practiced, cleaning up the long sweep from the widest part to the neck before the tenon. There are a few knots in the piece that give off a great Christmas tree smell every time I hit them. What is most amazing is that even those knots feel perfectly smooth after planing cuts with the skew. This is a very versatile tool.
The initial surface left by this was great, even in the fir. Next, I wanted to be able to turn some coves and beads. As this is an area that I’m not particularly comfortable with (skew catches are no far), I decided to see about getting some instruction on the tool.
Luckily, I have an on-call turning instructor called YouTube that is always happy to provide some one-on-one-million teaching assistance. I found this excellent video from CraftSuppliesUSA: The Skew Chisel with Allan Batty.
After watching the video, I had a go at a few beads, v-cuts, and more planing cuts. I couldn’t quite get the feel for beading with the skew, achieving both catches and tear out. That means only one thing: time for more practice is needed.
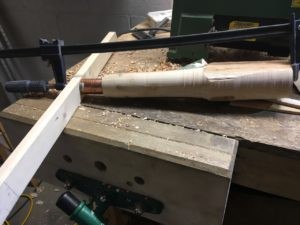
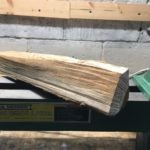 I have a few pieces of firewood left over from a camping trip earlier this year. I am not sure of the species, though I suspect it may be cherry based upon how the heartwood had darkened while it was sitting in the workshop. I started by splitting the piece and attempting to square it up with an ax. One end was fairly close to square, however the other end remained more like a pentagon. Figuring that was close enough to be put to the lathe, I chose the smaller/squarer end as the side that would receive the ferrule and mounted it to the lathe.
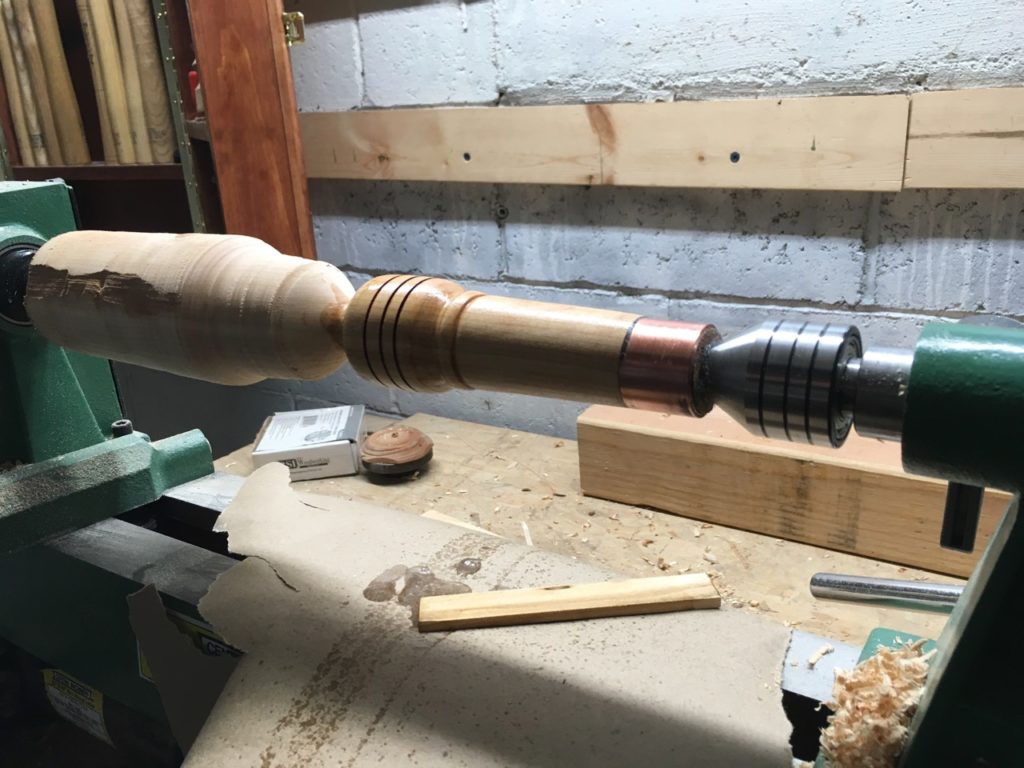
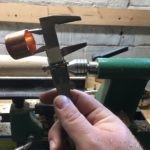 The wood was roughed down to generally round. Then I used calipers to take an inside diameter measurement of the piece of copper pipe I used as the ferrule. After locking that down, I was able to take a parting tool and the calipers to bring the end down to the proper width.