Roorkee Chair

When I first saw the Roorkee Chair in an episode of the Woodwright’s Shop, I knew it was a project that would go on the build list. I later bought Chris Schwarz’ book Campaign Furniture and read through it several times. I really can’t recommend the book enough. It explores a forgotten style whose influence can be found throughout contemporary furniture. I have plans to build several pieces in the style, including a campaign chest/secretary.

I decided to make the chair the first project to build out of the book. I enjoy working at the lathe. The piece requires minimal lumber. The joinery of the chair, conical mortise and tenon, would be easy to execute. The piece is also very practical. It would also give me a chance to work with leather for the first time. The only hold up was that my lathe could turn only 18 inches between centers.

In January of this year, I purchased a bed extension for the lathe. The bed extension added about 20 inches of distance between centers, easily enough for this chair.

Finding Lumber

I thought about a number of different wood species for the chair. I ended up settling on using ash. The species is strong and easy to work. Finding good lumber sources is always an adventure. As this work required working with 8/4 (2 inch thick) material, I wanted to be careful on the source of the wood. I haven’t had the best luck in the past with material that thick. Watching a piece of soft maple turn into a pretzel when cut in the past has turned me off of one lumber yard. For this project, I reached out to a local sawyer, Jones Saw Mill. The selection at the saw mill was fantastic. After working with the material, including having it sit and remain stable for several months after initially milling it, proved that this will be a good source in the future.

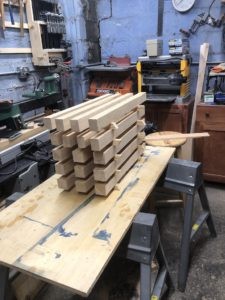
Roughed out and stacked parts

I brought the material home and proceeded to the band saw to rip it to rough size. The importance of this step can’t be overstated. First, this allowed me to help speed process of acclimating the wood to my workshop by exposing more surfaces to air. Second, the parts in this chair, specifically the four stretchers, need to be made out of dead-straight grain. If these aren’t made from straight grain, there is a larger chance that they will break under the weight of a person sitting in the chair.

After the parts were cut down to rough length, width, and thickness, they were placed on stickers (strips of wood) and stacked to allow them to further dry and acclimate to the shop.

Turning the Parts
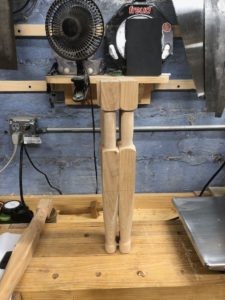
All four legs. Notice the slight differences in the location of transitions.

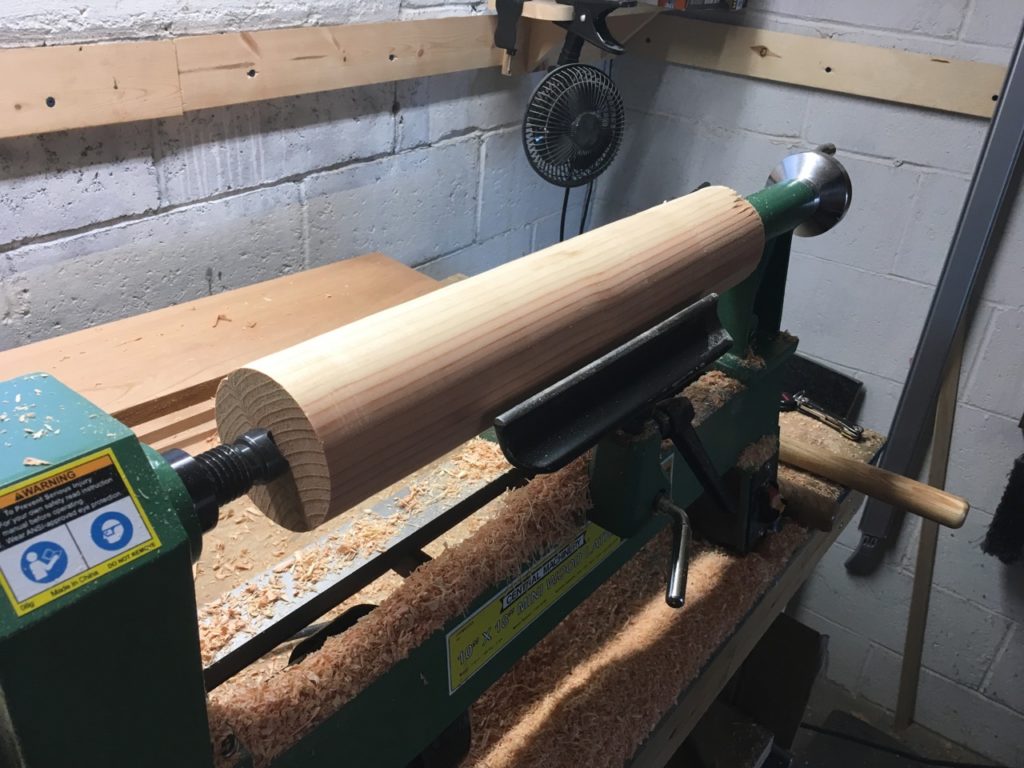
The first step was to turn down the legs. I started by making a story stick for the legs and stretchers. This allowed me to mark out the locations of elements (feet, handles) and transitions. It should allow for identical parts. However, you can see that I had some variation in the location of transitions. I can’t speak to whether this sort of variation was present on period campaign pieces.

However, a recent article in Popular Woodworking from George Walker looks at the same sort of variation in turnings. You can see that the same elements were present in each foot. However, the execution of those elements differed significantly from part to part. These aren’t made by a duplicating lathe. Rather, they are made by a person holding a tool.

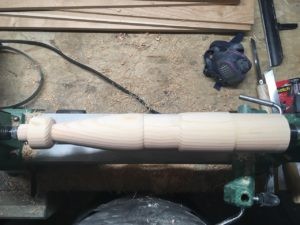
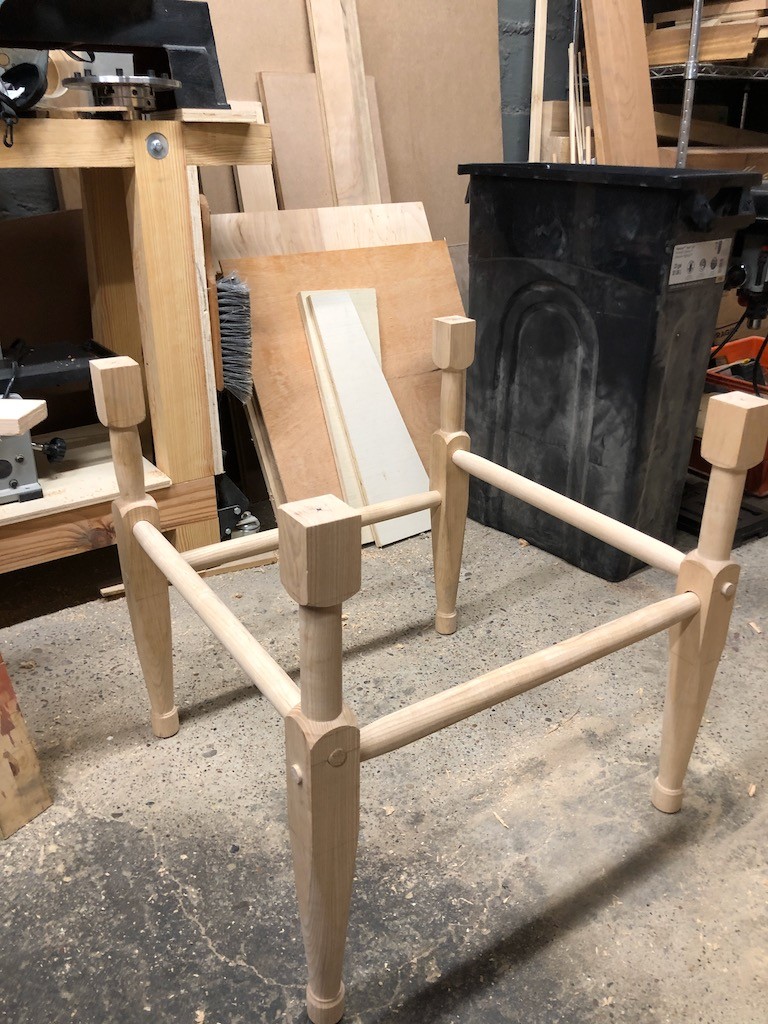
After completing the legs, the stretchers are then turned down, with rough turning of the conical tenons. Those tenons are further refined by hand with a tapered tenon cutter.

Cutting (Drilling?) the Joinery

The joinery for this chair is all loose. After roughing down the shape of the tenons on the ends of the stretchers, they are finished off with a tapered tenon cutter (think large pencil sharpener). The mortises are first drilled out. They are them reamed out to get a shape that matches the tapered tenons. It was in the reaming step that I ended up hitting a bit of a block.
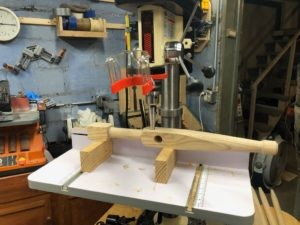
I have been using a cheap bench-top drill press from Lowes for several years. The drill press has been nothing but trouble. The table on the drill press refused to be square to the bit. While the table could be adjusted side to side to account for tilting, the machine could not be adjusted front to back, where the problem was. This meant adding a sub-table to the drill press along with shims to get it level. This was a constant battle resulting in more wasted time checking for square than I care to admit. In the end, it wasn’t the issues with the table that led me to upgrade my tooling, but rather the lack of power from the drill press. It was simply unable to ream out the mortises, constantly stalling in the wood.

As a result, the chair sat in the lumber rack for a few months while I debated a solution (researched other drill presses). I settled on the 13 inch bench-top drill press from Shop Fox. It had more than enough power and is substantially beefier than the old tool. Once the new drill press arrived and was assembled, it made short work of all of the mortises.
A Brief Detour

The chair sat in it’s partly-finished state from July until late October. During that time, a number of other projects took precedence over it, including instruments, our dining room table, and the plant stand. Additionally, I didn’t want to dive right into the leather work for this chair without a warm-up project. Looking to the book, Campaign Furniture, I decided to make a camp stool for an introduction to working with leather.

The stool is straight forward. It’s three straight-grained turned legs. The legs are joined together using a tri-bolt that allows the legs to pivot around a central point. A leather seat is then added to the top. The stool is light, portable, and durable. It also gave me the chance to cut, join, dye, and finish leather on a much smaller scale than the chair would require.

Finishing The Chair

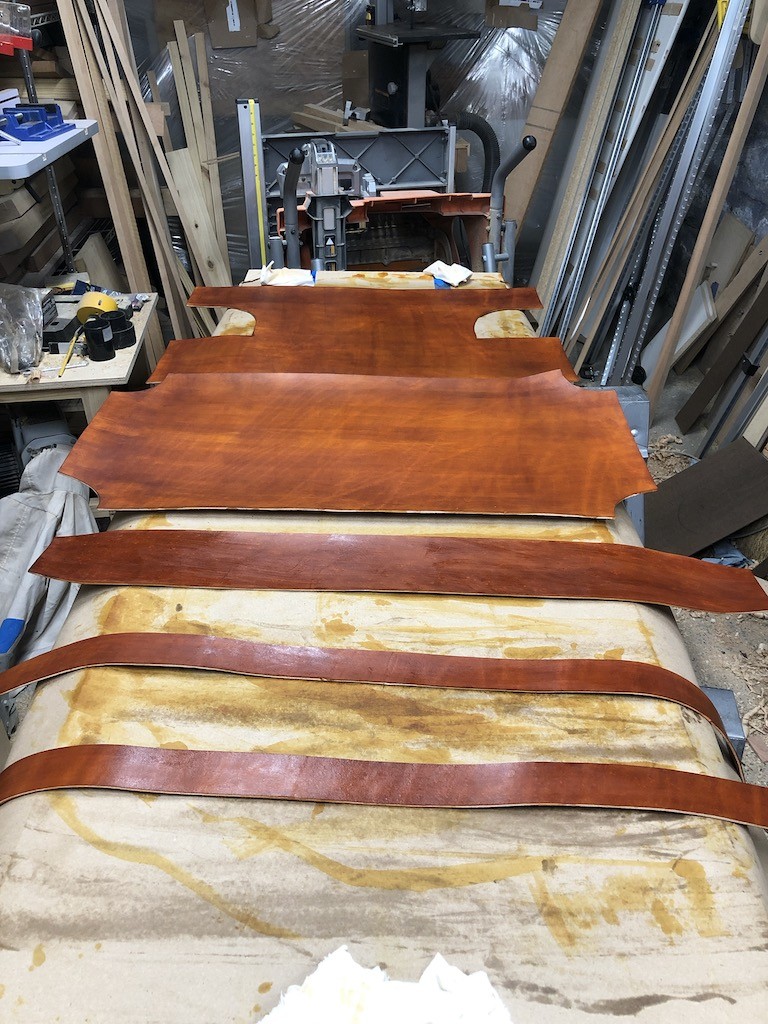
The final work on the chair included finish-planing the legs, making the tapered pieces for the back, applying garnet shellac and wax, and attaching the hardware. I also decided to dye my own leather.

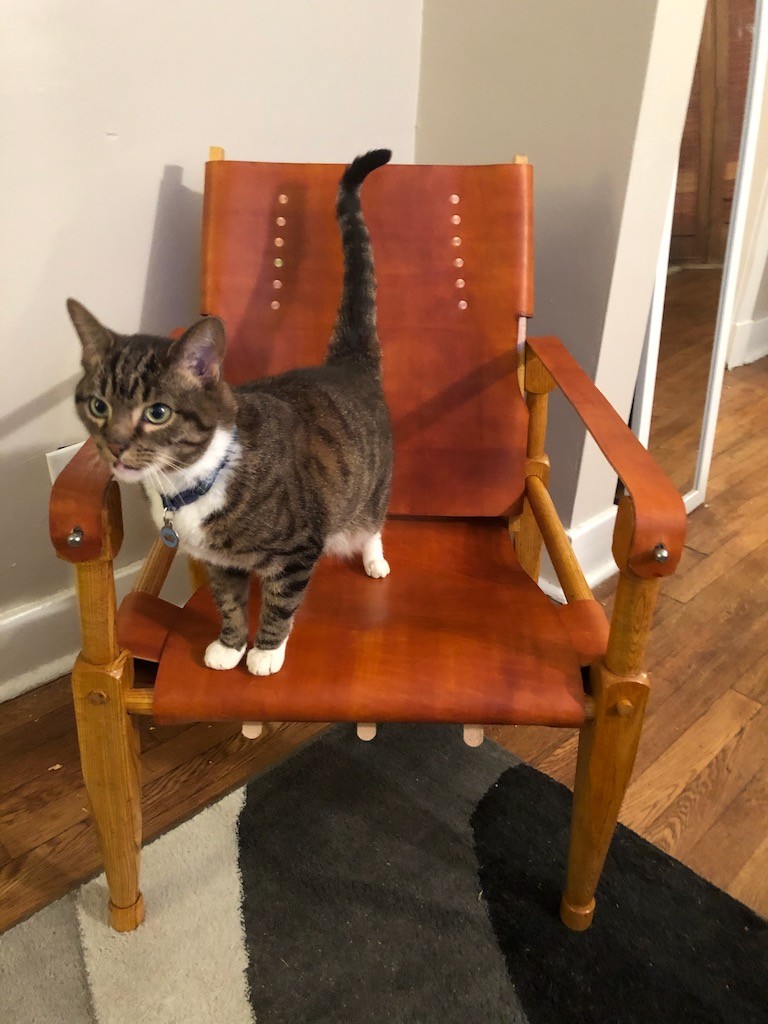
After starting the chair in June, I made a final push to complete the chair in November, just in time for the annual Western PA Woodworkers November Meeting and Show-and-Tell. The chair turned out well. While it was in parts from June to November, the actual time spent building the chair was less than a full day. The turnings are simple, the joinery is straight forward, and the leather work is fairly easy. I look forward to making more of these in the future.
A Fair in the Park (or Kalimba Madness with Turners Anonymous)

The weekend of September 6th, 7th, and 8th brought the annual Fair in the Park in Pittsburgh. For anyone unfamiliar with this event, it’s a three day arts fair put on by the Craftsmen’s Guild of Pittsburgh. The event features artists working in ceramics, fiber, glass, metal, jewelry, leather, and wood. Every year, the western Pennsylvania chapter of the American Association of Woodturners, Turners Anonymous, has a booth, not to sell, but to show work from members and demonstrate.

With Fridays free from the 9-5 job, I signed up to spend the day in the booth talking to folks and demonstrating. There were lots of wonderful folks that stopped by to talk art and woodworking, watch shavings fly on the lathe, and look at the works on display. I also had the chance to browse the wonderful artist booths throughout the park.

In preparation for the event, I wanted to put together a few example pieces to show what I would be demonstrating. I considered small items like pens and stoppers, as well as candle sticks/holders, bowls, and boxes. However, I decided that I wanted to try my hand at a musical instrument.

I remembered an old episode of the Woodwright’s Shop from the 1980’s where Roy looked at different traditional African instruments. One of the instruments, a mbira or kalimba, could be as simple as a board with metal or wooden tines set to be able to vibrate. Adding a resonating chamber to the board helped amplify the sound. So, if a box is all that was needed, why not a turned box? I obtained a tines and bridge hardware and set about trying to figure out the size for the turning.

Kalimba #1 was made out of cherry and ended up a bit small. Additionally, the kit that I had obtained contained one inch screws, suggesting a need for a rather thick sound board. This first box was made with that in mind. The result is a much smaller resonating chamber and a quieter instrument.

Ruby the Cat posing with Kalimba #2

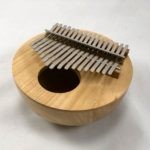
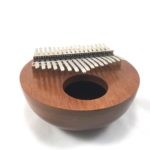
Kalimba #2 was made from Hormigo (also called Orange Agate, Macacauba, or Macawood), a central american hardwood. I’ve worked with this wood several times before and find it to be easy to turn. It also accepts a very nice finish. The sound board was made significantly thinner. Due to the initial size of the blank, I was left with a relatively small instrument that could only accept nine keys. It has a very nice sound and handles very well.

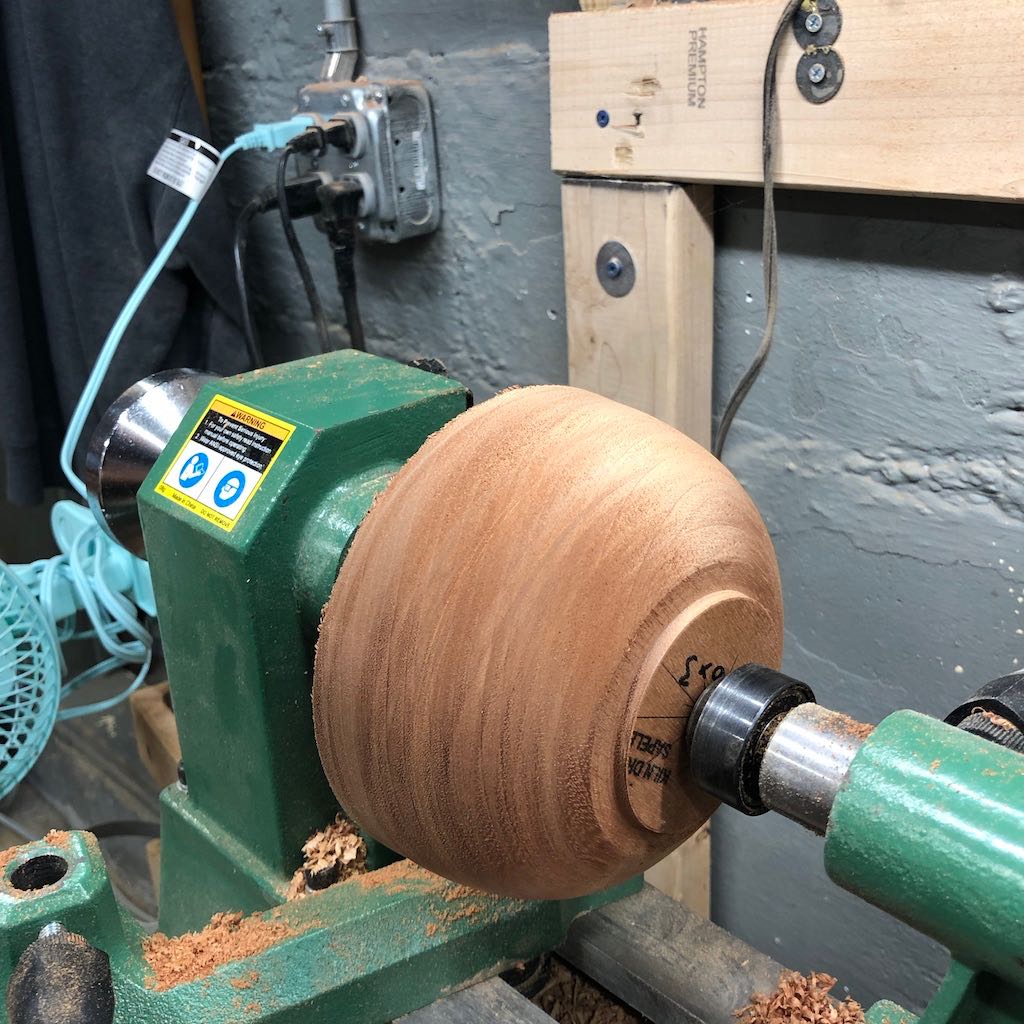
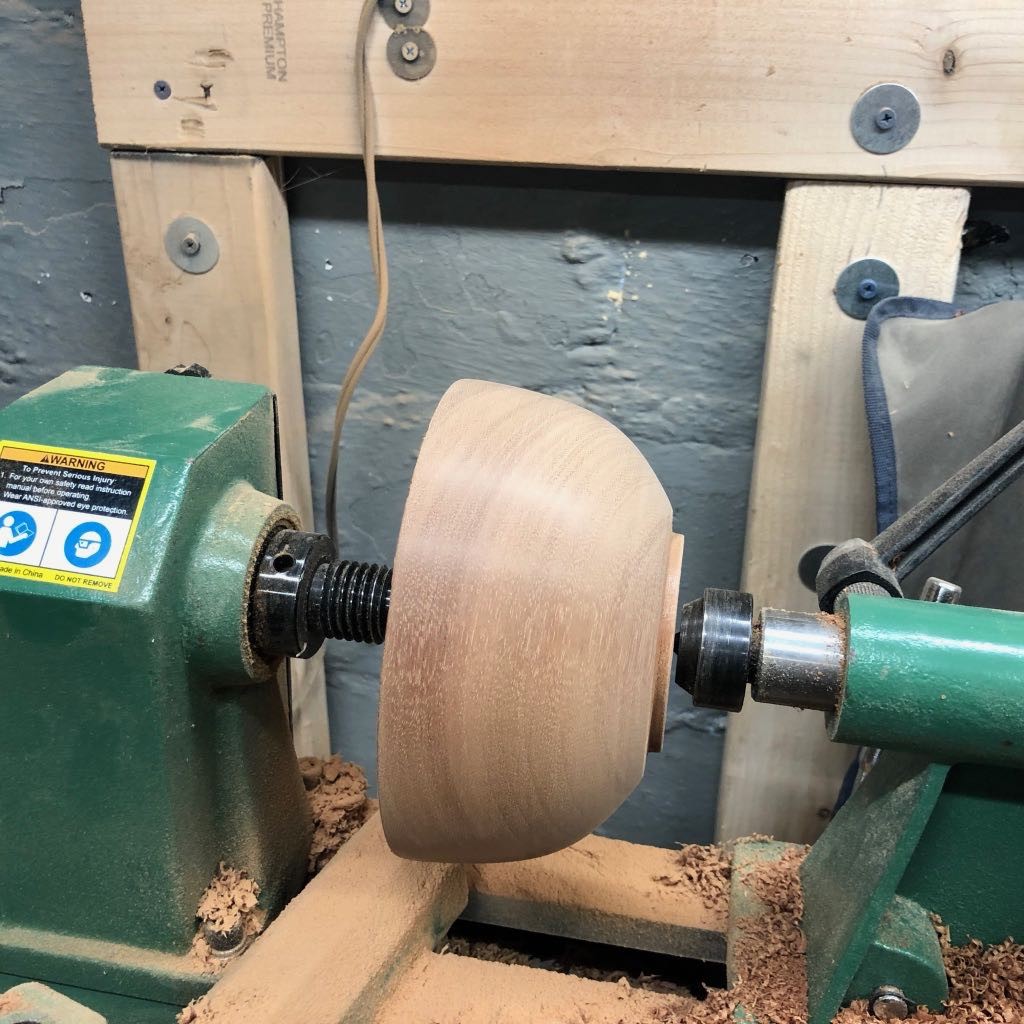
On the first day of Fair in the Park, I had an opportuntiy to demonstrate the making of the instrument. The process is fairly straight forward for anyone that has turned a lidded box before. After placing a bowl blank between centers, I turned down the blank, shaping the outside of the bowl and adding a tenon to the foot to allow the bowl to be placed into a four-jaw chuck. Once the outside was turned and sanded, the bowl is reversed placed into the chuck. The top of the blank is then flattened, taking care to remove any piercing from the spur center. Once the top is flattened, a lip is turned into the top where it will be fitted to the bowl. After the lip is established, the top is parted off. The cherry blank used for Kalimba #3 was larger than #1 or #2 and I did not have my handsaw with me. This made parting off a bit of a chore.

After the top is parted off, the next step is to start hollowing the bowl, taking care to establish the side walls so that the top will fit snuggly. Once the walls are established, the rest of the bowl can be hollowed out and sanded. Finish, if desired, should be applied to the inside of the bowl at this point.

Once the bowl is finished, the top inside lip of the top is coated with an epoxy and fitted to the bowl. After giving the epoxy time to set, I then cleaned up the transition between the bowl and the lid. The lid is then flattened, the sound hole drilled, and pilot holes for the screws for the grounding bar are also drilled at this point. The entire bowl can then be removed, flipped around, and placed in cole jaws to remove the tenon and clean up the bottom. Final finishing can then be applied. After the finish is cured, the grounding bar, bridge, and tines can be added, and the instrument given its first tuning.

17 Key Cherry Kalimba

Kalimba #3 was made from cherry. The top was made significantly thinner and the bowl much thinner, resulting in a larger resonating chamber. The sound quality remained clear with the ability to amplify sound much better.

17-Key Sapele Kalimba

Kalimba #4 was made from sapele. The initial process for this was the same as the prior three instruments. However, I wanted to obtain a perfect grain match. The sound boards for kalimbas #1-3 were each made by flattening the top of the intact bowl, creating a lip on the outside of the bowl, and then parting off the top. The top was then flipped over and placed into the hollowed bowl. This resulted in an inability to get a perfect grain match.

Why build one when you can build two!

After a quick detour this weekend to participate in the Turn for the Troops event held at Woodcraft stores, it was back to the garage to try to make some progress on the chess table.

I started to turn the post for the chess table.  As planned, I decided to use some 4x4s leftover from building a cat tree about four years ago. The wood is good and dry, and more importantly, is the right size to work with.

Unfortunately, the grain was not with me and I had a lot of tear out.  After rounding the blank, I defined the recess for the legs, the tenon for the top, and the half bead that defines the top of the post.  The next step was to shape the stretched s-curve that is the main body of the post.

This is where I experienced significant tear out of the grain.  The wood wanted to splinter if I looked at it the wrong way.  Combine that with the substantial hardness difference between the early and late wood and I ended up with a bit of a ditch partway between the top of the legs and the bottom of the half bead.  This meant that the s-curve would either end up being much thinner than anticipated, or I would have to start over.

A thinner post would substantially change the look of the piece, so I decided to start over. In light of the problems turning the particular species, I decided to see about acquiring some hard wood.  I managed to secure some ash 3×3 blanks that I’ll be turning down for the finished table.

However, I still had a generally intact post that would be a shame to waste.  A quick browse through the wood pile revealed some red oak boards that have been hanging out for a few years.  These were just the right width for a  second set of legs.  I won’t be making this one into a chess table, but it will be good practice before working with the main project.  This will just be a traditional candle stand.

After cutting out the legs and putting them to the spindle sander, I returned to the problem post.  I turned half-beads at the top and bottom of the problem area to divide out the higher areas.  The bottom was then turned generally flat.  The top part was turned into shallow curve toward the tenon.  Finally, the problem area between the two was lowered and given a slight outward curve.

Three incised equally lines spaced incised lines were added to the center and burned with some maple.  I ended up with a generally nice shape for the second table post.  The burning is probably unnecessary as I think this will be painted when all is said and done. This was sanded to about 320 grit.  Sanding this wood leaves an interesting undulation as the soft early wood (the light grain) wears away faster than the late wood (dark grain).

I’ve already cut the oak legs out. The pattern I cut out using Pixelmator and some MDF is getting a workout. They just need a bit more shaping. Then comes the dovetailing. More later.

Skew your View

I’ve been turning the post for the chess table inefficiently.  I’ve generally done one step at a time on the post: bringing to round, turning the tenon, cutting down the area that will receive the sliding dovetails, etc.  Unfortunately, I bungled the layout and won’t be able to use it in the final table.

Since all wood is good wood (so far), I decided to use this piece as a chance to practice skew work.  Long planing cuts were the first place I practiced, cleaning up the long sweep from the widest part to the neck before the tenon. There are a few knots in the piece that give off a great Christmas tree smell every time I hit them. What is most amazing is that even those knots feel perfectly smooth after planing cuts with the skew. This is a very versatile tool.

The initial surface left by this was great, even in the fir.  Next, I wanted to be able to turn some coves and beads.  As this is an area that I’m not particularly comfortable with (skew catches are no far), I decided to see about getting some instruction on the tool.

Luckily, I have an on-call turning instructor called YouTube that is always happy to provide some one-on-one-million teaching assistance.  I found this excellent video from CraftSuppliesUSA: The Skew Chisel with Allan Batty.

After watching the video, I had a go at a few beads, v-cuts, and more planing cuts. I couldn’t quite get the feel for beading with the skew, achieving both catches and tear out. That means only one thing: time for more practice is needed.

Shop Notes – 2017-10-20

Turning

I brought a fir 4×4 down to round this morning.  I need to sit and sketch out the pattern that I’d like for it, including taking measurements from the article I am working from to lay out for the top tenon and the bottom sliding dovetails.

The blank was roughed out with a 1″ spindle roughing gouge.  I then decided to get some practice with the skew chisel.  Taking a 1″ skew to it, I immediately had a catch and tear out.  I’m not too worried about it as I have at least a few more blanks worth of the fir that is nice and dry.  After resetting, I continued to use the skew and was able to get fantastic curly shavings.  While the round blank is clearly nowhere near a finished state, I found that the skew leaves a fantastic surface with minimal tearout.  I’m going to try to use it as the primary tool for this first turning to get more practice with the tool.

Workbench

I stopped at Rockler this afternoon and picked up a bed extension for my lathe.  It will give me the ability to turn 39 inches between centers when attached.  This will be great for making a campaign chair and stool in the future.  However, I have run into a bit of a problem.  While it gives 39 inches between centers, it needs a wider workbench to sit on.  That means that my current workbench (48 inches) is not going to cut it.

I initially thought that I would build a dedicated bench for the lathe (using a similar design to the saw bench I build a bit over a month ago).  However, I’ve been thinking of building a new workbench for some time and this is probably a great reason to build a new main bench.

As I work in a narrow one-car garage, a proper 8 foot bench is out of the picture. The garage is about 9 feet at its widest.  I’m considering a bench between 5 and 6 feet long (which would leave only 18 inches on either side if build to 6 feet) and 20 inches deep.  After working on a number of projects so far, I’ve found that my current depth of about 30 inches is unneeded.  The space at the back of the bench is just about never used for any operation.  It usually just collects tools and shavings or allows me to be lazy and not put the lathe away when not in use.