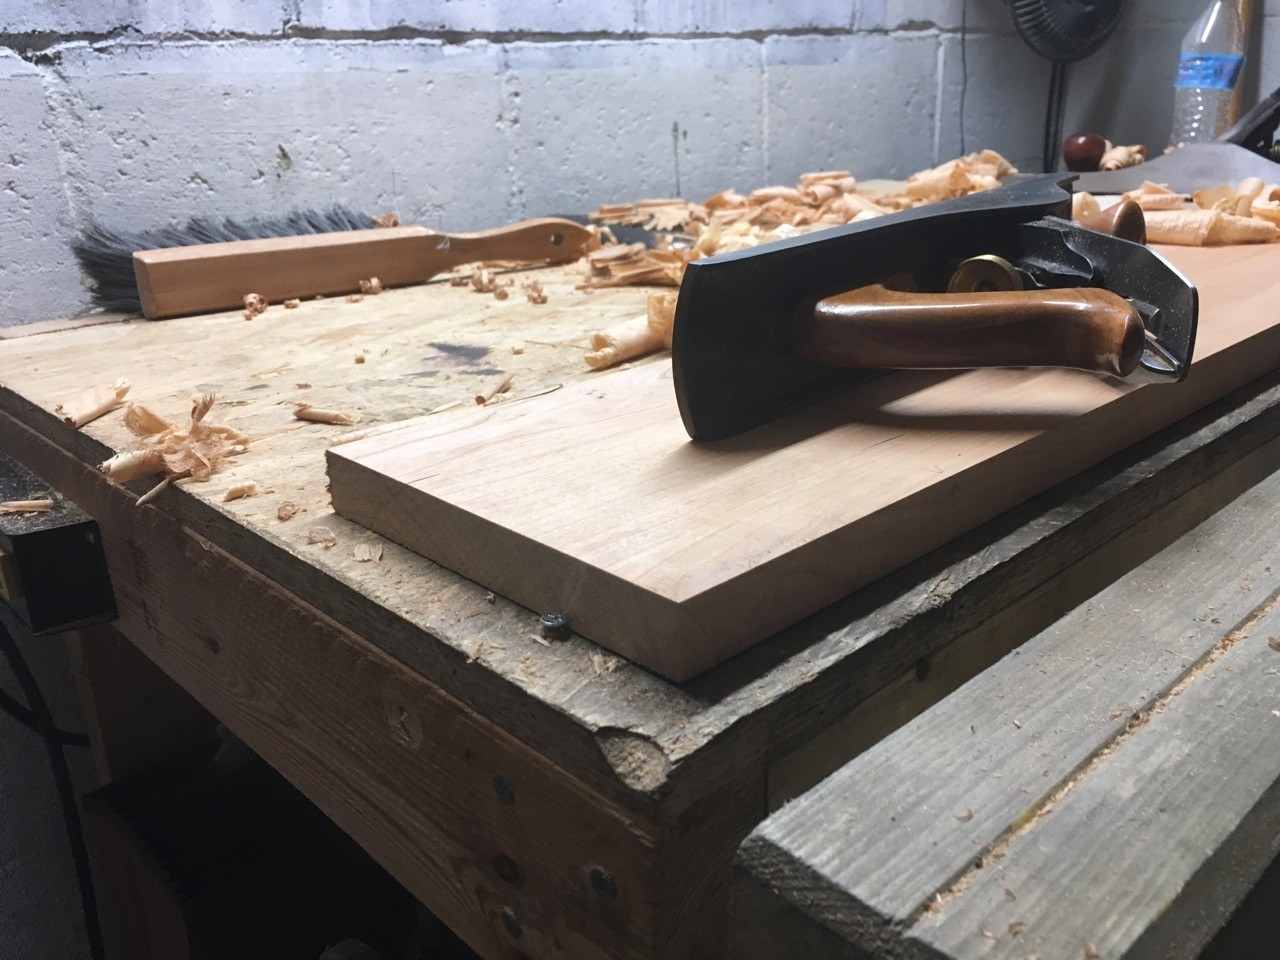
After a quick detour this weekend to participate in the Turn for the Troops event held at Woodcraft stores, it was back to the garage to try to make some progress on the chess table.
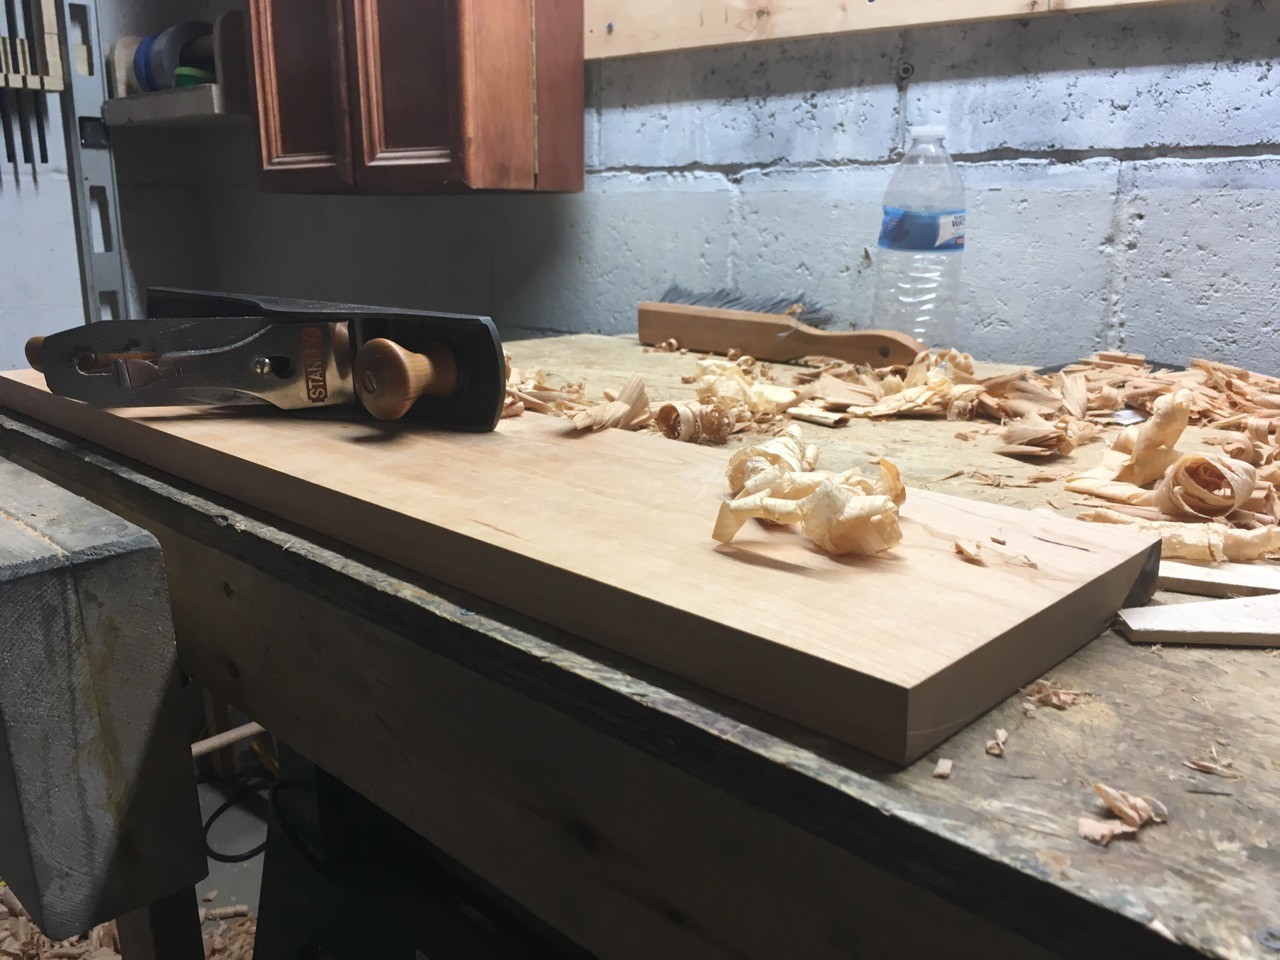
 I started to turn the post for the chess table. As planned, I decided to use some 4x4s leftover from building a cat tree about four years ago. The wood is good and dry, and more importantly, is the right size to work with.
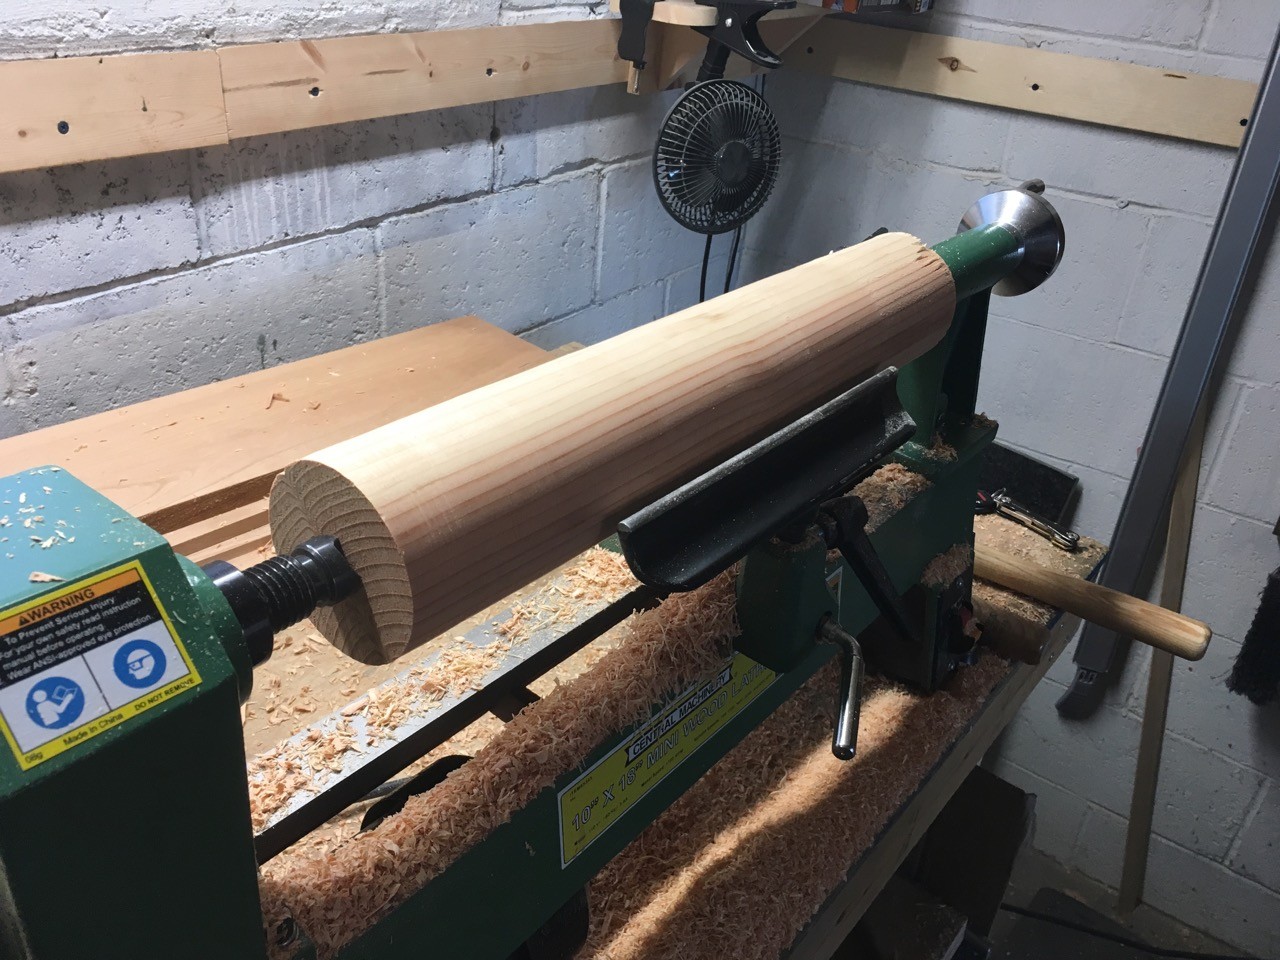
Unfortunately, the grain was not with me and I had a lot of tear out. After rounding the blank, I defined the recess for the legs, the tenon for the top, and the half bead that defines the top of the post. The next step was to shape the stretched s-curve that is the main body of the post.
This is where I experienced significant tear out of the grain. The wood wanted to splinter if I looked at it the wrong way. Combine that with the substantial hardness difference between the early and late wood and I ended up with a bit of a ditch partway between the top of the legs and the bottom of the half bead. This meant that the s-curve would either end up being much thinner than anticipated, or I would have to start over.
A thinner post would substantially change the look of the piece, so I decided to start over. In light of the problems turning the particular species, I decided to see about acquiring some hard wood. I managed to secure some ash 3×3 blanks that I’ll be turning down for the finished table.
However, I still had a generally intact post that would be a shame to waste. A quick browse through the wood pile revealed some red oak boards that have been hanging out for a few years. These were just the right width for a second set of legs. I won’t be making this one into a chess table, but it will be good practice before working with the main project. This will just be a traditional candle stand.
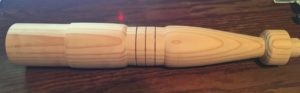
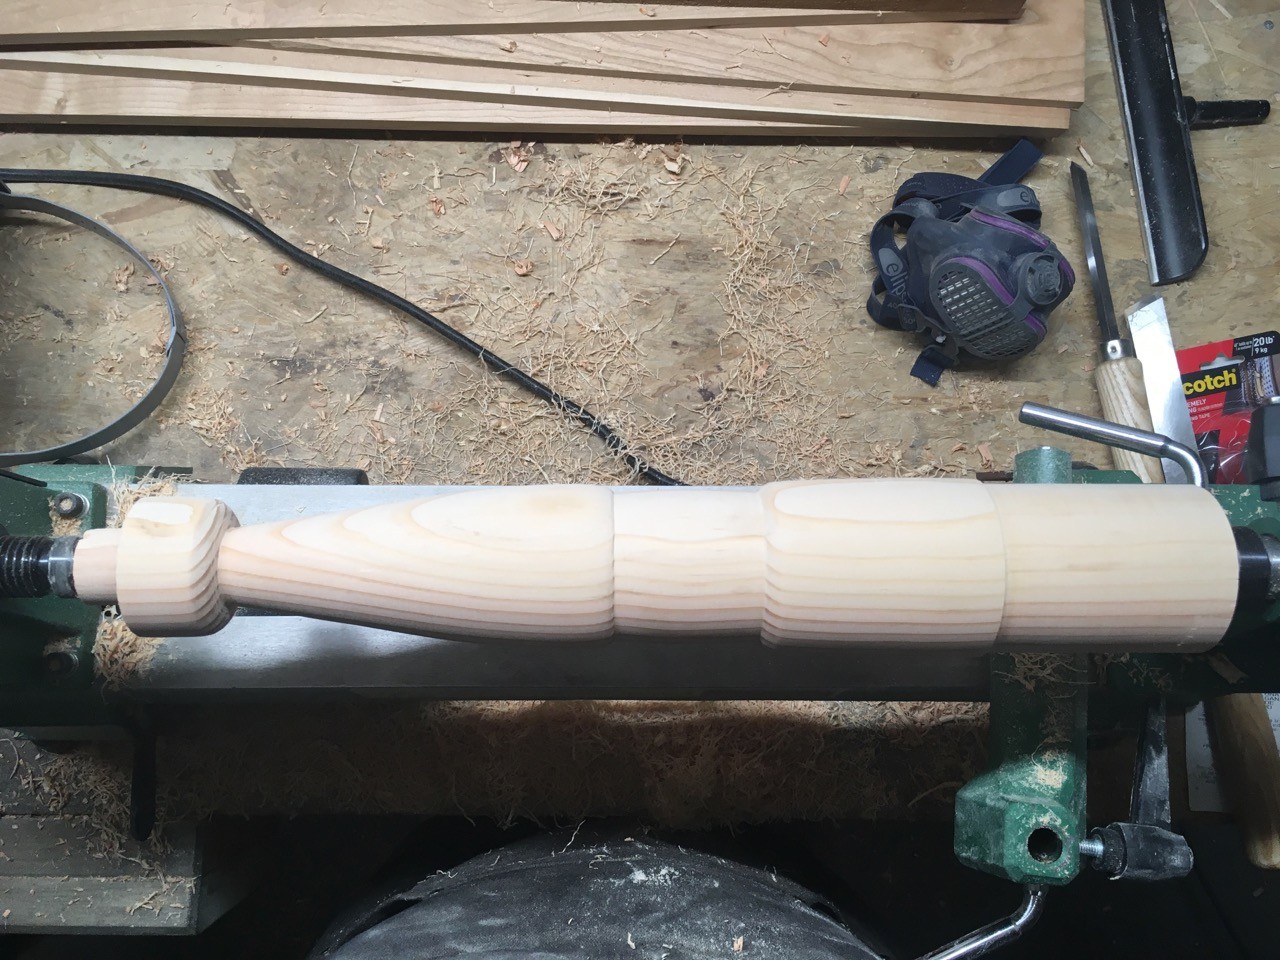 After cutting out the legs and putting them to the spindle sander, I returned to the problem post. I turned half-beads at the top and bottom of the problem area to divide out the higher areas. The bottom was then turned generally flat. The top part was turned into shallow curve toward the tenon. Finally, the problem area between the two was lowered and given a slight outward curve.
Three incised equally lines spaced incised lines were added to the center and burned with some maple. I ended up with a generally nice shape for the second table post. The burning is probably unnecessary as I think this will be painted when all is said and done. This was sanded to about 320 grit. Sanding this wood leaves an interesting undulation as the soft early wood (the light grain) wears away faster than the late wood (dark grain).
I’ve already cut the oak legs out. The pattern I cut out using Pixelmator and some MDF is getting a workout. They just need a bit more shaping. Then comes the dovetailing. More later.