Furniture and Gifts
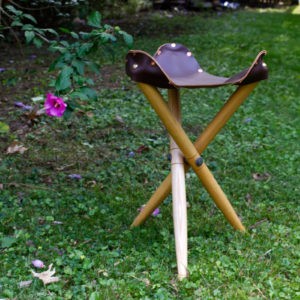
Ash and leather folding camp stool.

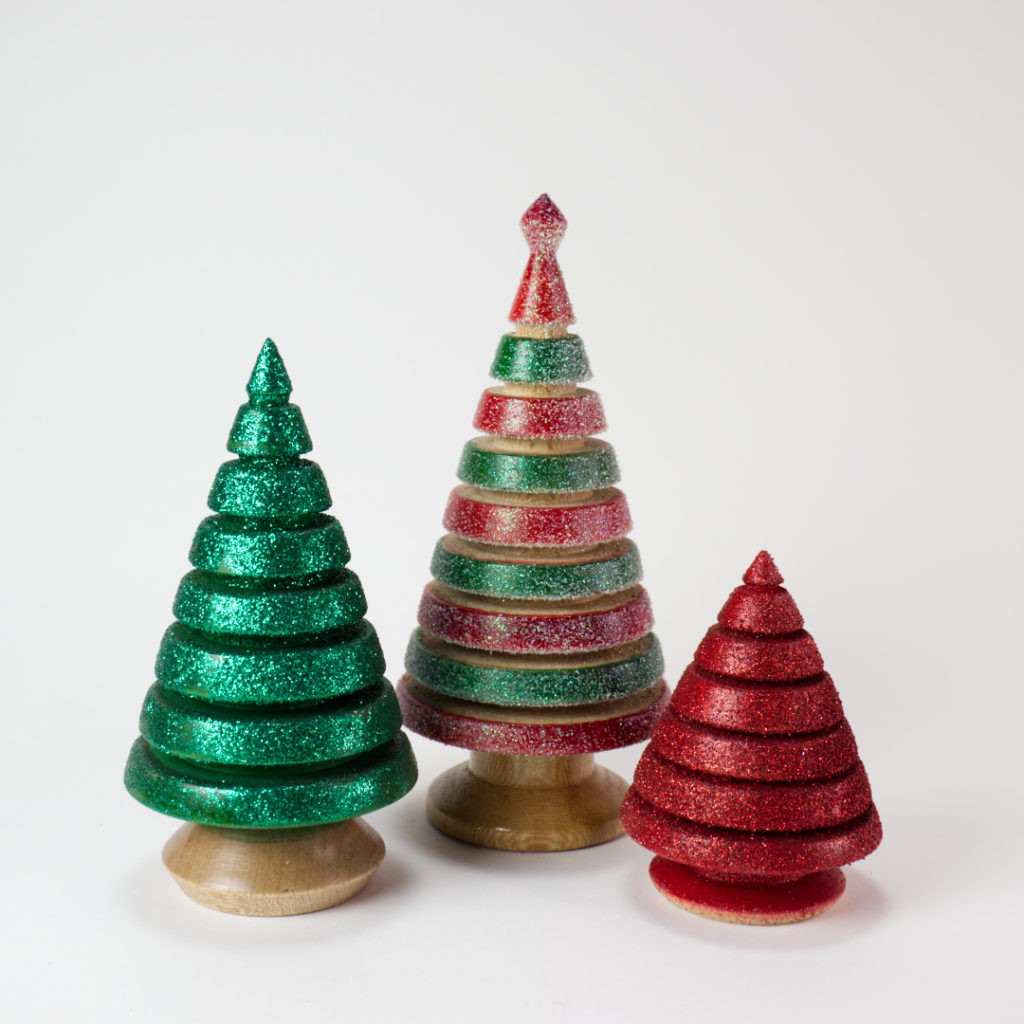
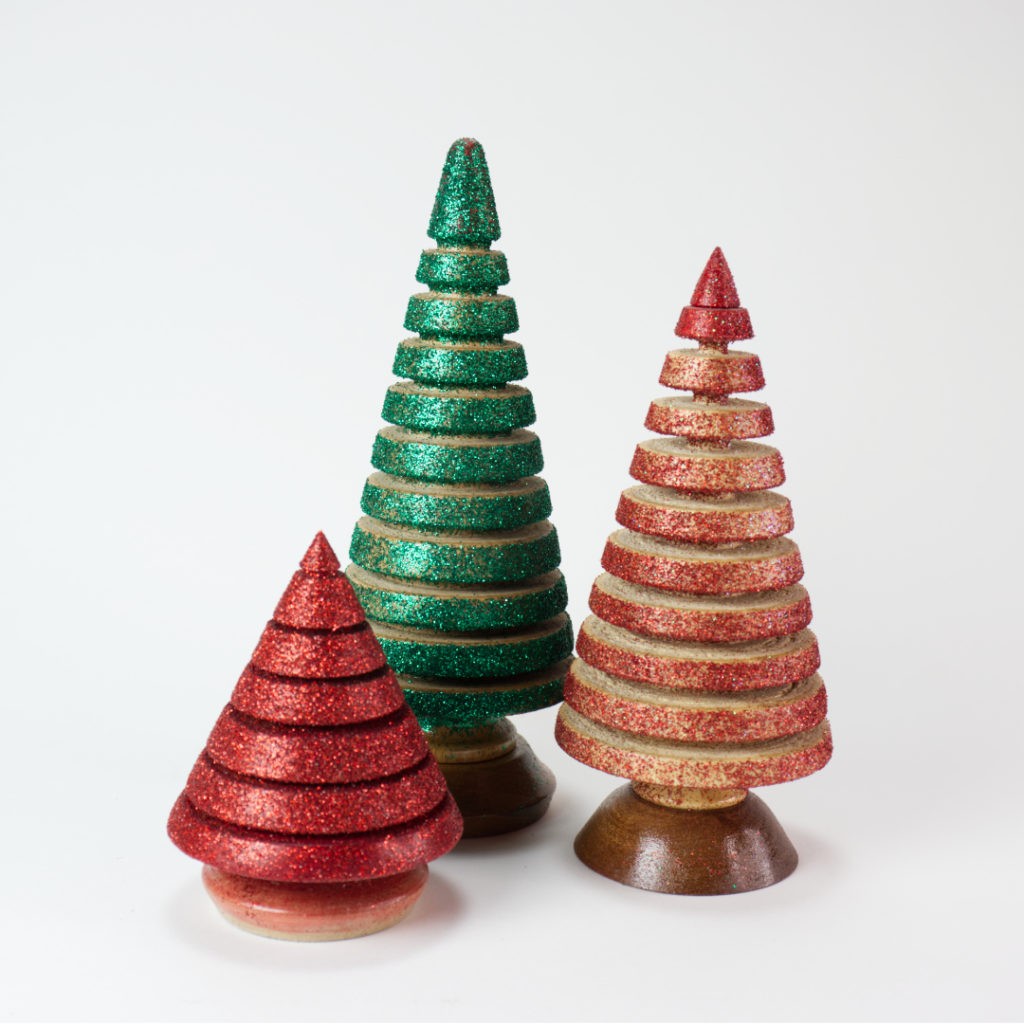
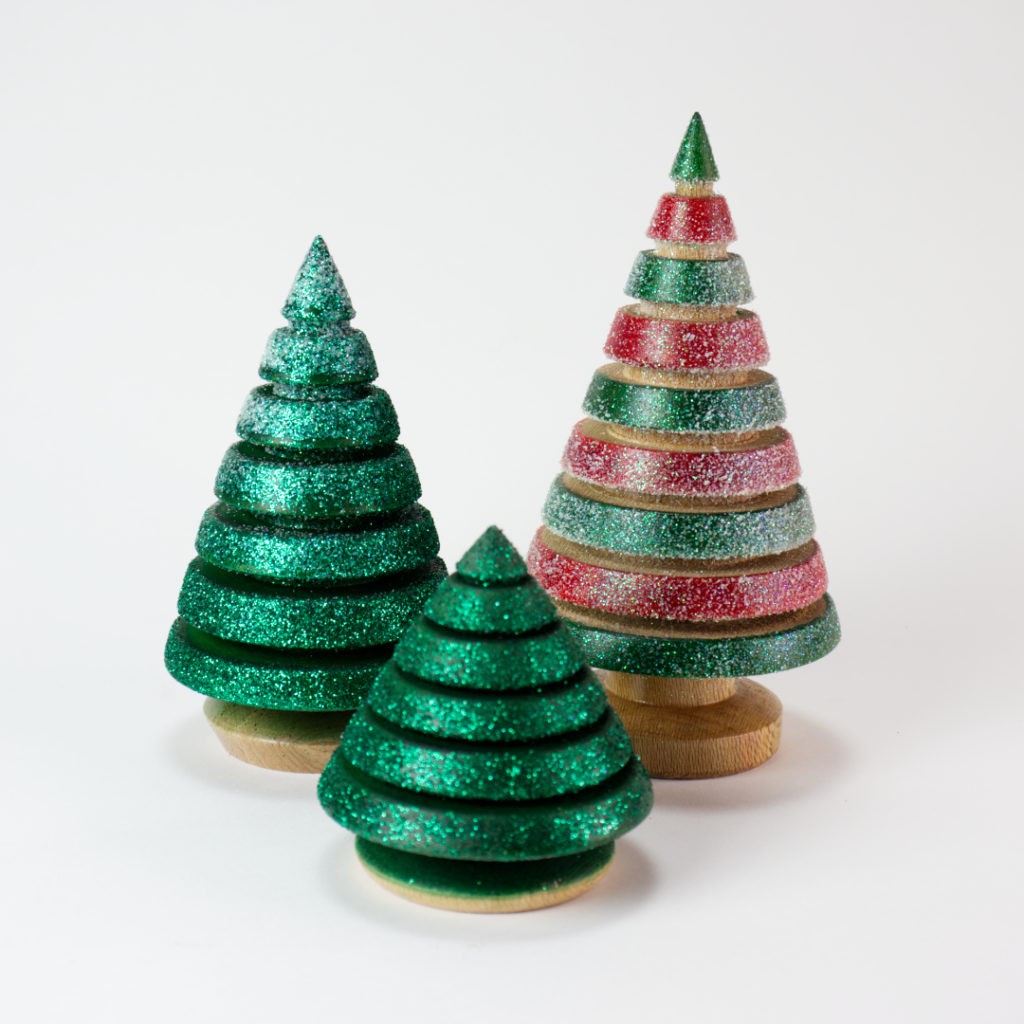
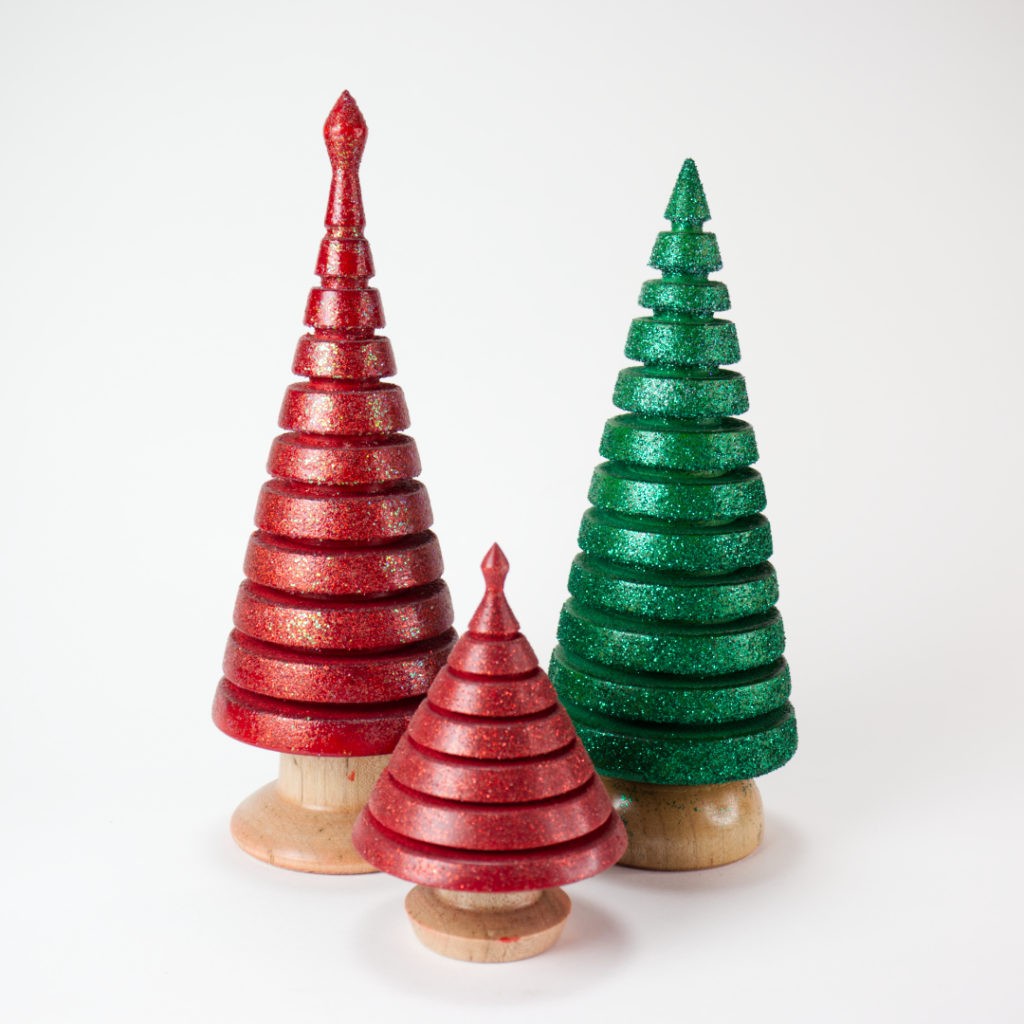
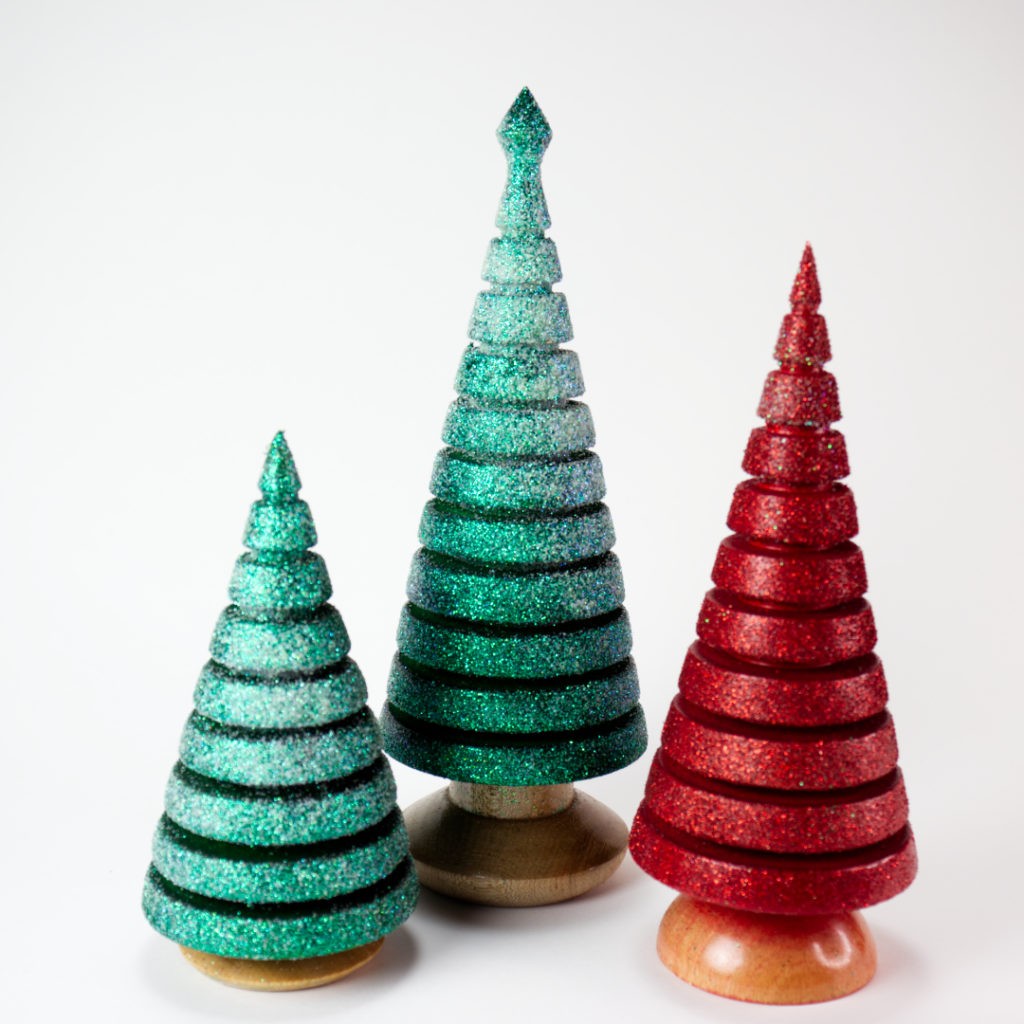
Christmas is upon us and the decorations are ramping up. This year I’ve put together a run of sparkling Christmas trees. They’ll be in the store soon and will be sold in groups of three as pictured.
Sometimes you just need a project that you are trying to avoid to get you to work. For me, that has been a bathroom wall cabinet that I’ve designed and tweaked over the course of the past eight or so months. I’ve gotten advice about the joinery layout. I’ve selected and milled lumber for the case. I’ve pretty much committed to the build. And there the case parts sit next to my workbench. I can’t seem to get around to starting to cut dovetails.
That isn’t to say that I haven’t been working. Avoiding the bathroom cabinet project has motivated me to work on ramping up production of stock for my shop.
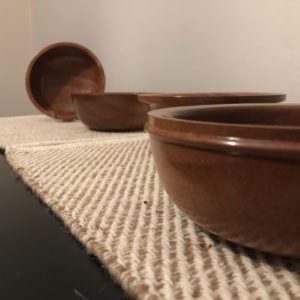
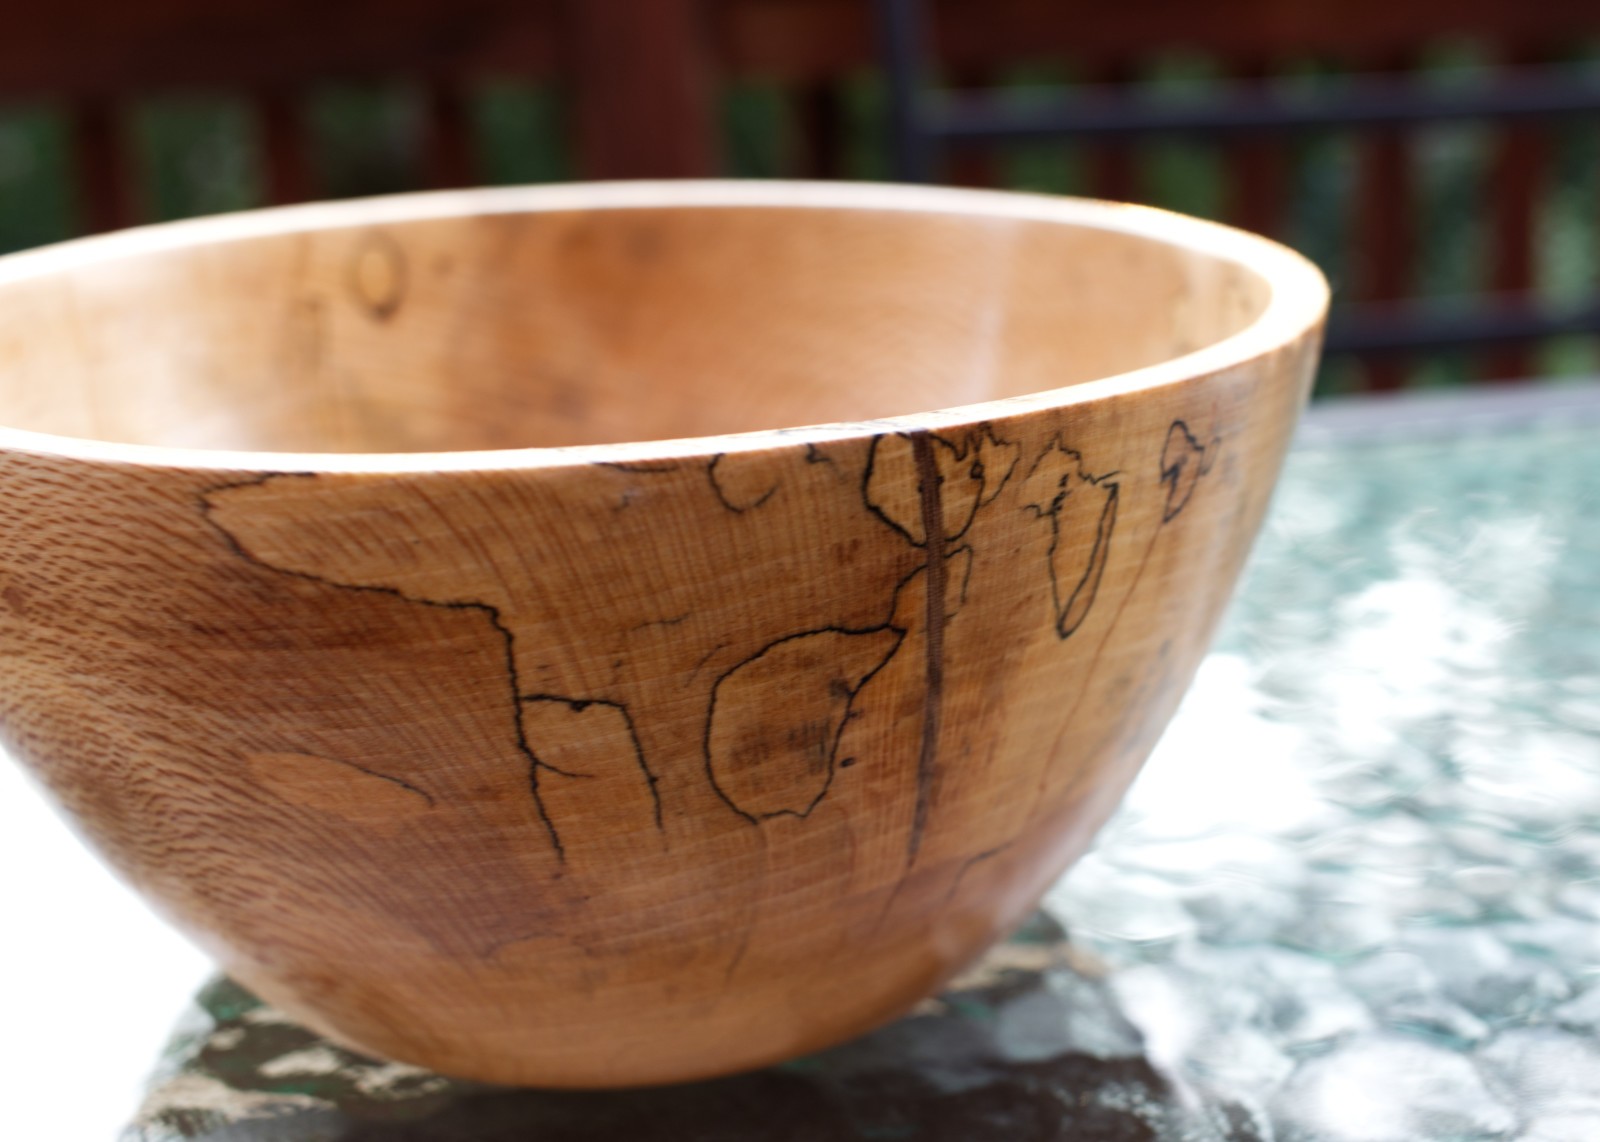
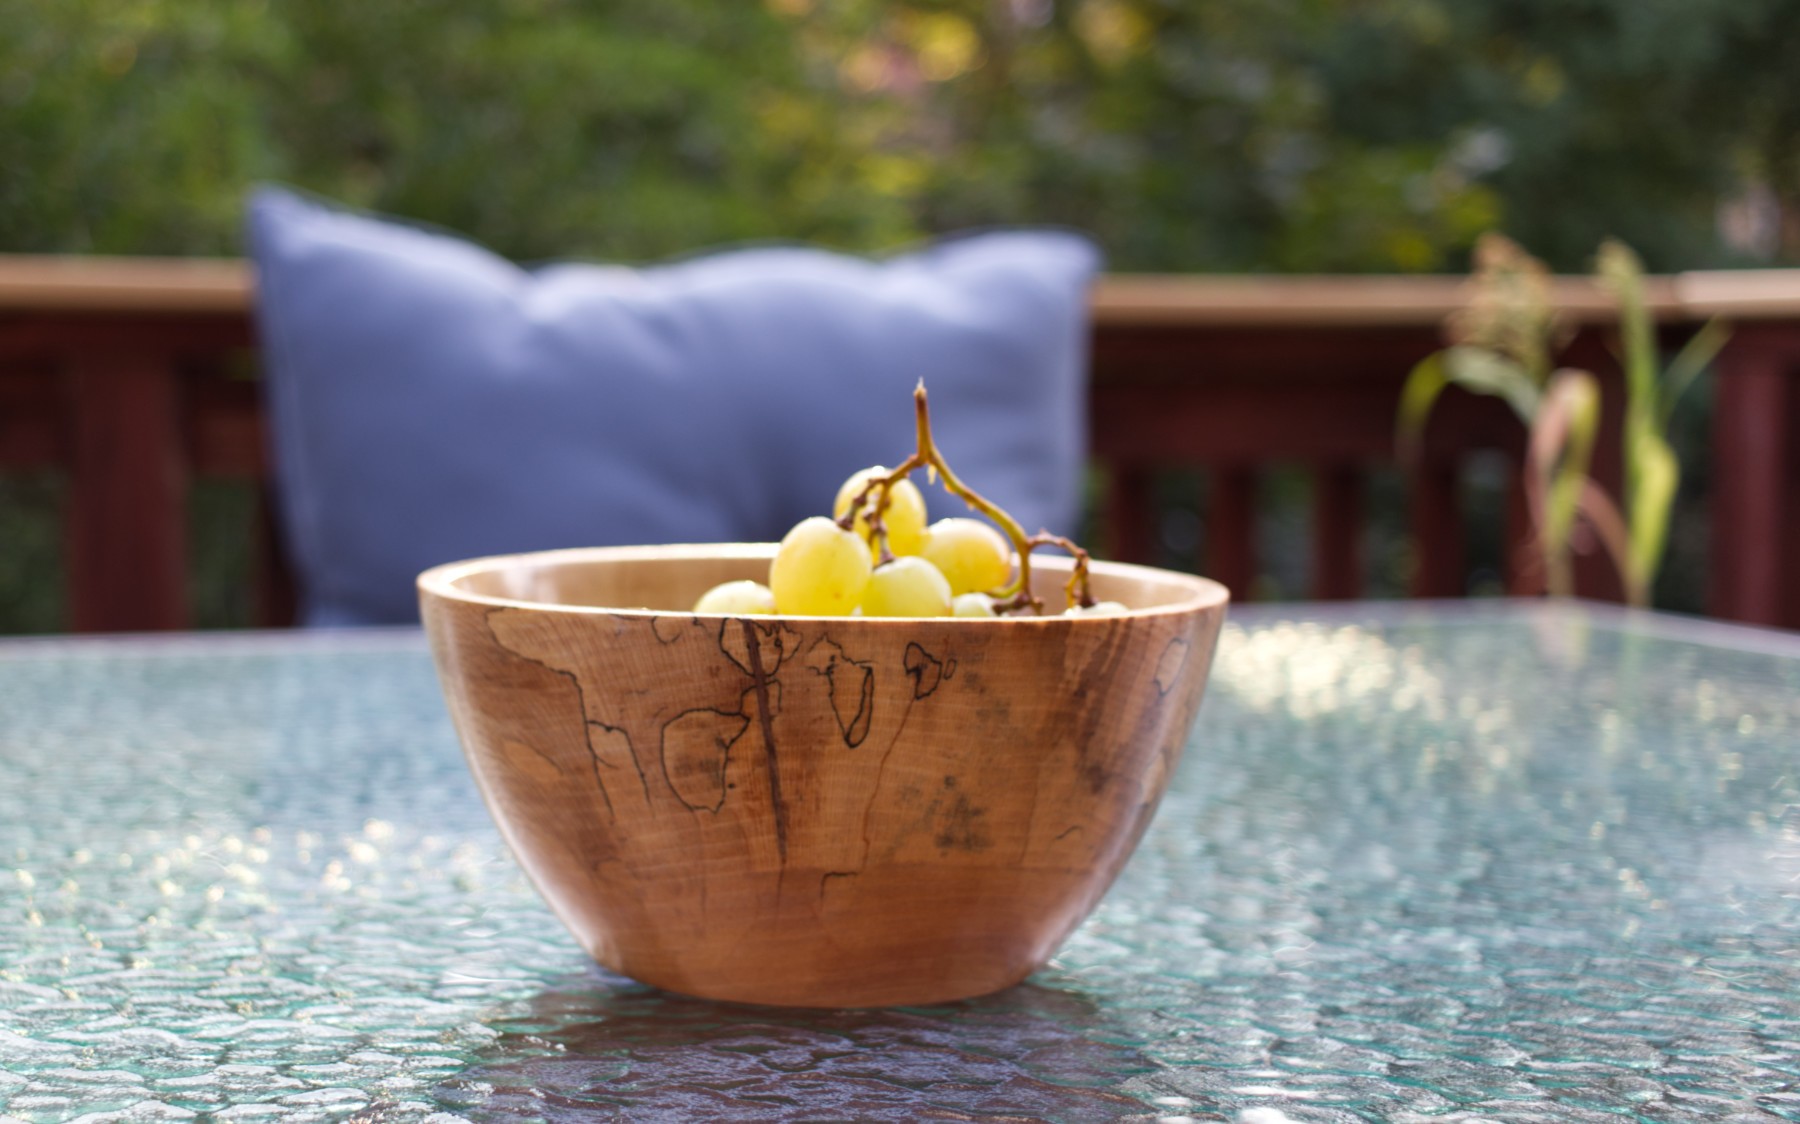
I have new bowls to add to the shop, including a gorgeous spalted sycamore bowl and several sapele bowls.
While figuring out joinery for the bathroom cabinet, I built a small wall-hanging tea cabinet for the kitchen.
I even got around to finishing a camp stool that I had started a few years ago.
I don’t look at this as procrastination. The bathroom cabinet is not a high priority. Even if it was a higher priority, the planned details of the cabinet demand that time be taken on each step. I’ll get to it eventually. But, as you may have already guessed, it has to be placed on the back burner again. A few days ago I started a new run of sliding lid boxes.
One of the biggest hurdles to being able to do a craft show is not having enough stock of what I want to sell. When going to a show, you need to have enough pieces for people to browse through and enough to replace anything sold on your shelves or tables. I also would like to have a range of price points for people; you can’t sell an $800 Roorkee chair to everyone. What that means is being able to do small production runs.
Before Christmas last year, at the request of a friend, I experimented with a production run of headphone clamps in solid walnut. I ended up making eight of these, based solely on the lumber availability in the shop. The design I settled on for the product, and the level of finish that I wanted, meant that I spent a substantial amount of time on each unit. While these weren’t a loss in the end (and a few are still for sale), they aren’t suited to a reasonable batch process.
My small run of sliding lid boxes this spring was another experiment in production work. In the end, these boxes proved to be a more than reasonable balance of time and enjoyment to make. I combined hand and machine work. I even gave the new laser engraver a chance to shine. The boxes were well received, with four given as gifts and one retained as a recipe card box. Still, they were an iterative design. The first test I did was a small mitered box. I settled on doing rabbeted ends for the run due to machine limitations; my current table saw is simply not up to the degree of precision needed for making mitered boxes.* This iteration was fine for the short run, but not preferable. The rabbeting layout resulted in relatively fragile corners where the lid is pulled out.
So, taking stock of what I have learned, I am preparing to do another, much more substantial, run of boxes. These will find their way to a shop near you sometime soon. These boxes will be mitered, and likely have keys added for extra strength. Mitered corners do place a bit of a delay on the run, as I plan on using the new table saw for these cuts. I plan on adding some color details to the ends. Fabric-covered bottoms are also a consideration. I will also be adding decorative engravings to the front and back of each box with the laser engraver. And, I should be doing a total of 48 of these boxes, a significantly higher output than I’ve done for anything to date. The run was initially going to have 24 boxes. However, I believe the lumber being used is stable enough to handle resawing, doubling the output (and work involved). That said, this is a good lesson in small-batch woodworking.
In addition to these boxes, I’m working on refining the design of my turned kalimbas. I’ve had a chance to see how seasonal wood movement affects the tuning. I’ve also gotten a better feel for the minimum size of one of these as currently designed. I hope to do a run of these for sale some time before Christmas.
I also have a few small gift items planned, all things that can be done as relatively quick batch production, and all things that should have a low price point.
The bathroom wall cabinet will just have to wait.
* I have been working on a Ridgid R4513 jobsite saw for more than five years. It has been a constant battle. The table is not flat. The miter slot are not properly machined. The fence constantly goes out of square. Forget about easily beveling the blade. Even the handle to raise and lower the blade is junk. Still, I’ve gotten a lot of work done with the saw. But times, they are a-changin’. I was ready to take the plunge on a Sawstop contractor saw. Unfortunately two things stopped me, and it wasn’t the price. You can only get the Biesemeyer-style fence with the 36 or 52 inch rails. Given my shop layout and size, I can’t reasonably fit the saw width-wise into the shop. I did think about the fact that I could cut down the rails to better fit the space. However, the Sawstop contractor saw’s motor is mounted off the back of the machine, taking up additional space. In a 9×16 foot shop, every inch counts.
I ended up settling on the Laguna Fusion F1. Space-wise, it won’t take up any more width than the Ridgid job site. It is a bit deeper, but not to the degree that I’d lose significant space in the middle of the shop. I had thought about the F2. This suffers from the same width issue as the Sawstop. I could certainly cut the rails down, and would feel less bad about modifying it, but there was also an issue with availability. The F2 is looking at a December ship date. The F1 is available now. Regardless, this will be a huge upgrade for the shop. I look forward to a flat table and blade that can actually bevel without going cattywampus.
I looked at my queue of posts to write today and realized that I’ve been slacking since March. That is about the long and short of the year so far. With the pandemic shutting things down in March, followed by what has to be one of the hottest summers I can recall, I haven’t had a chance to do much woodworking this year.
But Mousie, thou art no thy-lane,
To a Mouse – Robert Burns
In proving foresight may be vain:
The best laid schemes o’ Mice an’ Men
Gang aft agley,
An’ lea’e us nought but grief an’ pain,
For promis’d joy!
To say that this is a disappointment is an understatement. I had arranged to teach a class on kalimba making this summer. Unfortunately, that was cancelled due to the pandemic. The plan for the year was also to do at least one show. It appears most craft shows have been cancelled or are severely cut down. Add to that some of the other goings on since March and there is just no way I’ll have enough stock to do a show this year. That, of course, is no excuse for not getting what items I do have in stock photographed and up on the website for sale.
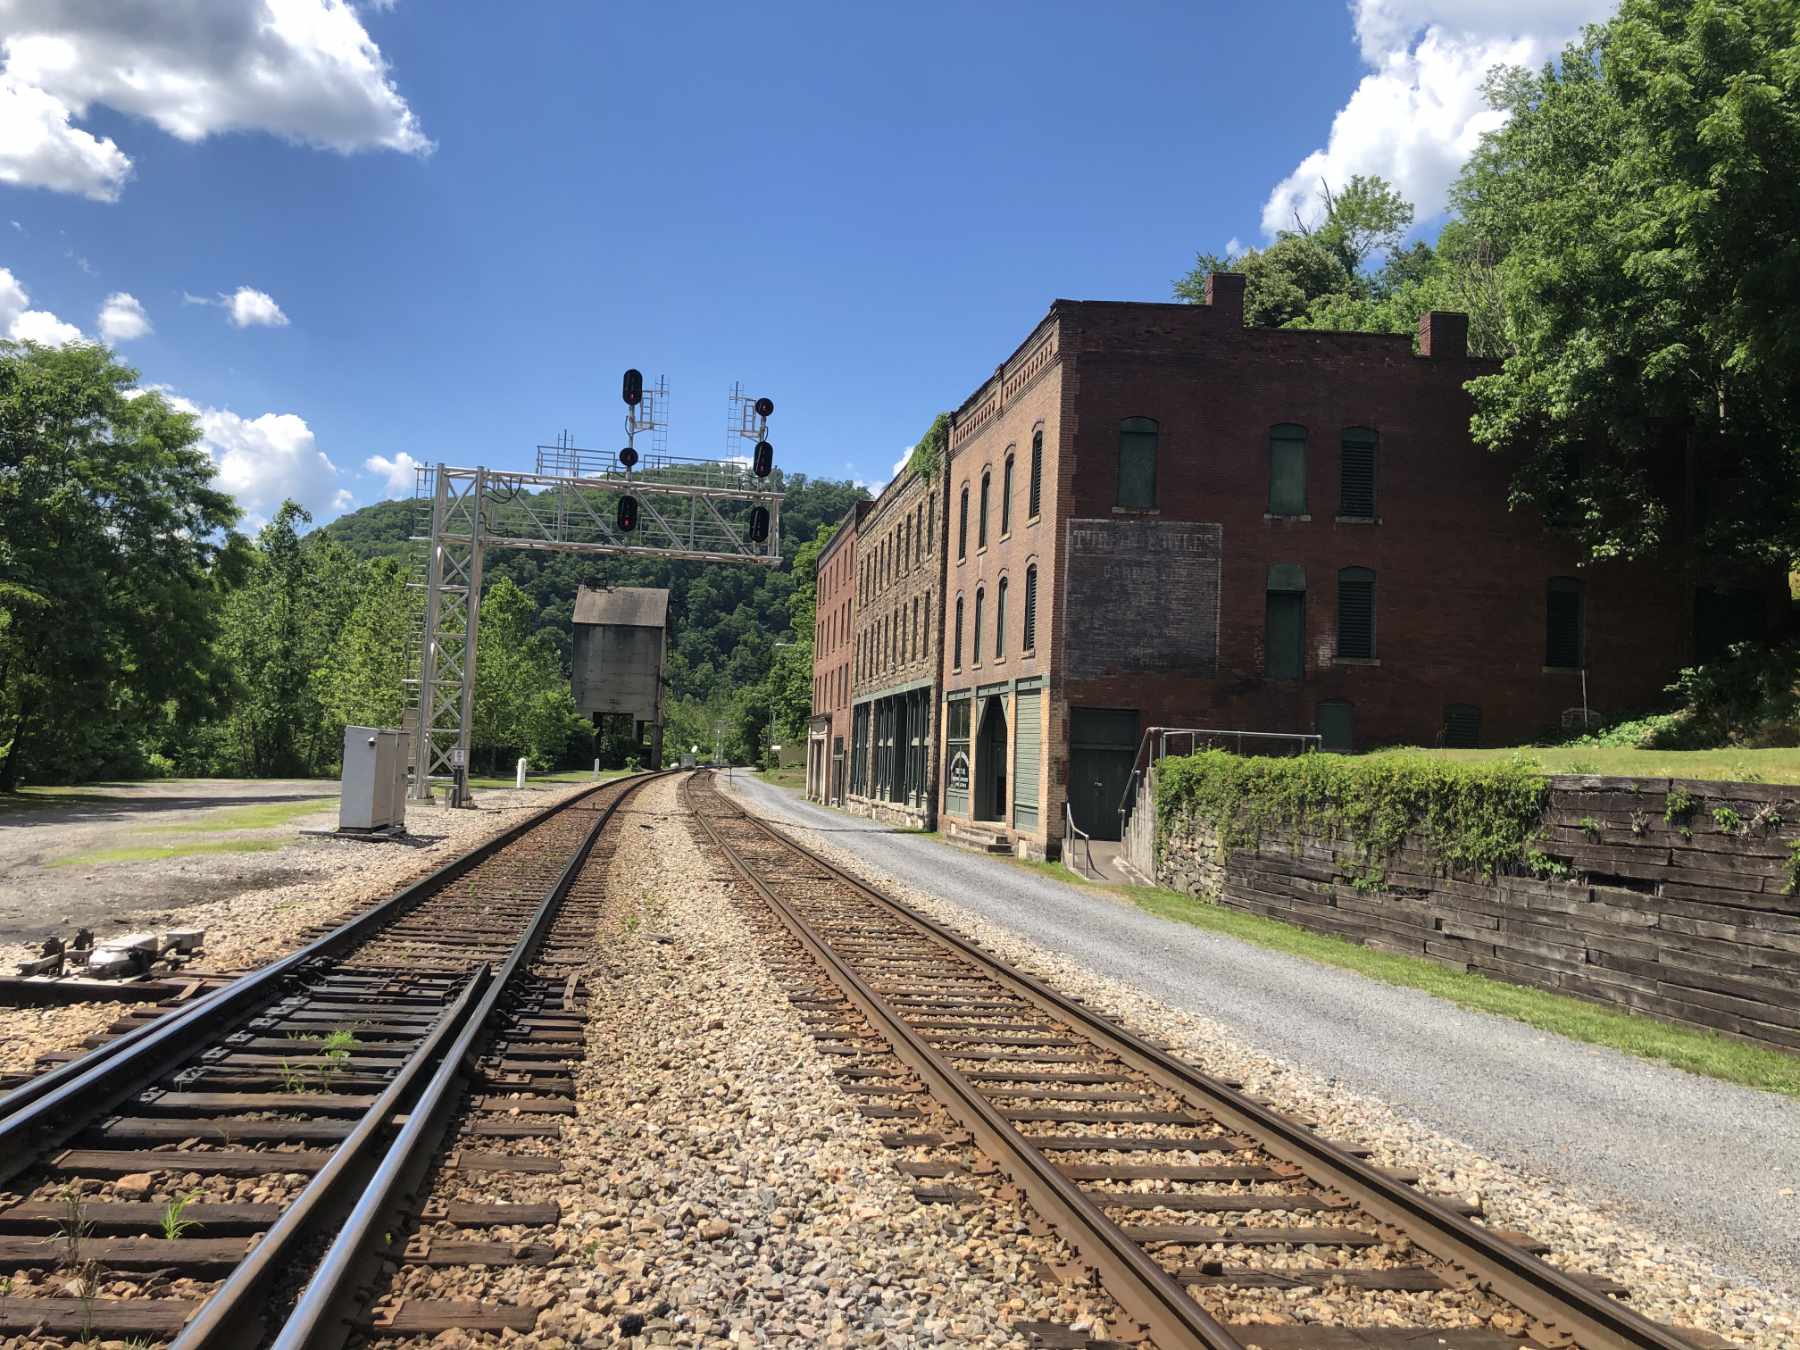
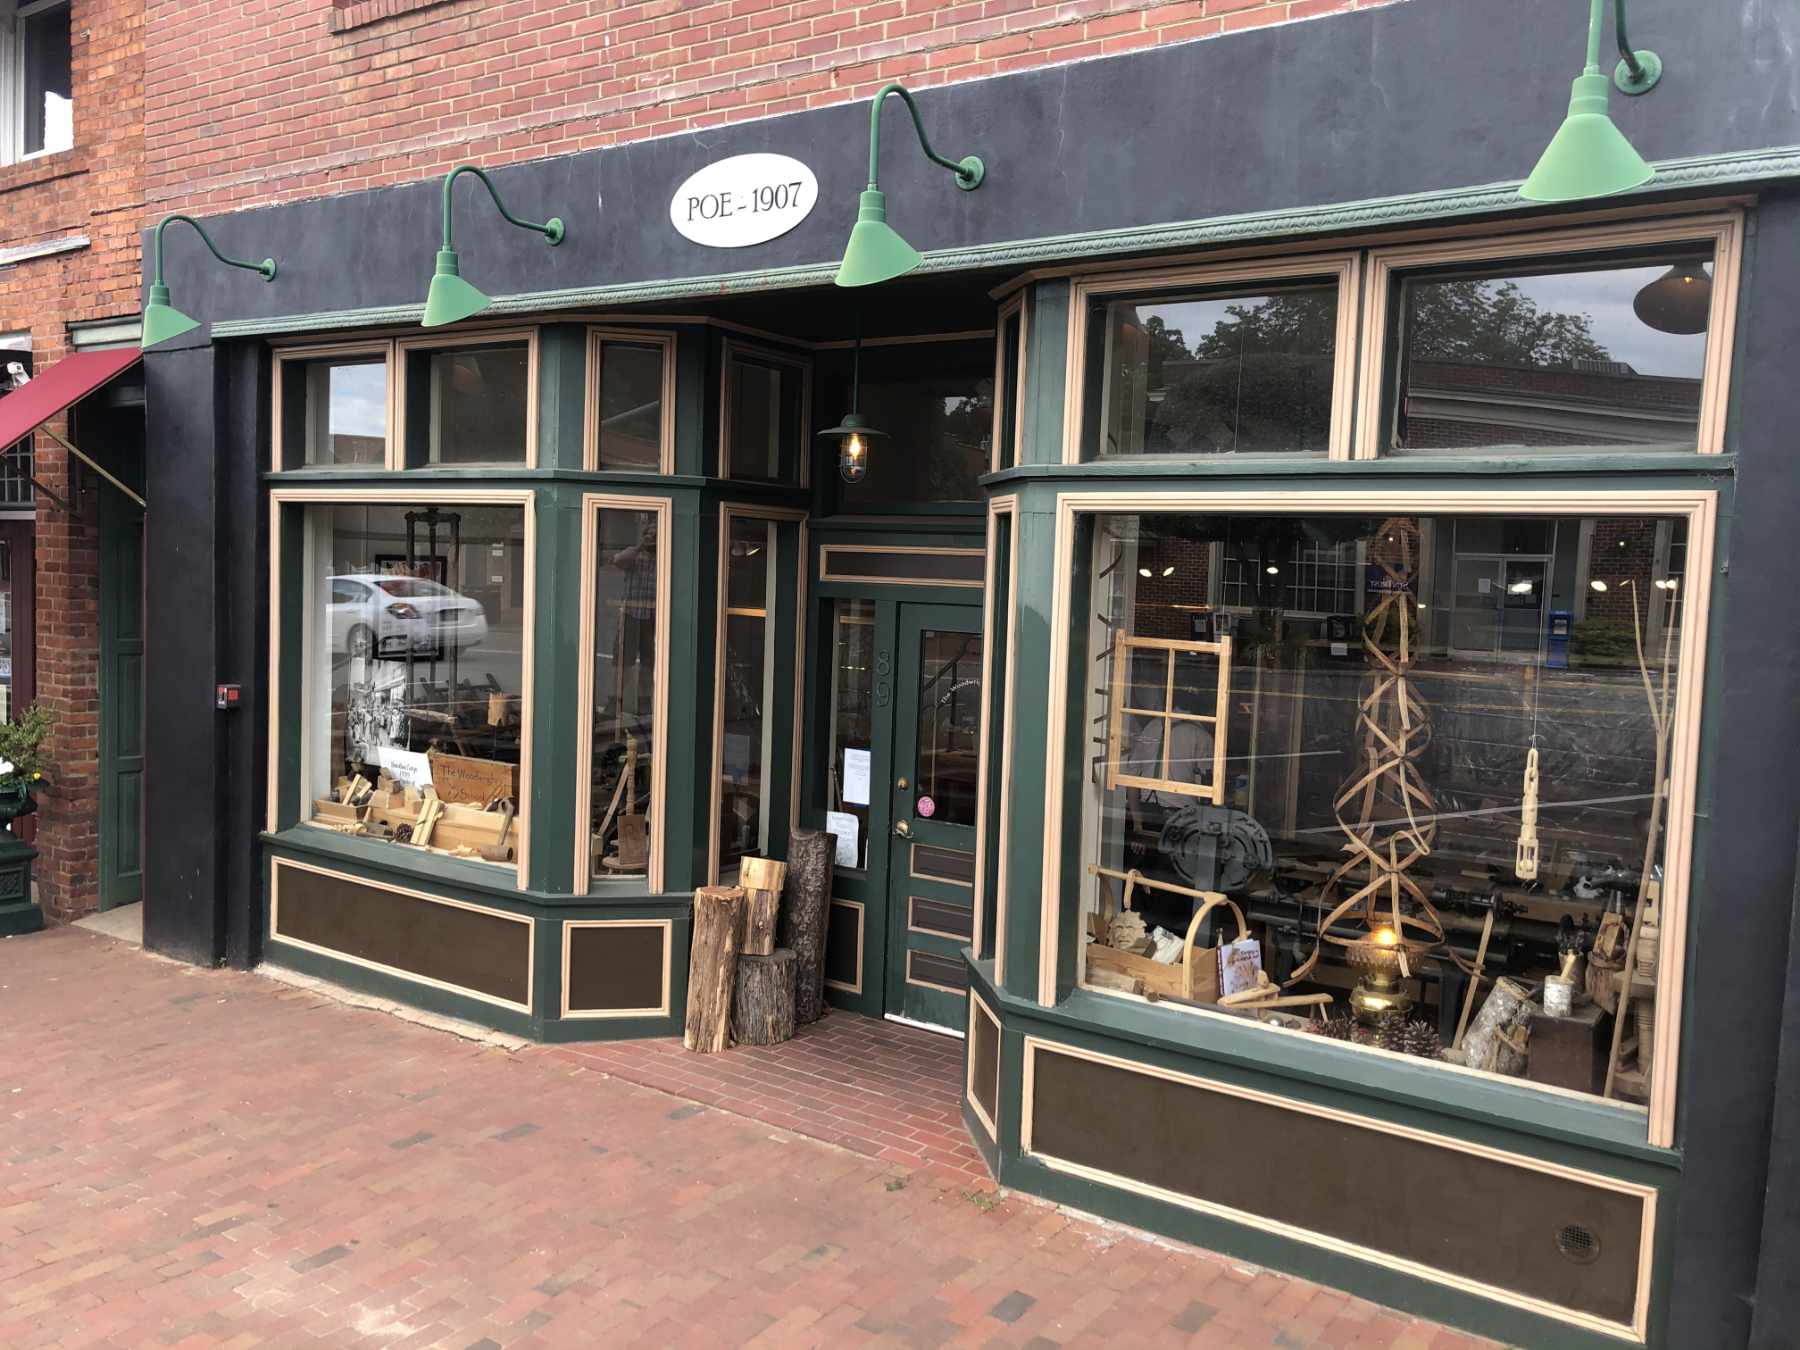
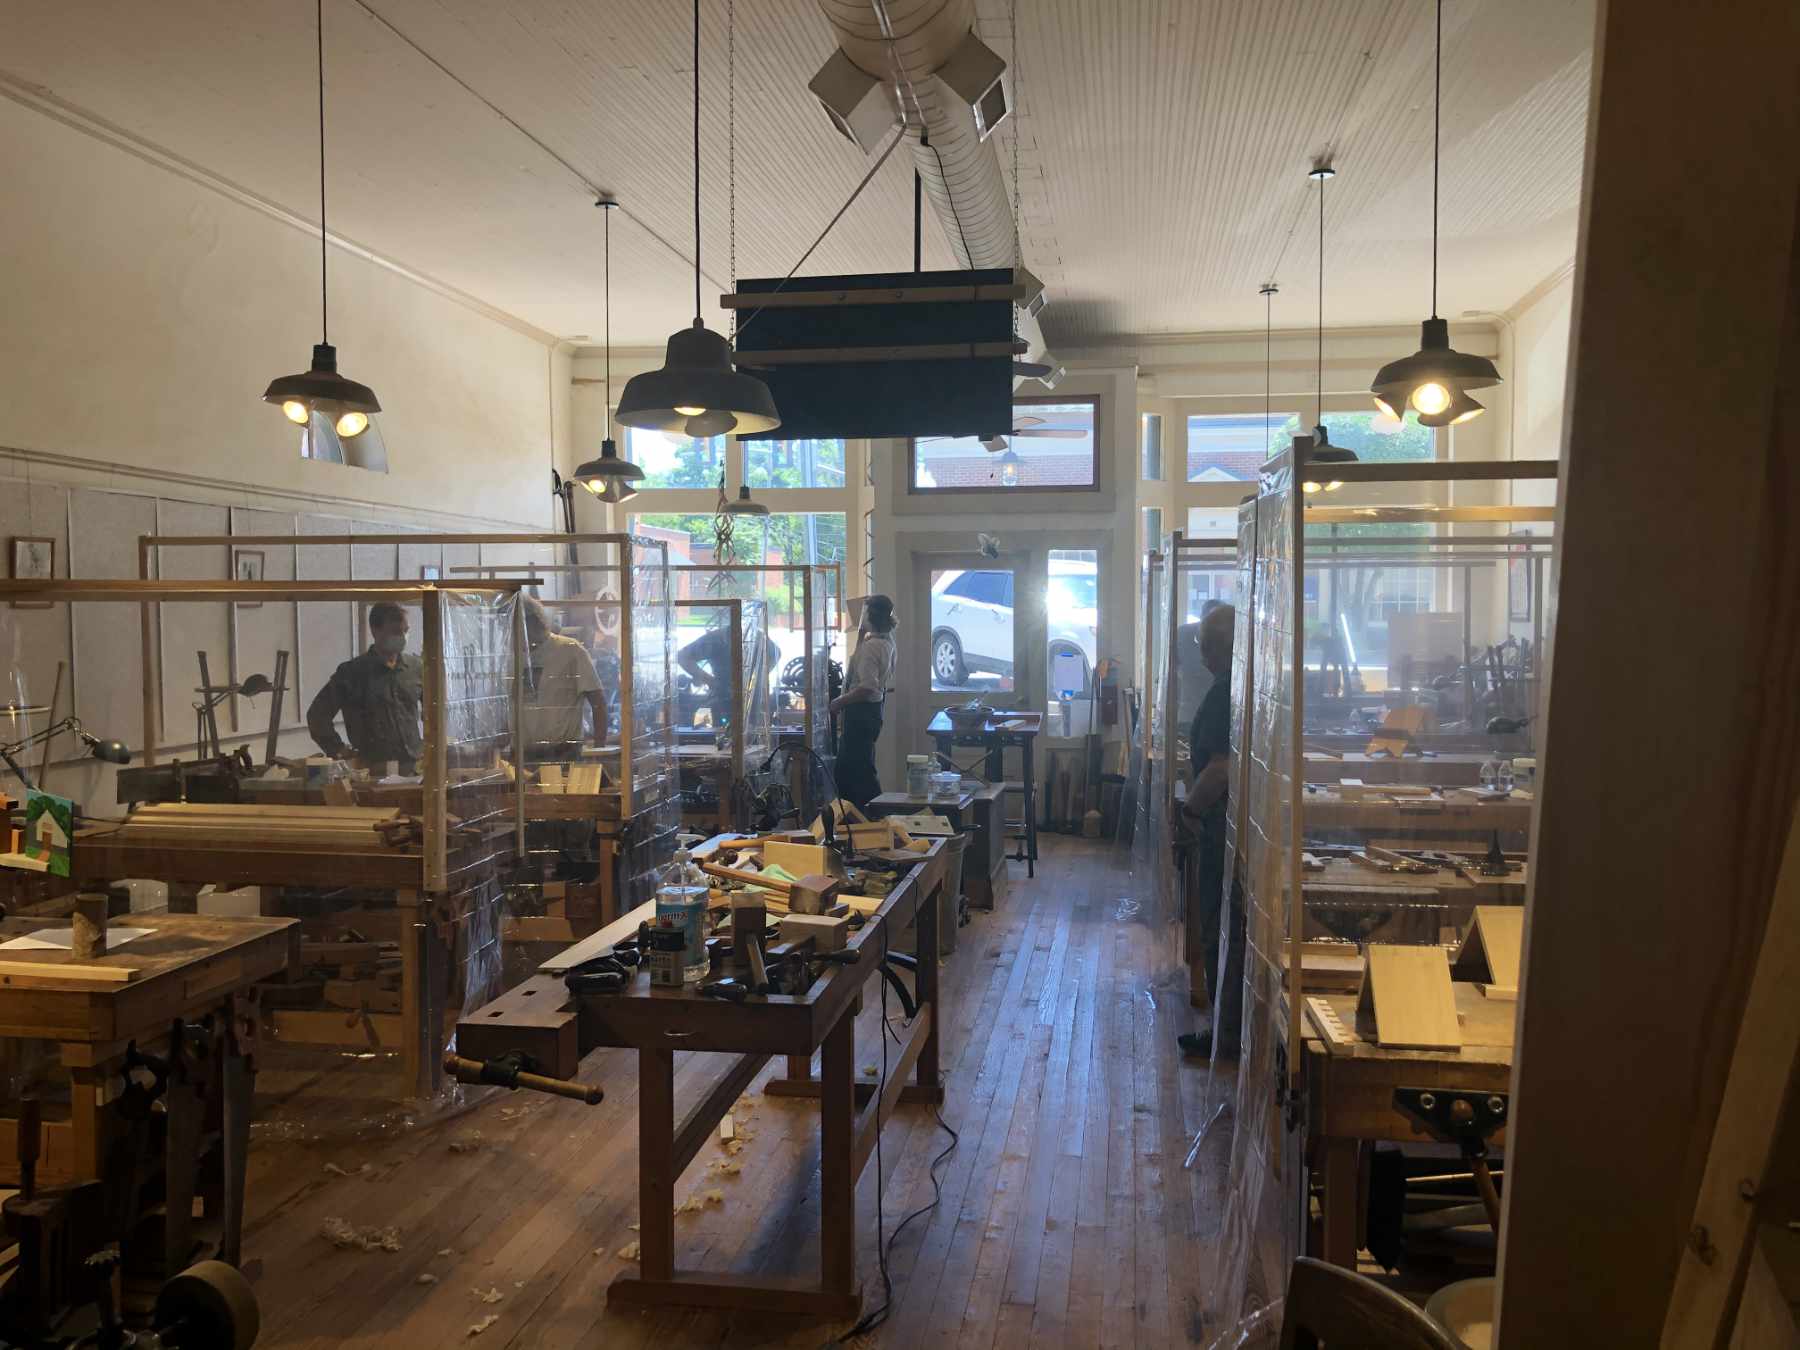
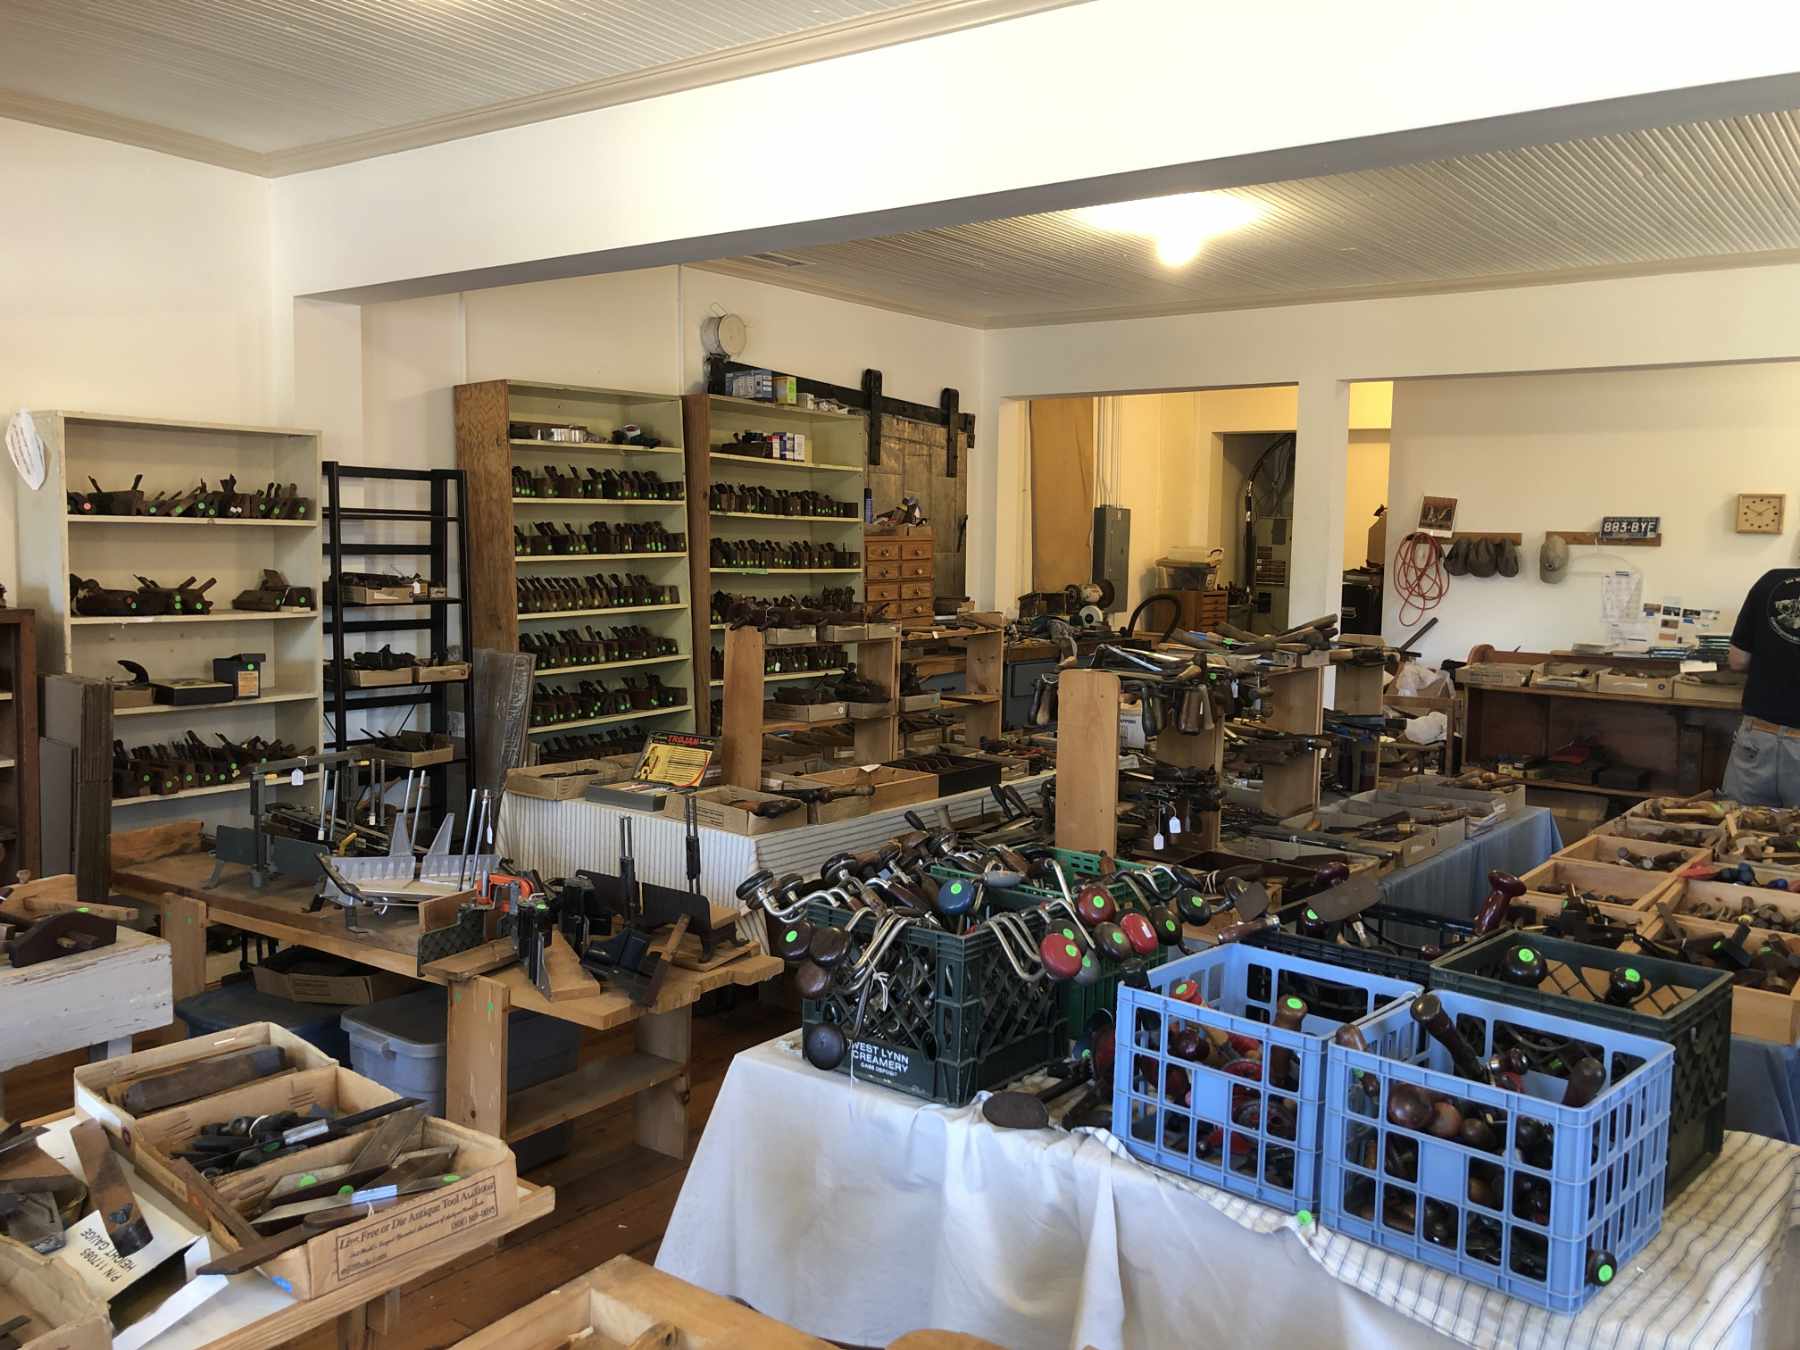
While I was able to travel to The Woodwright’s School in June for classes with Roy Underhill and Cara O’Connell, the whole experience was a bit surreal. Roy and Cara did a great job given the circumstances. Ed Lebetkin’s tool store, located above the school, was open to those of us in classes. This place is like a candy store for woodworking tools. I ended up leaving with a new rip panel saw, a 6 inch Starrett combination square, and a small incannel gouge. On the way down to Pittsboro, I stopped in Thurmond, WV, a ghost town in the bottom of the New River Gorge. The thing is, most of the places I drove through felt a bit like Thurmond – eery and abandoned. I stayed at the Celebrity Dairy, bed & breakfast and working goat farm, located between Siler City and Pittsboro. Fleming and Brit were wonderful hosts.

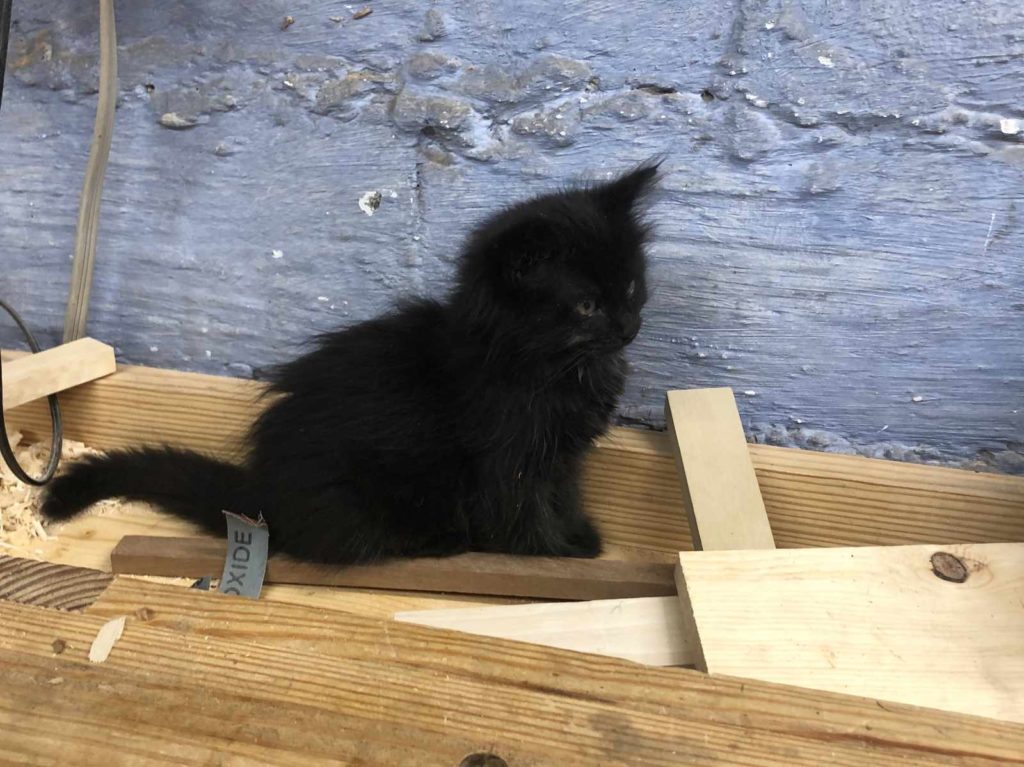
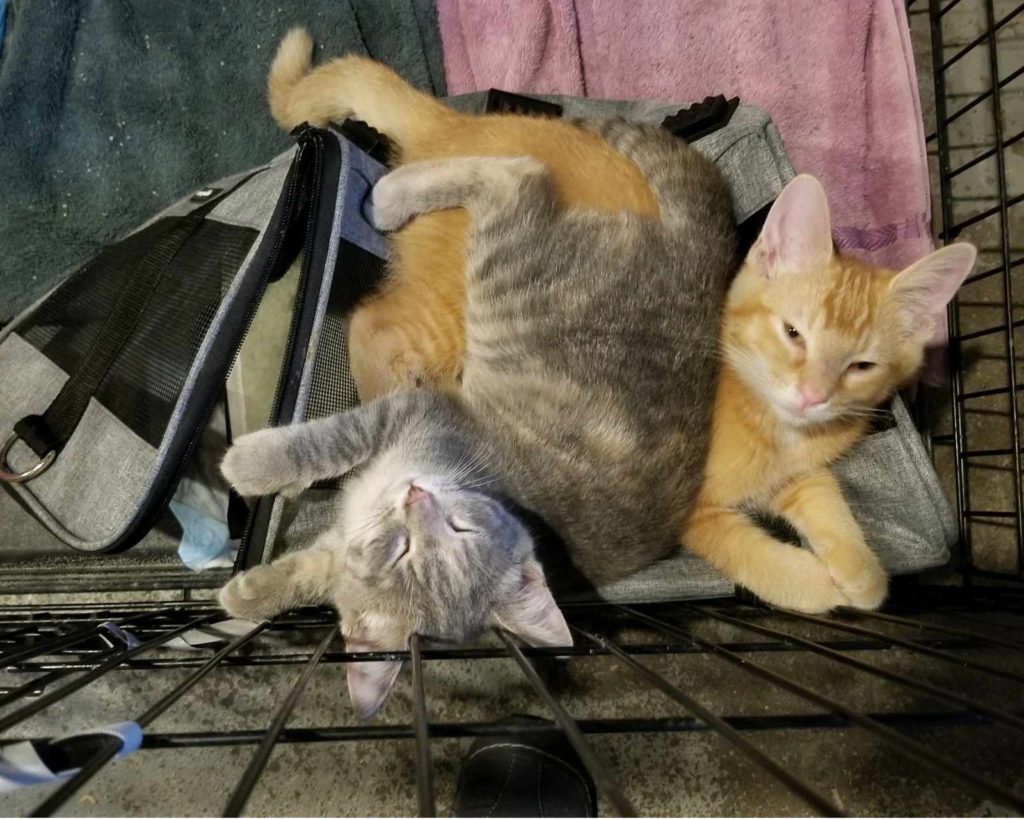
As if the heat this summer weren’t enough to keep me out of the workshop, we also embarked on Operation Kitten Fixin’ in May/June. The feral colony in our back yard produced four kittens this year. The process of trapping them, getting them fixed, and in the case of three of the kittens, socializing them, took a lot of time (and I wasn’t even the person who was doing most of the work!). I’m happy to report that three of the four kittens are now in their forever homes. One of them was captured a bit too late for socialization. The adult cats (minus one who has an appointment coming up) in the colony have also been trapped and fixed. With luck, no more kittens for at least a few years.
I have been able to build a few small projects on the lathe, including some coasters, a ring box, and a small vase. I haven’t taken photos of the coasters as I never applied finish to them. They are doing duty right now, but they really should have received a coat some sort of finish. I have some ideas for doing sets of these, including adding colored resin, but that’ll wait for another day.
The ring box was made during a period of shop cleaning and organizing. I’d started on the box at some point at least a year ago and never completed it. I’m still in the process of figuring out the best way to handle the interior foam/ring holding.
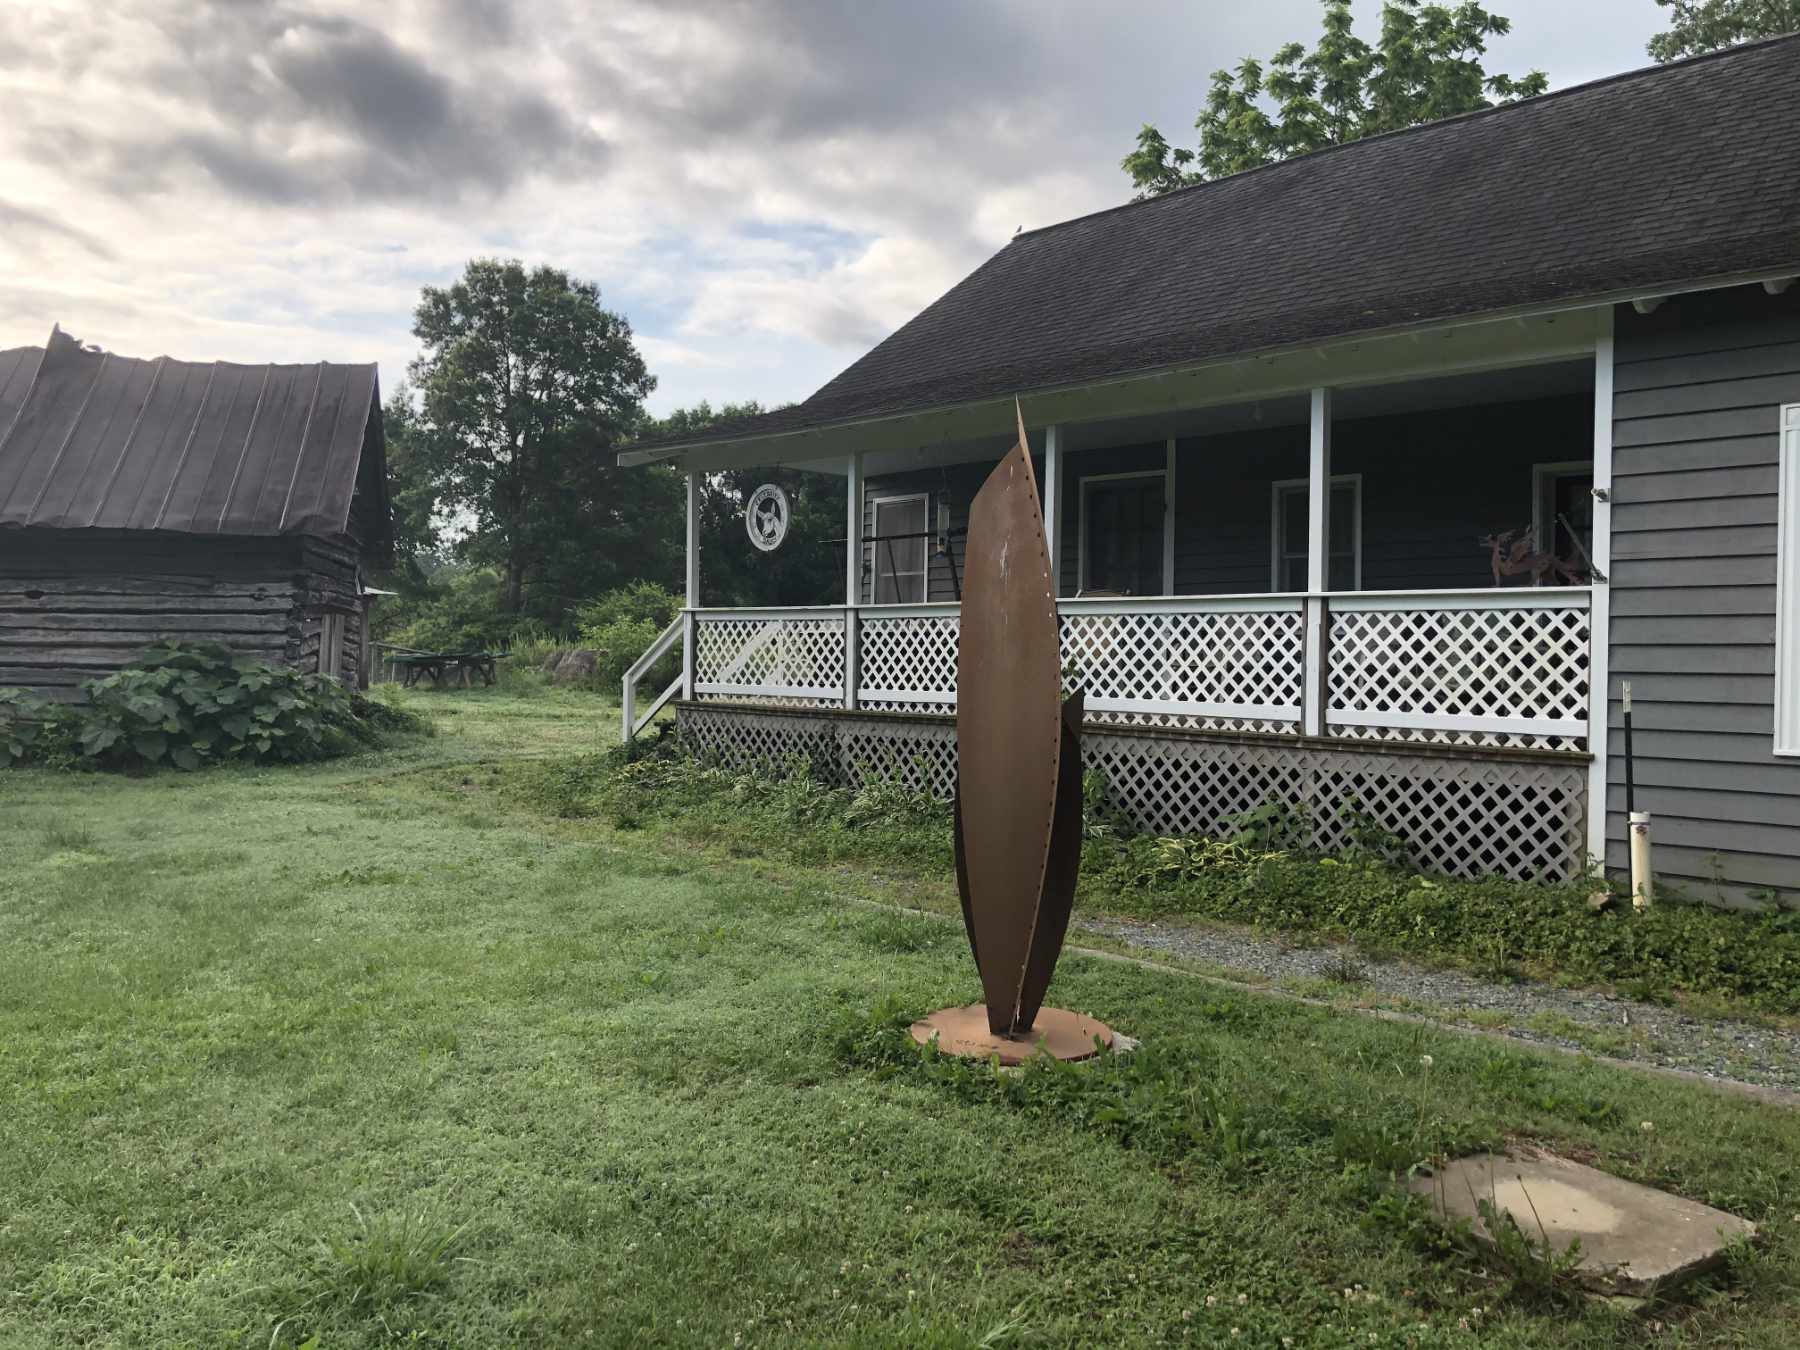
The vase was a bit of an experiment. I had a free day where the temperature in the shop wasn’t atrocious. I also had a scrap offcut of some ash that I had glued up (I can’t recall the original piece). It was a nice enough first go at the form. I painted the base with an oil paint mixed with boiled linseed oil. Danish oil was used for the top finish. The phrase “watching paint dry” clearly refers to oil, not modern latex, paint. Either way, it turned out well and is currently living on our front porch.
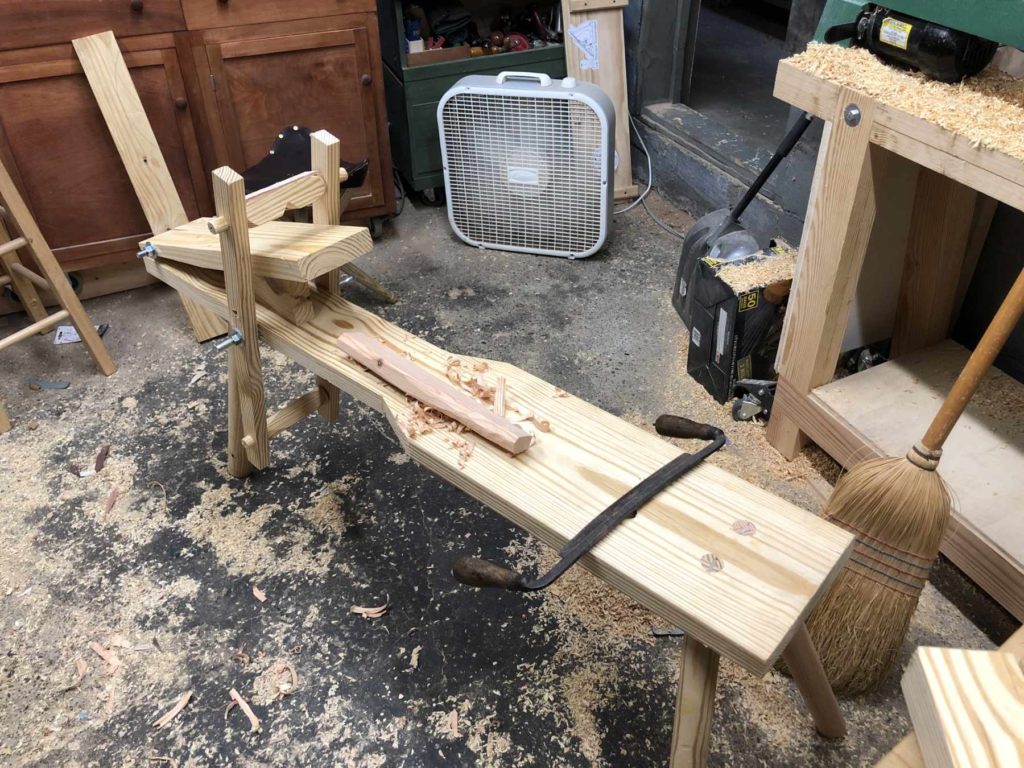
After my return from Pittsboro, and having taken a class on Slyod and green woodworking, I was inspired to build a shaving horse. This based on plans I found from Peter Follansbee, though I used only three legs instead of four.
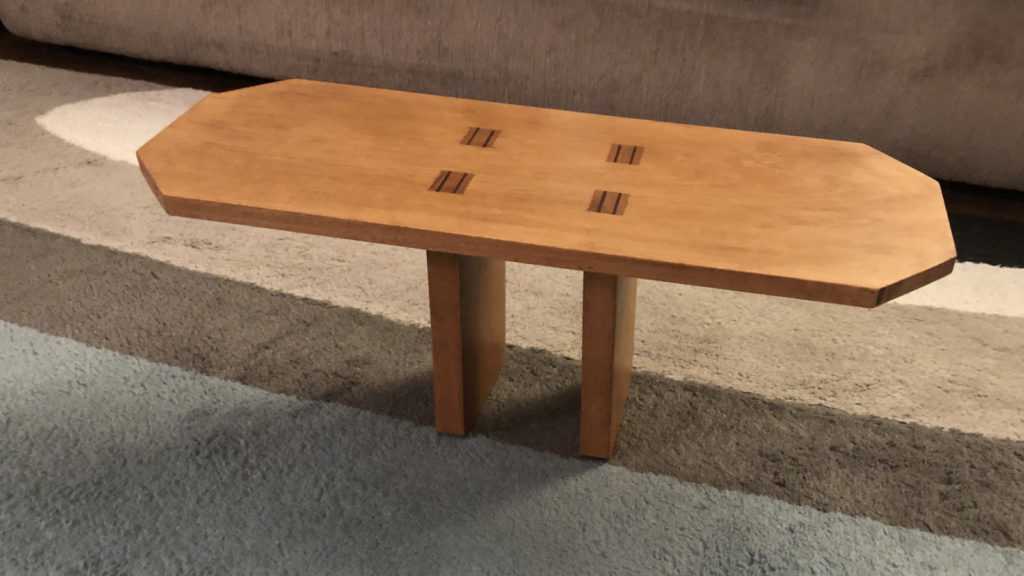
In addition, I designed and build a seiza bench. The bench is about 7 inches off the ground and angled forward slightly. The bench is made from beech with sapele wedges, finished with black wax and danish oil. The seat is an oblong octagon, with an underbevel to reduce its visual weight. The legs are set into shallow mortises that house the full width of the leg. Each leg is further secured with double-wedged double tenons. The shaping of the seat, as well as adjustments to the angle of the legs was a fun exercise. I have some beech left over and may make a small table to match.
So that’s about the long and short of Wave I of the 2020 pandemic. With luck, the fall and winter will be much more productive and much less devastating for the world.