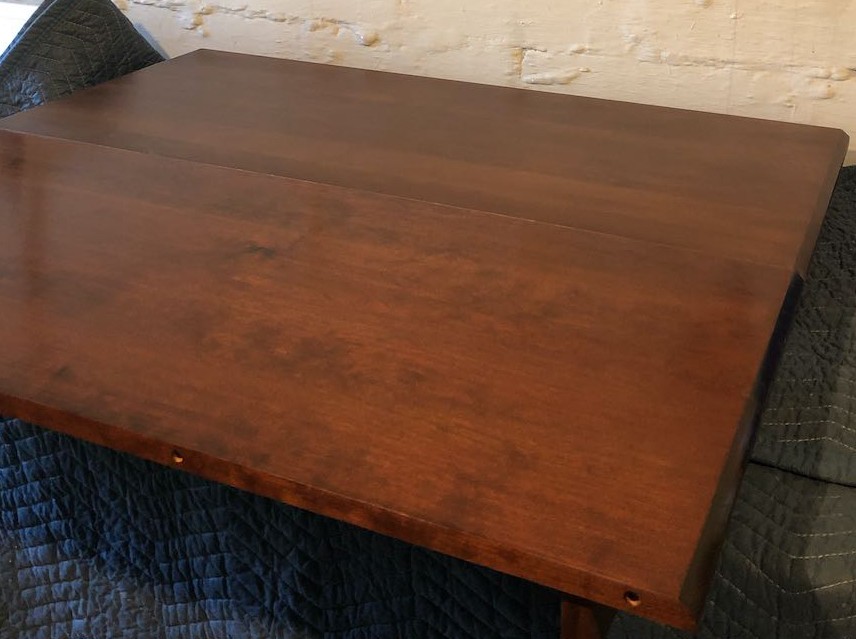
I recently took on a project involving the building of a dining table insert. The fabrication part of this table was fairly straight forward. The client provided me with their current table insert for reference during the build. The original insert is about 18 inches wide and 42 inches long. The ends had 40 degree bevels and cross-grain braces were screwed to the underside to prevent cupping.
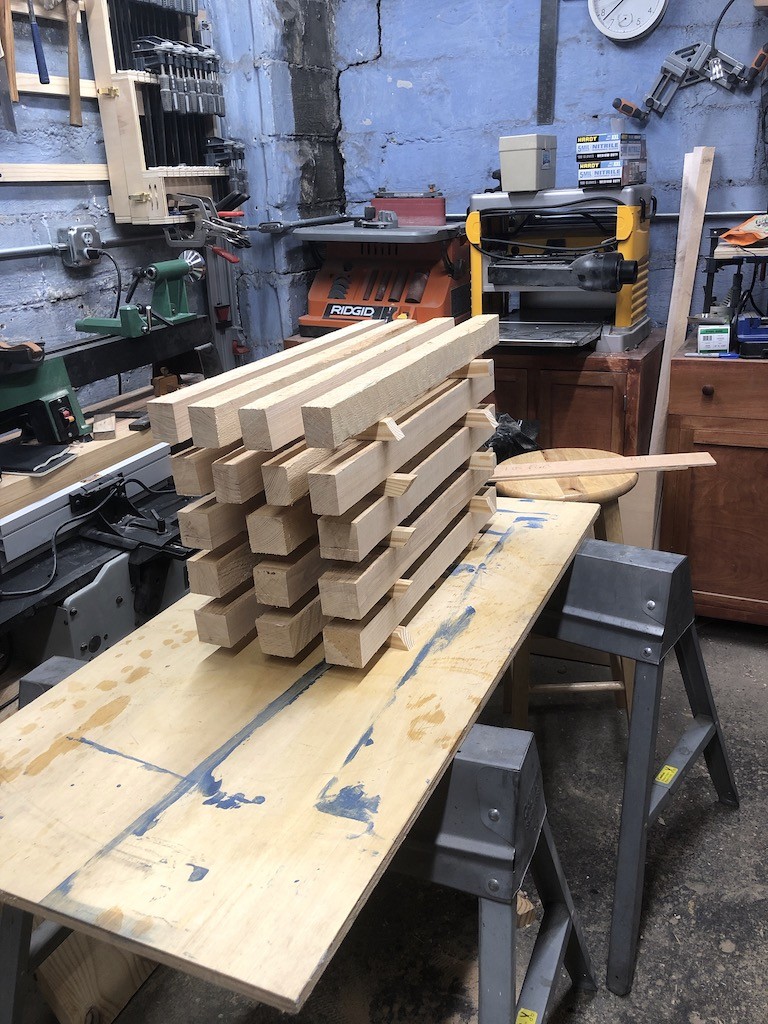
After letting some 6/4 cherry acclimate to the shop, I started the process of milling it down to the 13/16 final thickness. I performed this milling over the course of about a week, re-flattening a face each day and taking a bit more material in an effort to allow the wood to full stabilize.
From there, it was just a matter of gluing up the strips of wood, taking extra care to ensure a good alignment of boards. (Patience is a virtue at this step. I went to fast on the first try and ended up with a center glue line that needed to be sawn apart and redone). Once the glue was hardened, I took the top back to the workbench and scraped off excess glue lines. The top was then trimmed to final width.
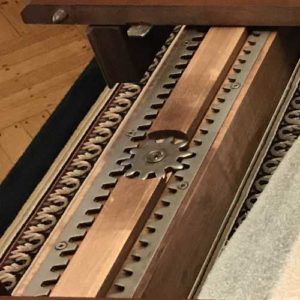
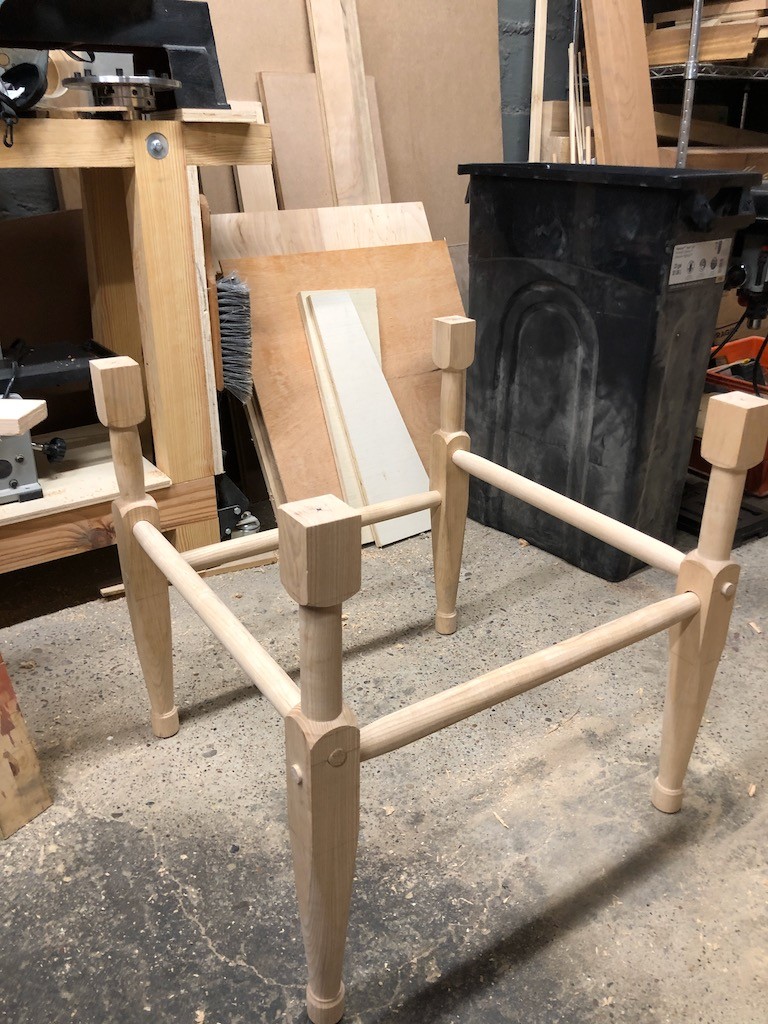
Trimming to final length was a bit more involved. If you haven’t seen or used a dining table that can extend, it’s worth understanding how the pieces all fit together. The most common mechanism for these tables is a gear-based slide. The slides are attached to the table base, and the two halves of the top are attached to the slides. When pulling the table from both ends, the top will pull apart allowing space for inserts to be added. How is everything aligned? With holes and pegs.
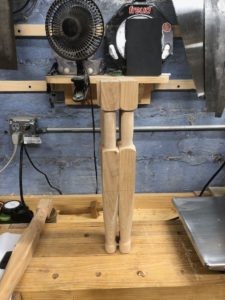
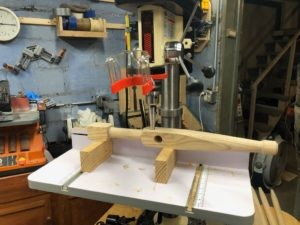
To make sure that everything would match up, I wanted to drill the locating holes in the edges before trimming the top to final length. I don’t usually write about woodworking products, but this one deserves mention. Milescraft makes a product called the JointMate.
The JointMate is a doweling jig that has a number of unique features. Like most doweling jigs, it has metal guide bushings to ensure a 90 degree hole. However, it can self-center on a board edge using four pins and rotating the jig, rather than having to use a screw-based system like other self-centering jigs. I didn’t need a self-centering mechanism for these holes. Instead, I needed to be able to use pre-existing holes to set the location on this new piece. To do that, the JointMate has both an adjustable fence and a pin alignment guide. You know you’re drilling in the right place because you’ve set the fence based on the original hole. You know you’re in line with the old holes because you slide the jig up to the old holes with the old and new piece clamped together. It’s an 11 dollar tool and is just brilliant to use.
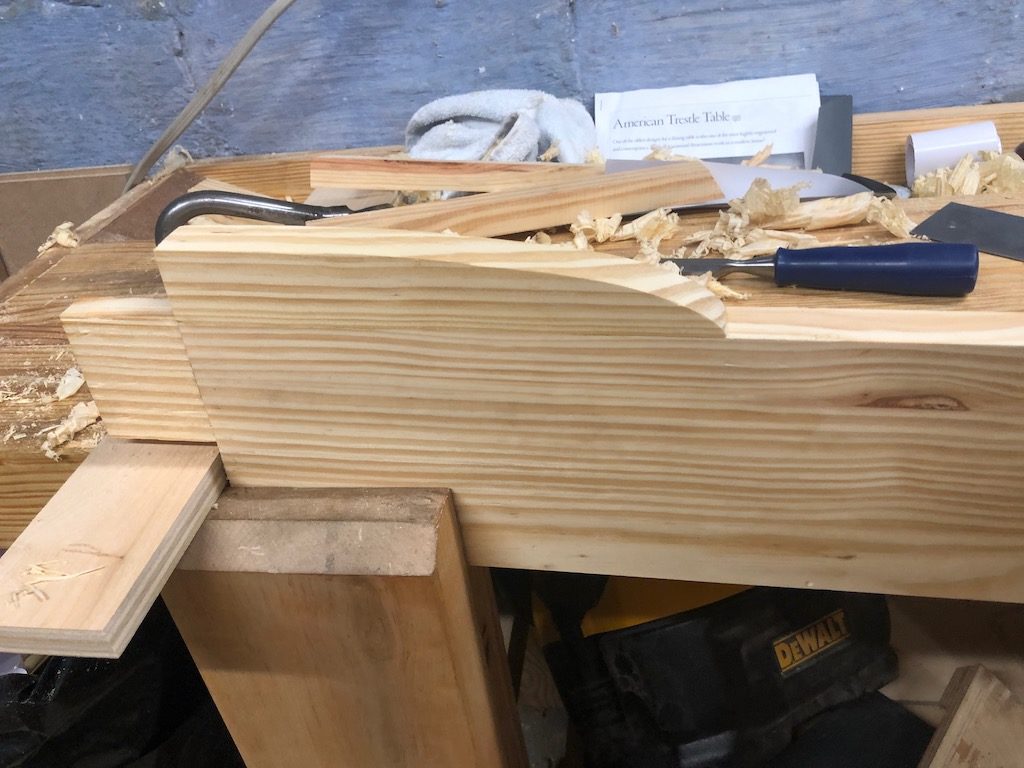
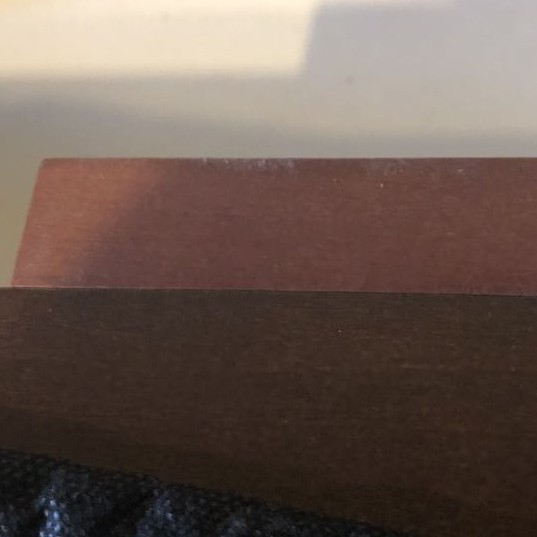
With the peg holes drilled, I was able to put the tops together and mark the exact cuts for the length. Following trimmer, I then started the process of sanding the top to 320 grit. Slow passes up and down the boards ensured a nearly glass-like surface. The cross-braces were also sanded at this time. I also took the time to fabricate a piece of moulding that adorns the edges of the cross-braces.
The hardest part of making a piece to match someone’s existing furniture is the nature of wood and color. Unless you were the person who made the original piece, and saved documentation of your finishing and coloring regimen, it’s a trial and error process. Even if you can perfectly match a color today, the wood (particularly cherry) will darken over time, altering the color further.
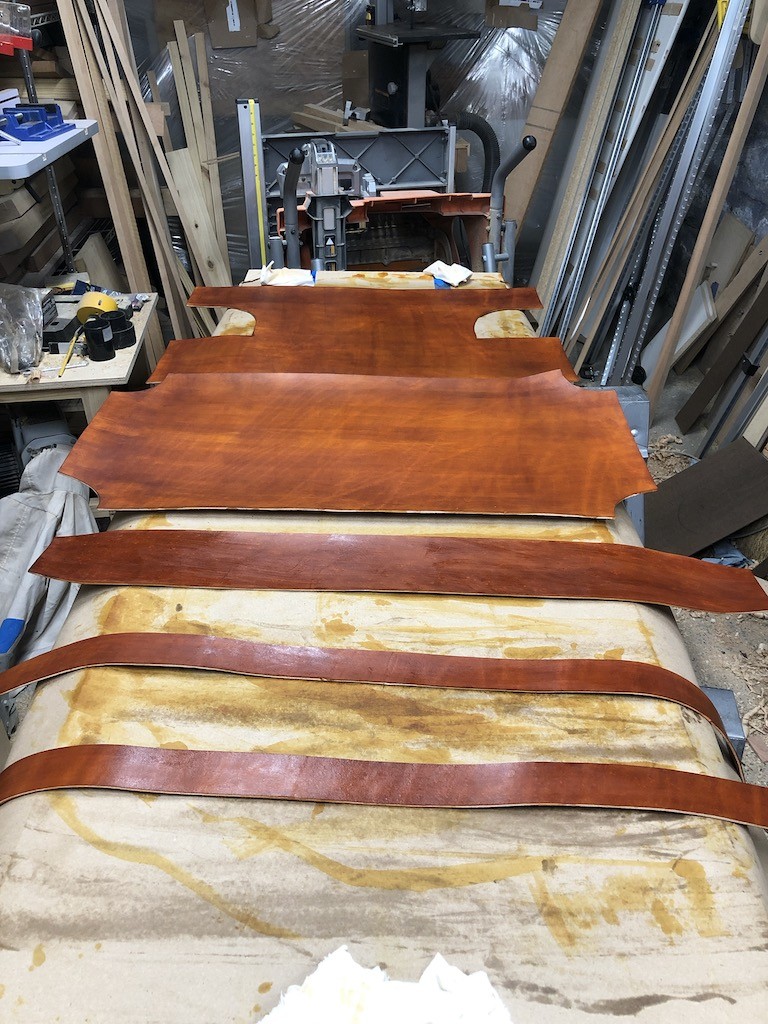
I decided to attempt to match the current color as closely as possible. Rather than using a stain, which sits on top of the wood and hides the grain, I prefer to use water-based wood dye made by TransFast. I started by using a cherry dye that I had mixed awhile ago to give me some reference on the color. The existing top was much, much darker in color, necessitating mixing 5 additional samples of various coloring and darkness using the Dark Red Mahogany and Java dye powders. When colors appeared close, it was then necessary to start applying a topcoat to the sample boards to see how they would be affected by the wiping varnish. In the end, the color ended up being a near-dead match.
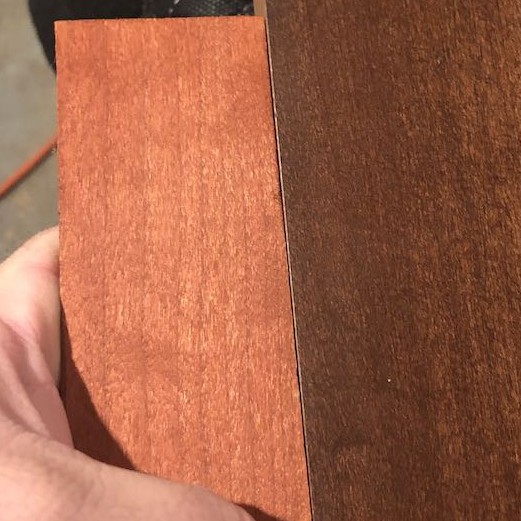
This is a cherry-dyed sample board. Much too light. 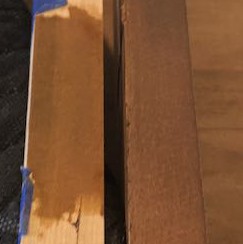
What followed was a series of successive color samples. 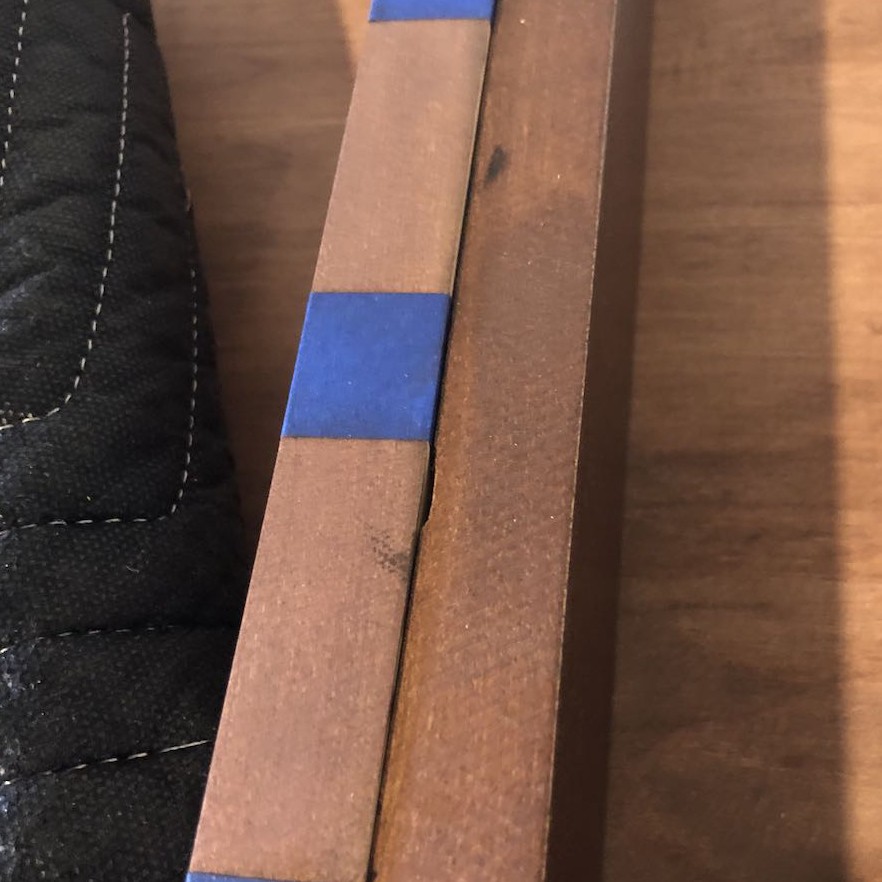
I tried different dyes in different strength levels. 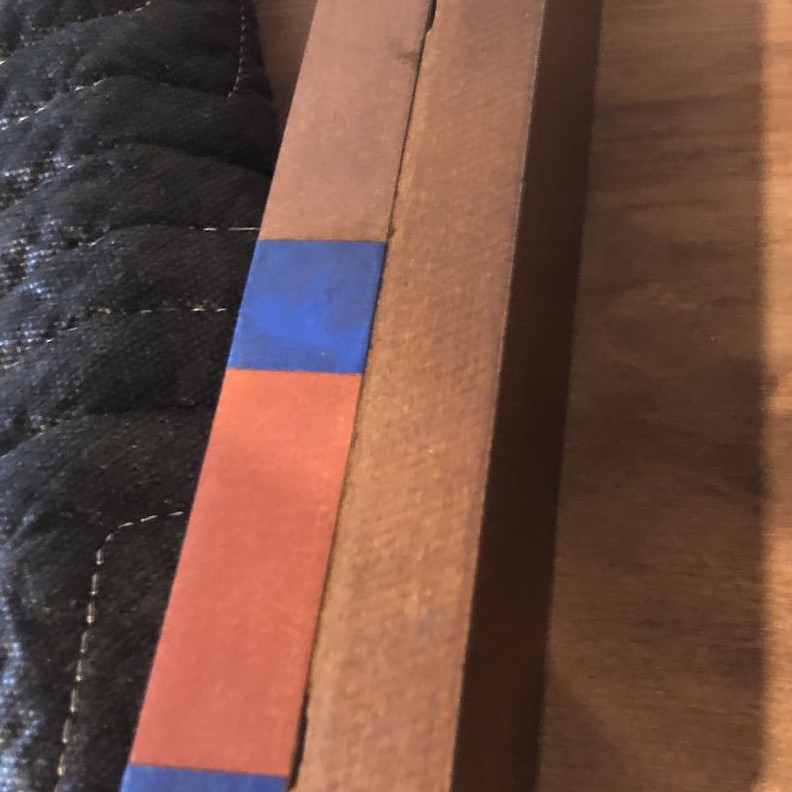
I then started to adjust the dye mixes to pull in the underlying red and brown. 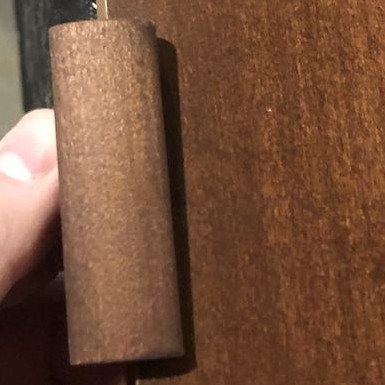
This piece of moulding was close, just a bit darker.