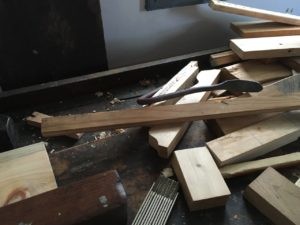
I’ve been turning the post for the chess table inefficiently. I’ve generally done one step at a time on the post: bringing to round, turning the tenon, cutting down the area that will receive the sliding dovetails, etc. Unfortunately, I bungled the layout and won’t be able to use it in the final table.
Since all wood is good wood (so far), I decided to use this piece as a chance to practice skew work. Long planing cuts were the first place I practiced, cleaning up the long sweep from the widest part to the neck before the tenon. There are a few knots in the piece that give off a great Christmas tree smell every time I hit them. What is most amazing is that even those knots feel perfectly smooth after planing cuts with the skew. This is a very versatile tool.
The initial surface left by this was great, even in the fir. Next, I wanted to be able to turn some coves and beads. As this is an area that I’m not particularly comfortable with (skew catches are no far), I decided to see about getting some instruction on the tool.
Luckily, I have an on-call turning instructor called YouTube that is always happy to provide some one-on-one-million teaching assistance. I found this excellent video from CraftSuppliesUSA: The Skew Chisel with Allan Batty.
After watching the video, I had a go at a few beads, v-cuts, and more planing cuts. I couldn’t quite get the feel for beading with the skew, achieving both catches and tear out. That means only one thing: time for more practice is needed.
I brought a fir 4×4 down to round this morning. I need to sit and sketch out the pattern that I’d like for it, including taking measurements from the article I am working from to lay out for the top tenon and the bottom sliding dovetails.
The blank was roughed out with a 1″ spindle roughing gouge. I then decided to get some practice with the skew chisel. Taking a 1″ skew to it, I immediately had a catch and tear out. I’m not too worried about it as I have at least a few more blanks worth of the fir that is nice and dry. After resetting, I continued to use the skew and was able to get fantastic curly shavings. While the round blank is clearly nowhere near a finished state, I found that the skew leaves a fantastic surface with minimal tearout. I’m going to try to use it as the primary tool for this first turning to get more practice with the tool.
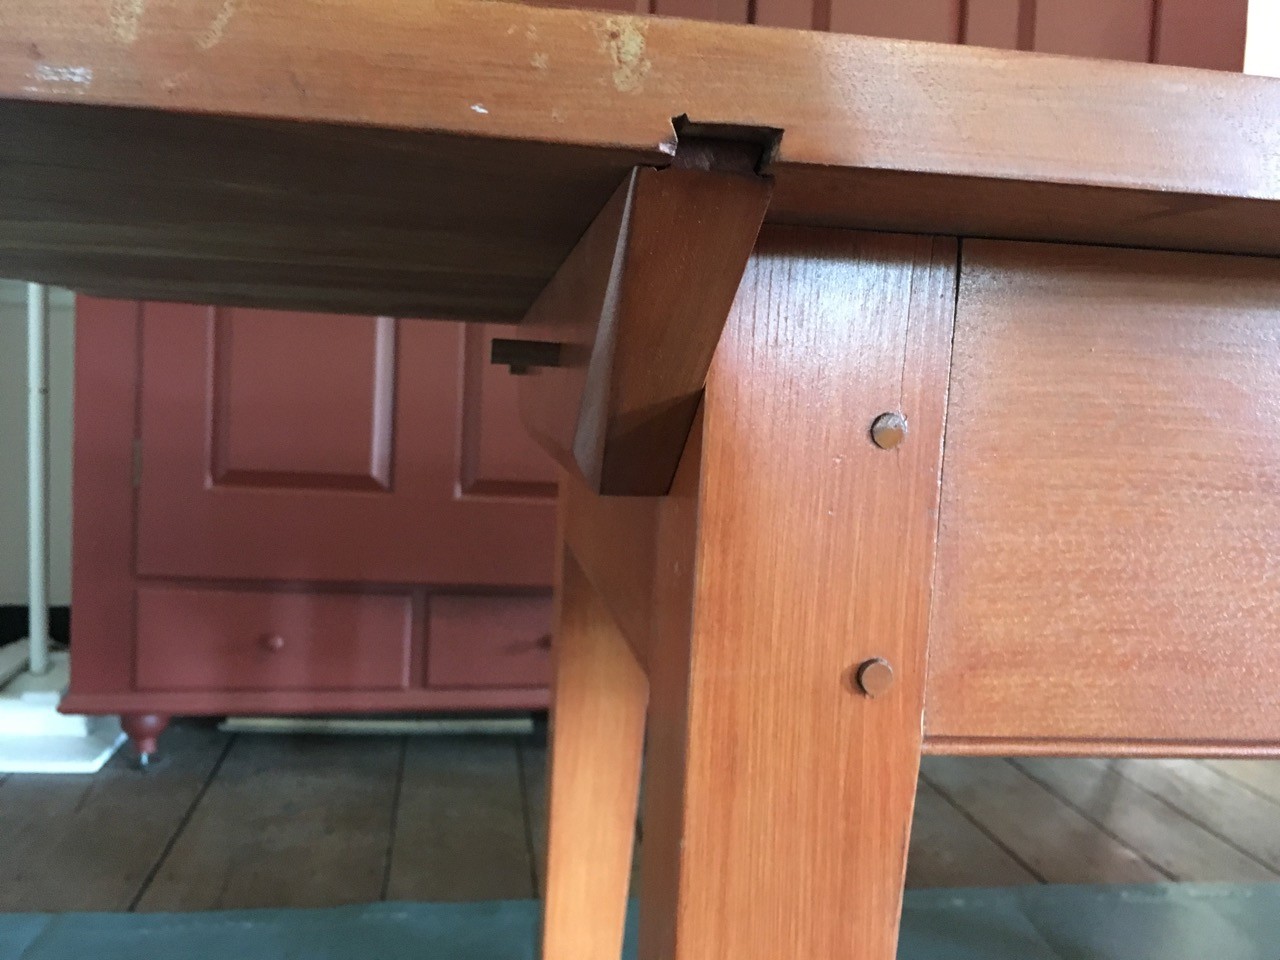
Workbench
I stopped at Rockler this afternoon and picked up a bed extension for my lathe. It will give me the ability to turn 39 inches between centers when attached. This will be great for making a campaign chair and stool in the future. However, I have run into a bit of a problem. While it gives 39 inches between centers, it needs a wider workbench to sit on. That means that my current workbench (48 inches) is not going to cut it.
I initially thought that I would build a dedicated bench for the lathe (using a similar design to the saw bench I build a bit over a month ago). However, I’ve been thinking of building a new workbench for some time and this is probably a great reason to build a new main bench.
As I work in a narrow one-car garage, a proper 8 foot bench is out of the picture. The garage is about 9 feet at its widest. I’m considering a bench between 5 and 6 feet long (which would leave only 18 inches on either side if build to 6 feet) and 20 inches deep. After working on a number of projects so far, I’ve found that my current depth of about 30 inches is unneeded. The space at the back of the bench is just about never used for any operation. It usually just collects tools and shavings or allows me to be lazy and not put the lathe away when not in use.
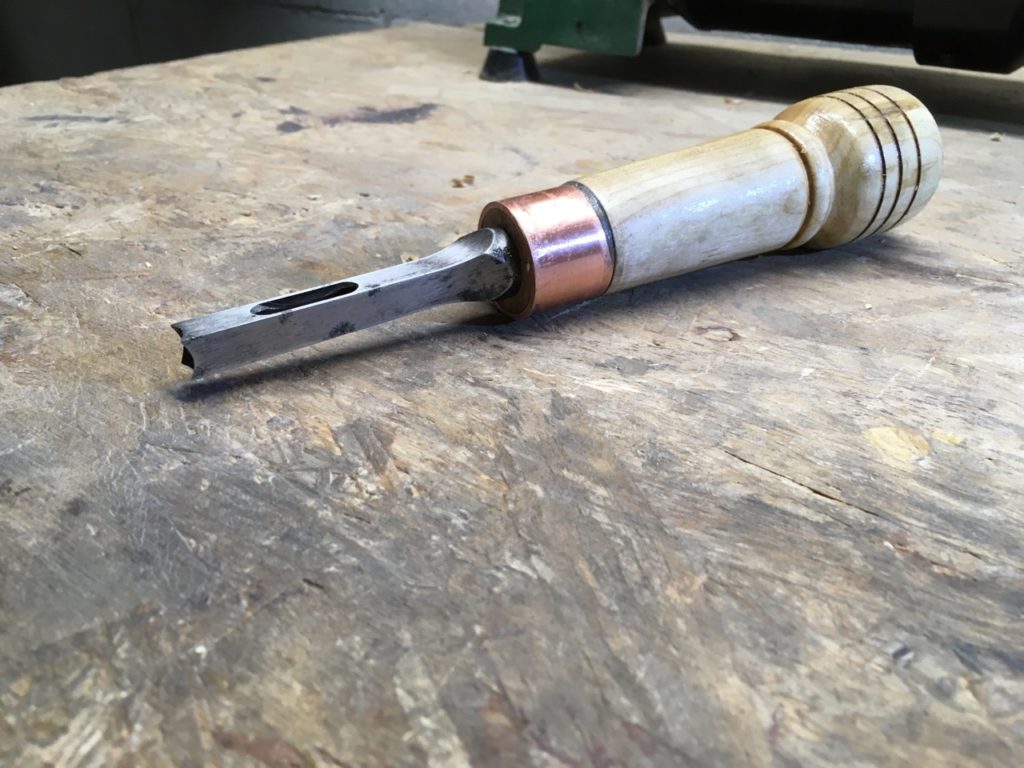
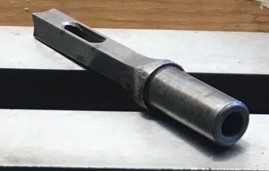
Earlier this year, I rescued a hollow mortise chisel bit from a garage sale that we held at my parents’ house. This tool had been hidden away in a tool box for a number of years. It cleaned up quickly with some steel wool. A file put a nice edge onto it. The only thing left to do was to add a handle to it so that I can be put back in service.
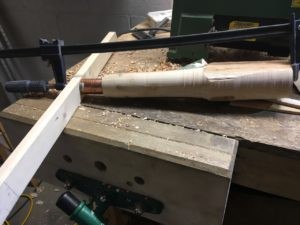
I have a few pieces of firewood left over from a camping trip earlier this year. I am not sure of the species, though I suspect it may be cherry based upon how the heartwood had darkened while it was sitting in the workshop. I started by splitting the piece and attempting to square it up with an ax. One end was fairly close to square, however the other end remained more like a pentagon. Figuring that was close enough to be put to the lathe, I chose the smaller/squarer end as the side that would receive the ferrule and mounted it to the lathe.
The wood was roughed down to generally round. Then I used calipers to take an inside diameter measurement of the piece of copper pipe I used as the ferrule. After locking that down, I was able to take a parting tool and the calipers to bring the end down to the proper width.
I removed the wood from the lathe and fit the ferrule to the wood. Unfortunately, I had slightly undersized the tenon. That was easily fixed with some adhesive. I applied adhesive to the tenon and fit the ferrule on. I then tool an equal diameter piece of pipe and placed it on top of the ferrule with a scrap on top as a caul. This was then clamped up to let the adhesive set.
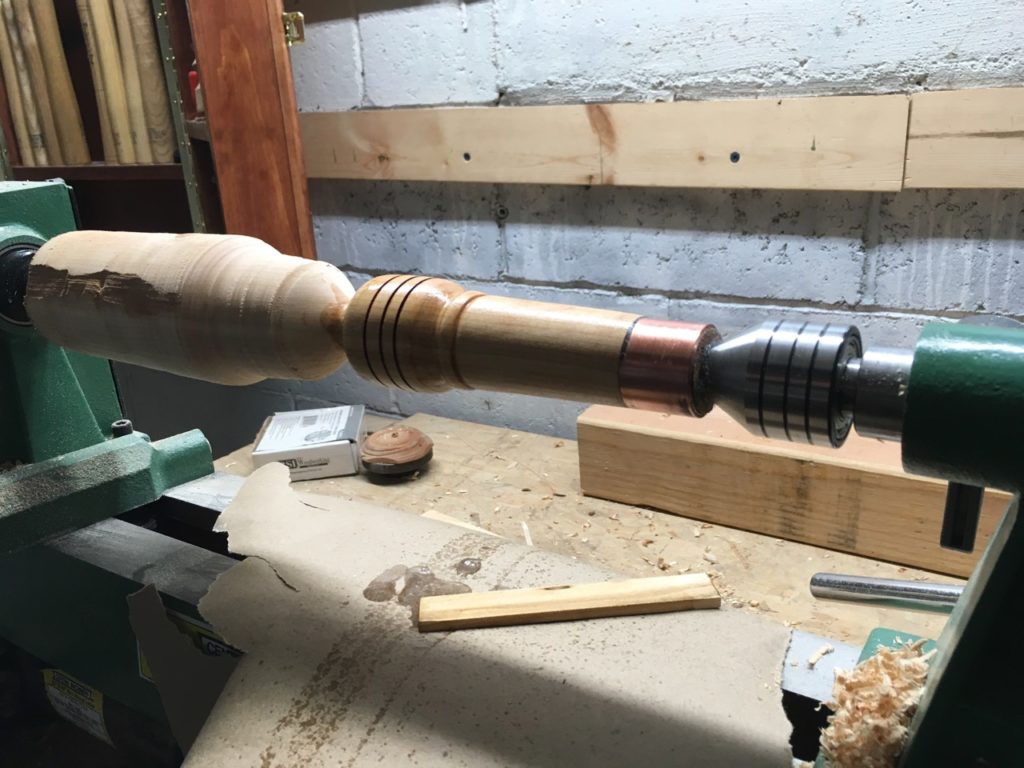
After adhesive set, I remounted the spindle and began shaping the tool with a spindle gouge. As the ferrule and chisel are rather large, the handle looks a bit oversized, almost like a microphone.
Of note, remounting the blank to the lathe resulted in a slightly different balance. You can see it in that there is a slight lip on one side of the ferrule on the finished piece. I read a fantastic tip in Fine Woodworking not that long ago and decided to follow it today so that I won’t have this issue in the future. The tip is to notch one spur on the drive center with a file. This will allow you see how the spurs were aligned with the work when you need to remount the piece. I only wish I had remembered that before starting this project today.
Sanded to 320 with shellac and wax added to the outside. The chisel was fitted in and holds nicely. Now I just have to put it to work cutting some mortises.
I didn’t have a chance to spend much time in the shop today. What time I had was spent checking lumber stock and testing some of the auger bits that I have recently restored.
Testing bits
However, I was able to test an expansion bit and a no 13 Irwin auger bit with my brace after having cleaned them up a few days ago. Both of those bits have rather large square tapers that barely fit into the chuck of the brace. They cut nicely when I was finally able to chuck each of them up. I’ll sharpen them when I have a bit of time.
Chess table project
I will need to make a trip to a lumber supplier for this table project. I had a chance to look through the wood I have available. I would like to make the top, drawer fronts, and legs out of maple. Unfortunately, I do not have nearly enough of the ambrosia maple I had been saving for all of those parts. I think I have enough to do a three board glue up for the top only.
I have a fir 4×4 that I would like to use for the post. It is leftover stock from building a cat tree about four years ago. I already did a rough cut to 18 inches. It’s nice and dry. I’ll have to chuck it up tomorrow and see how it turns.
The following appears to be my cut list for the project:
Item
Length
Width
Depth
Number
Wood
Top
20″
18″
3/4″
1
Maple
Legs
9 1/2″
10 3/4″
3/4″
3
Maple
Post
18″
3 1/2″
3 1/2″
1
Fir
Center Cleat
16 1/4″
2 3/4″
1″
1
Maple
Side Cleats
16 1/4″
1 1/2″
1″
2
Maple
Draw Fronts
5″
3 1/2″
1/2″
4
Maple
Drawer Sides
16 1/4″
3 1/2″
3/8″
4
Maple
Drawer Runners
16 1/4″
3/8″
3/8″
4
Maple
The original plans had called for using pine for the top and drawer sides. I may still do that. I’ve made the top thicker than indicated in the FWW article as I’ll be inlaying a chess board of 1/16″ veneer. The original had called for a 9/16″ top rather than a 3/4″ top. We’ll see how that progresses.
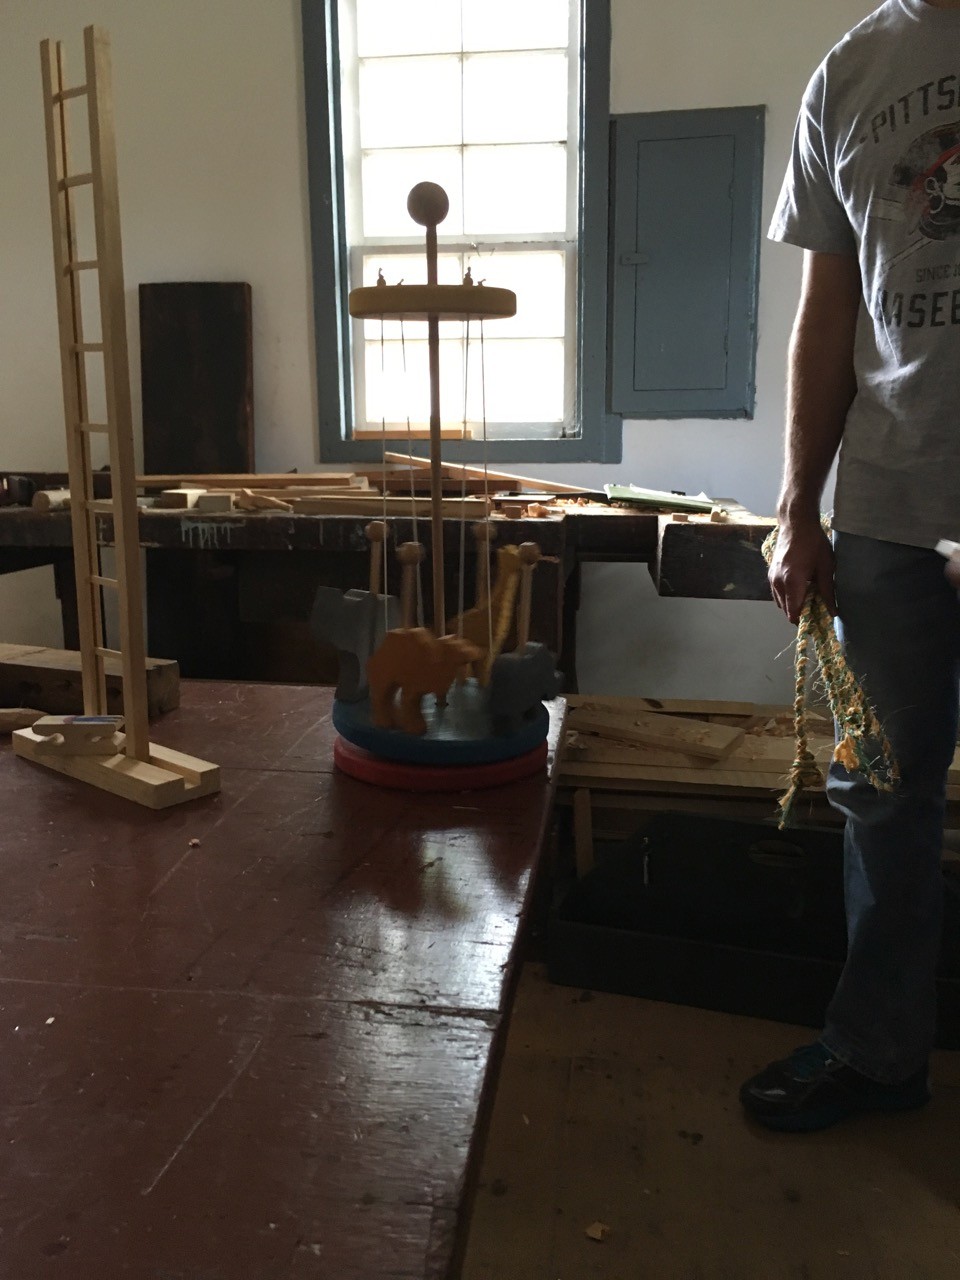
I have been meaning to pay a visit to Old Economy Village for a while. This was the third home of the Harmony Society. The Harmonists were a religious society, founded by George Rapp, that separated from the Lutheran Church in the late 1700s. Eventually, Rapp emigrated to the United States and was jointed by 800 of his followers. They established three communities, first in Harmony, Pennsylvania, then in New Harmony, Indiana, and finally in Old Economy, Pennsylvania.
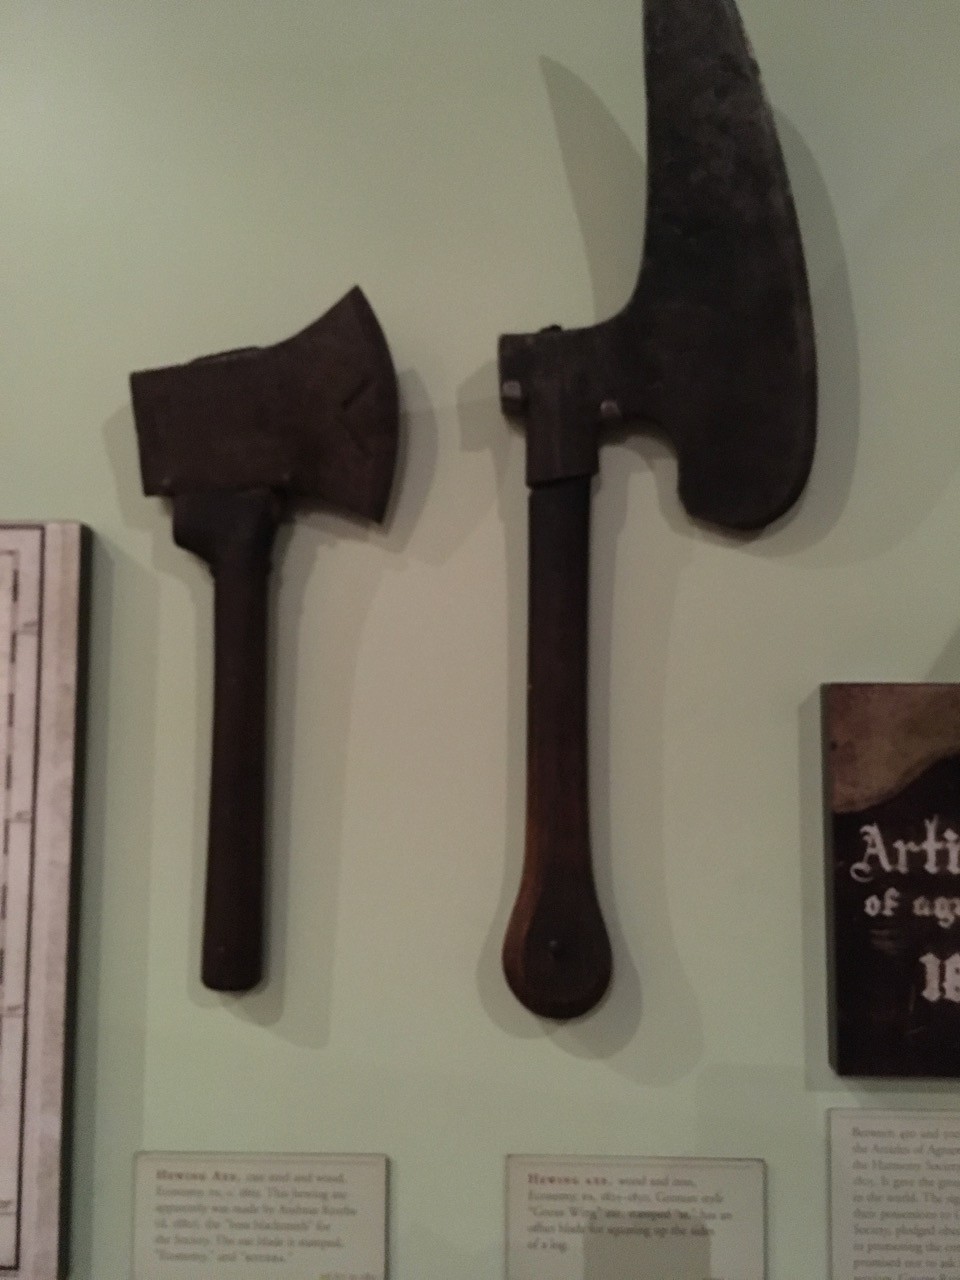
By 1825 they had constructed textile factories powered and heated by steam engines. They built shops for blacksmiths, tanners, hatters, wagon makers, cabinetmakers and turners, linen weavers, potters, and tin smiths, as well as developing a centralized steam laundry and a centralized dairy for the community
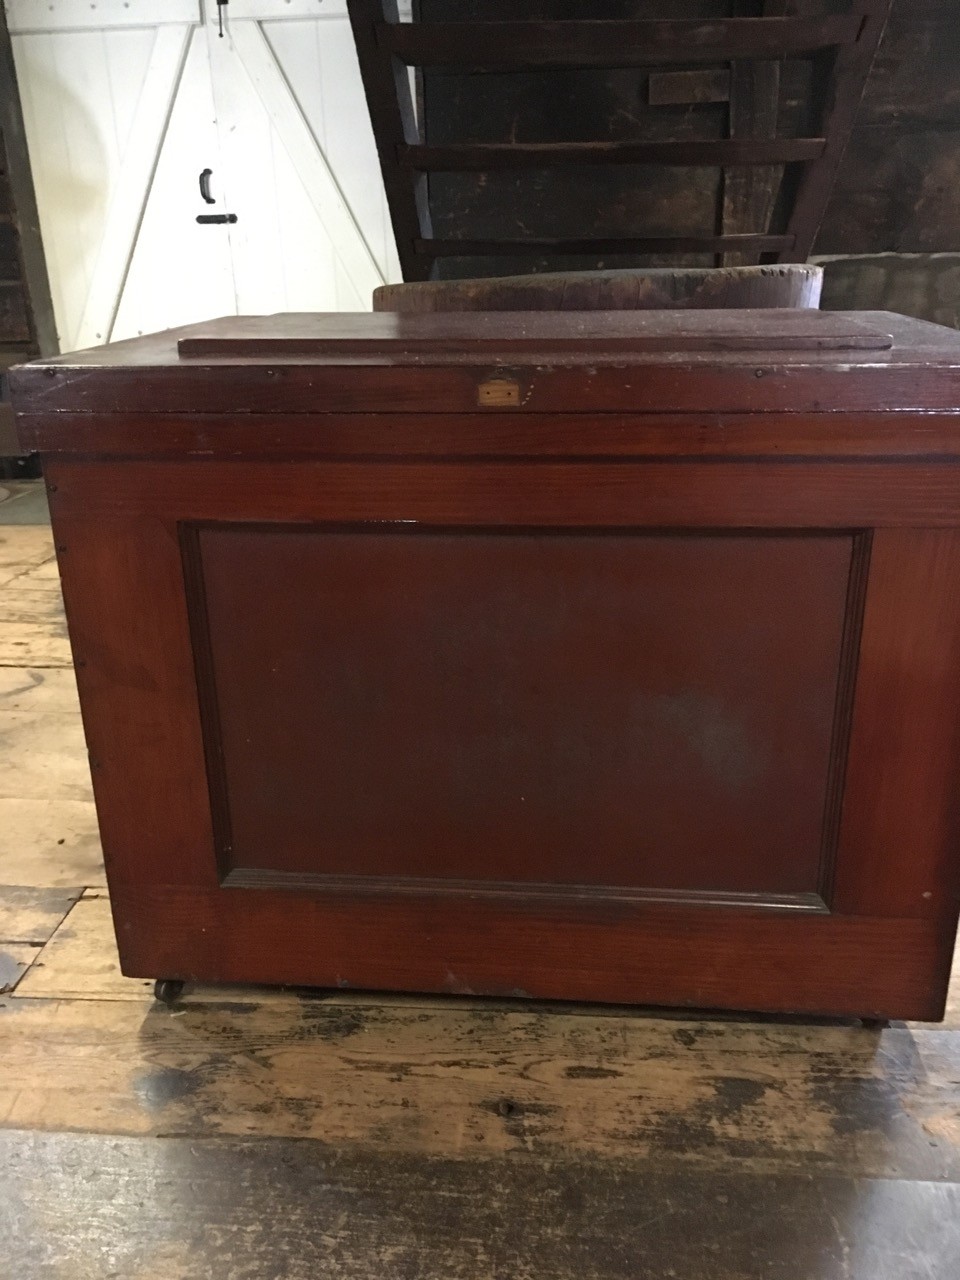
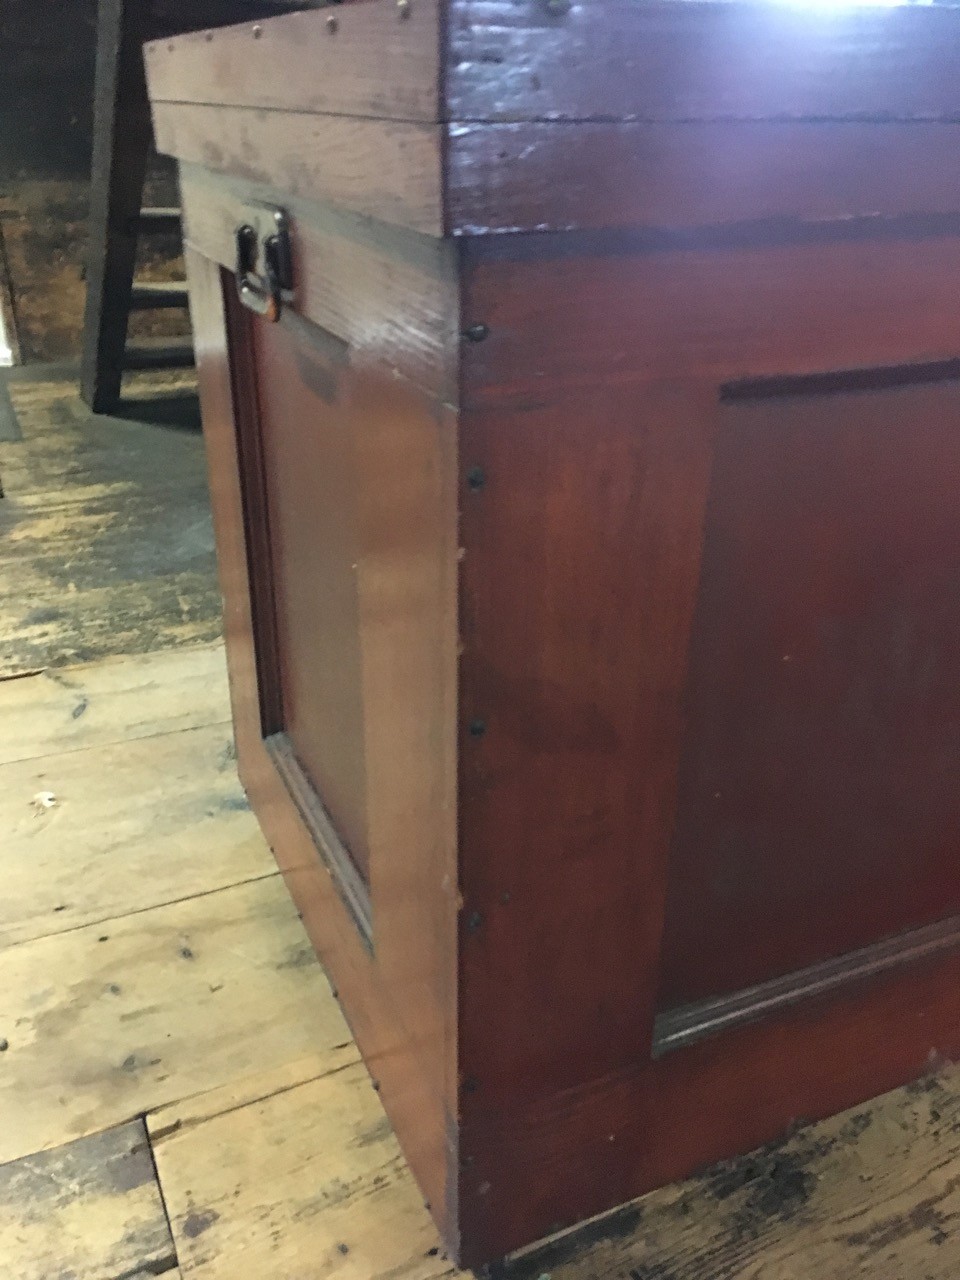
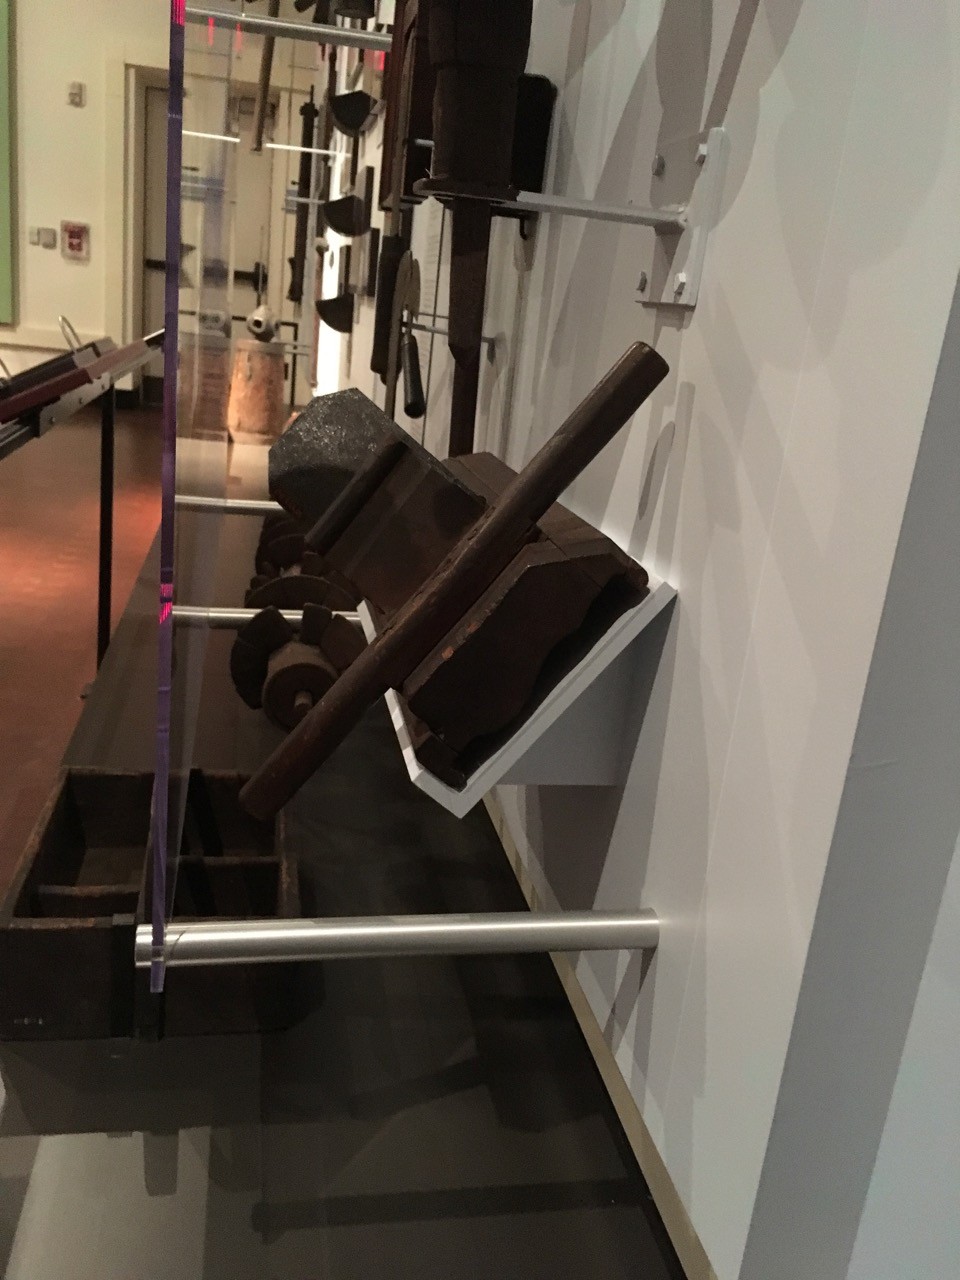
They have a wonderful museum in their visitors center with a number of artifacts from the village. After touring the visitors center museum, I headed over to the village itself. There were a number of period re-enactors and demonstrators on hand. While touring the granary and watching a rope-making demonstration, my eyes wandered and noticed this frame and panel tool chest. I was informed by the staff that the tool chest was not from the period the society was in existence.
Frame and Panel Tool Chest
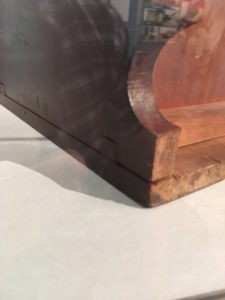
The chest is screwed together.
Someone did not clock their screws.
Miters at the top.
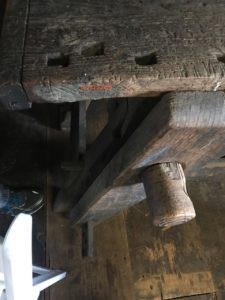
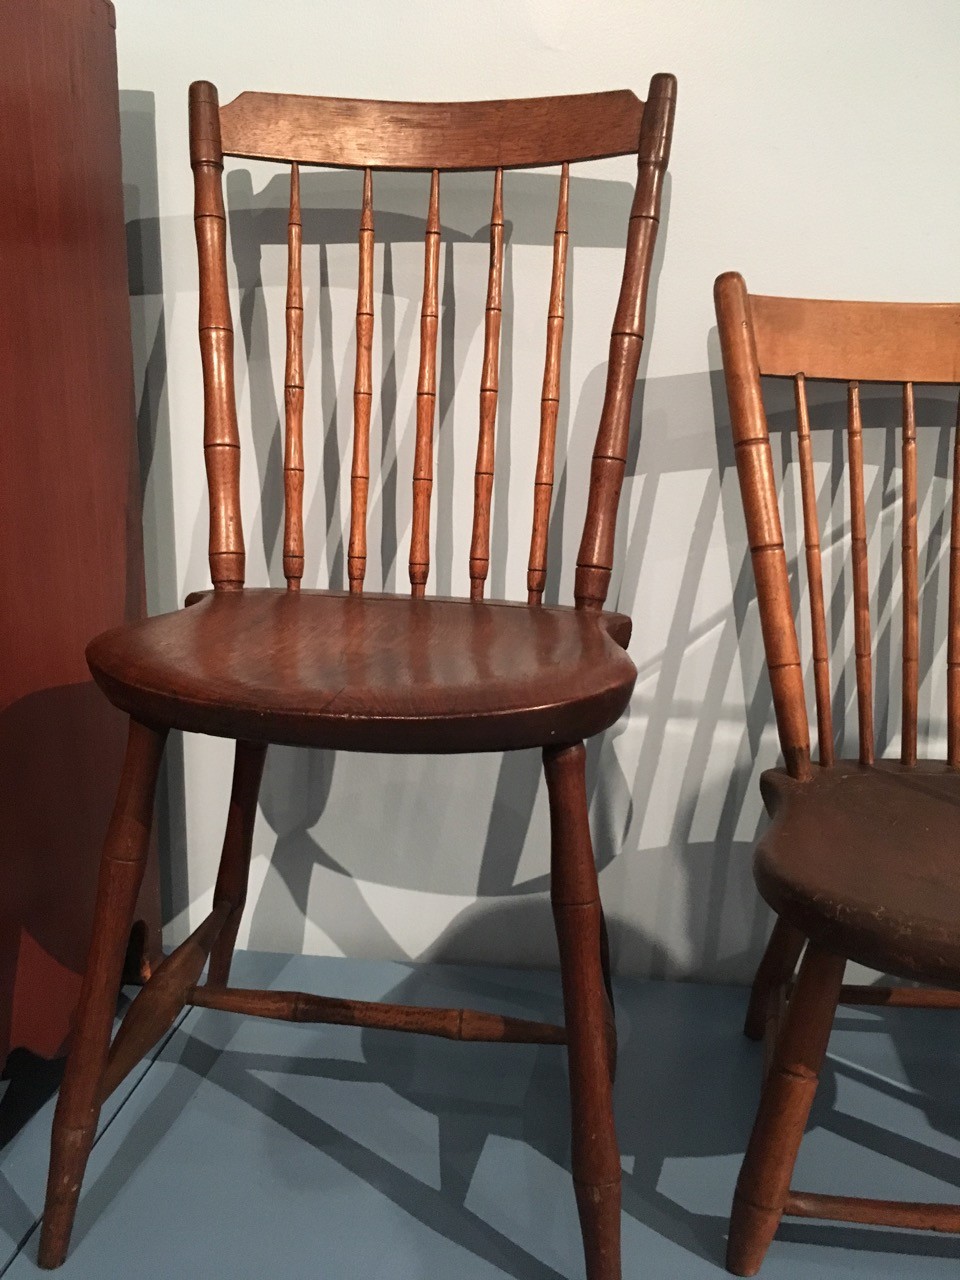
Sitting behind a number of chairs for visitors was an old Moravian-style workbench. This guy had square dog holes (as all workbenches I observed had), as well as a leg vice that was sloped with the leg. The legs on the tail-vise end of the bench were not splayed out.
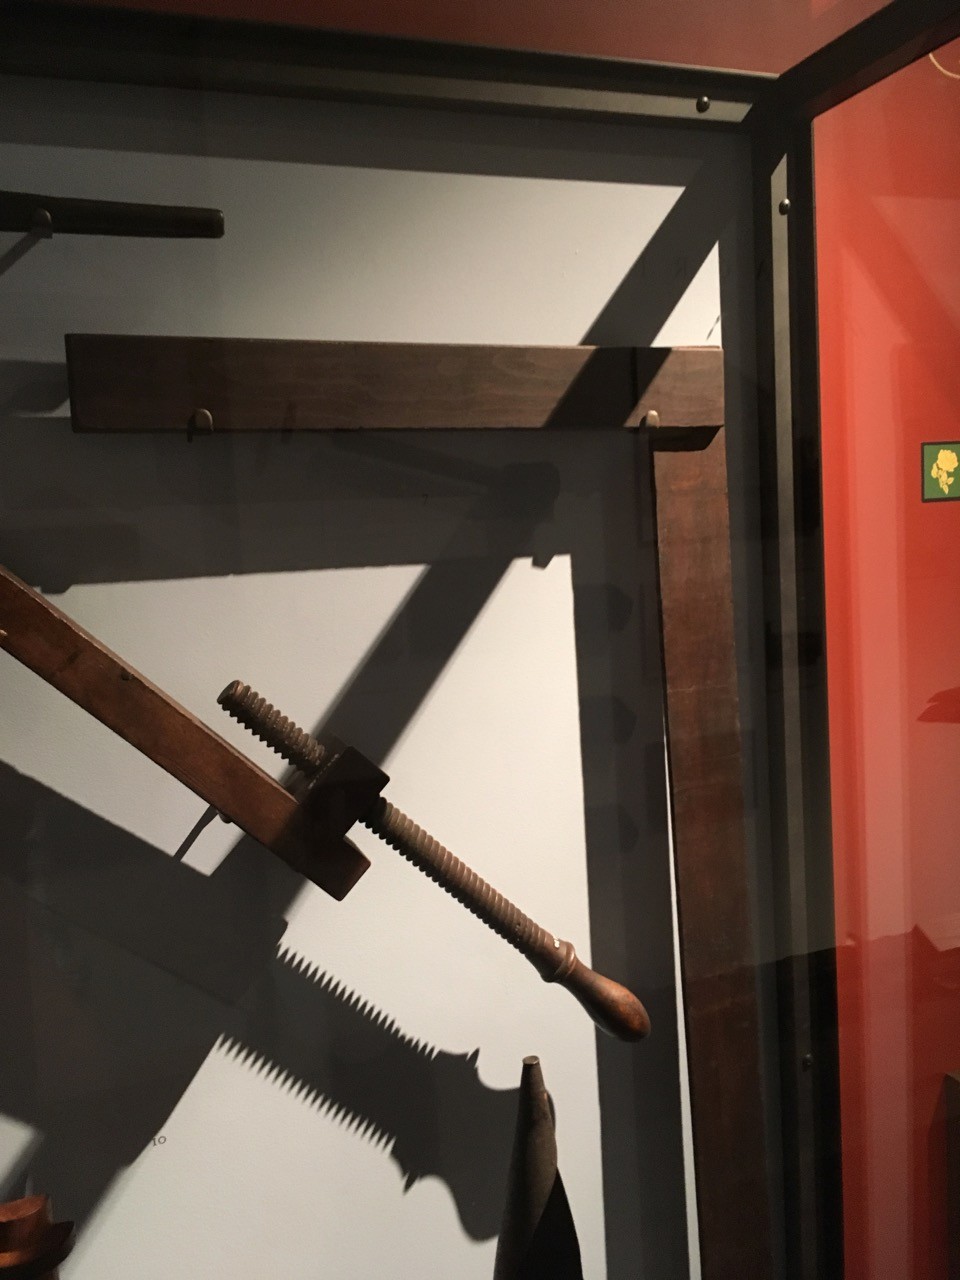
The cabinet shop had a number of tools laid out to see. I didn’t get a photo of it, sadly. I guess that means I’ll need to take another trip up. Of note was a large treadle lathe that appeared to require standing on a platform. In addition, the demonstrator in the shop had one of the thinnest holdfasts I have ever seen. It was made by one of the blacksmiths at the village. Two things stuck out about it. First, the work bench did not have any holdfast holes. Instead, he had a wooden insert that he could drop into one of the square dog holes. Second, in spite of its rather thin shaft, it held down a workpiece fairly well.
Thin holdfast
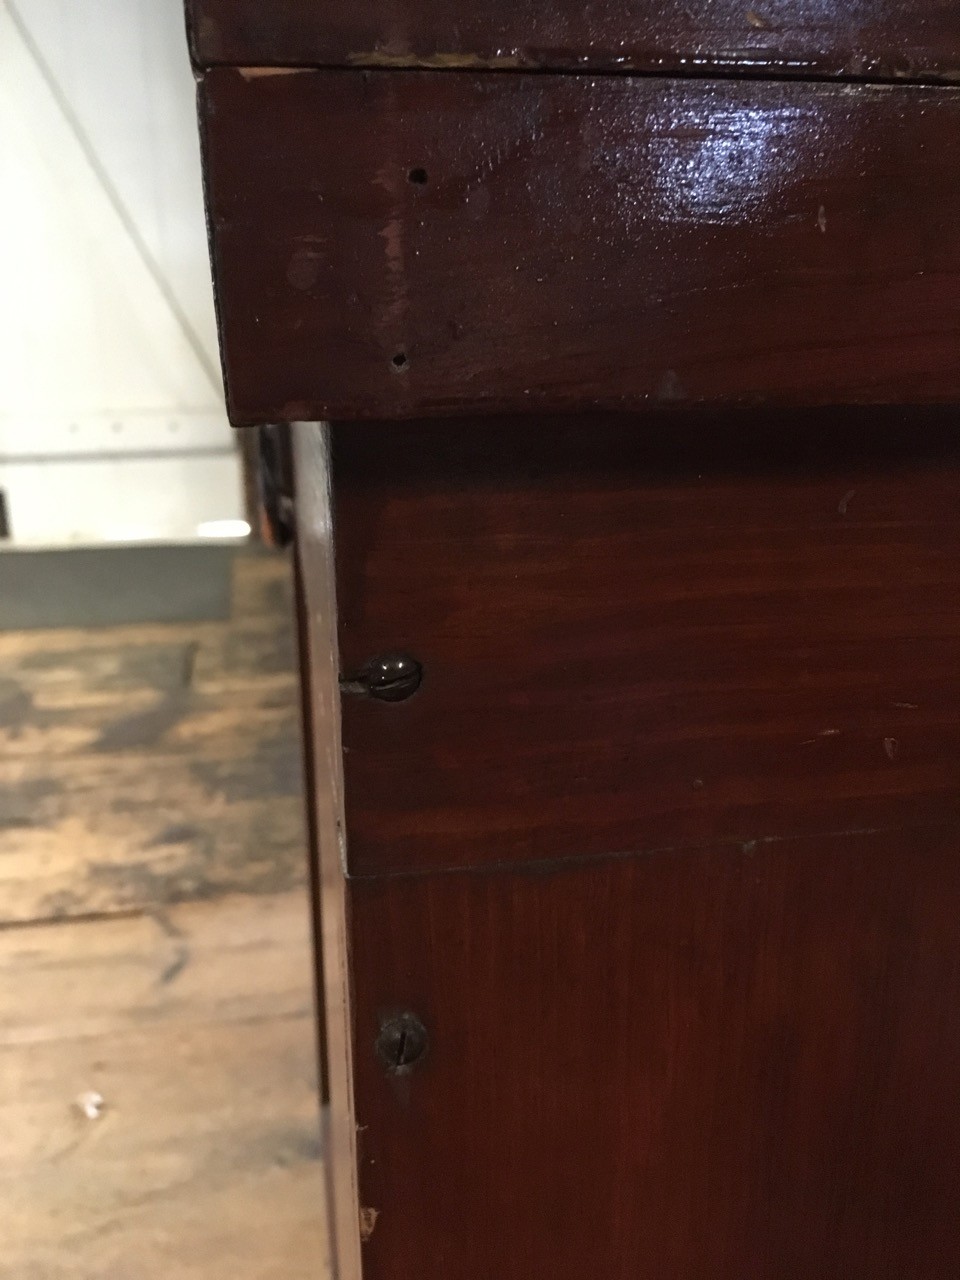
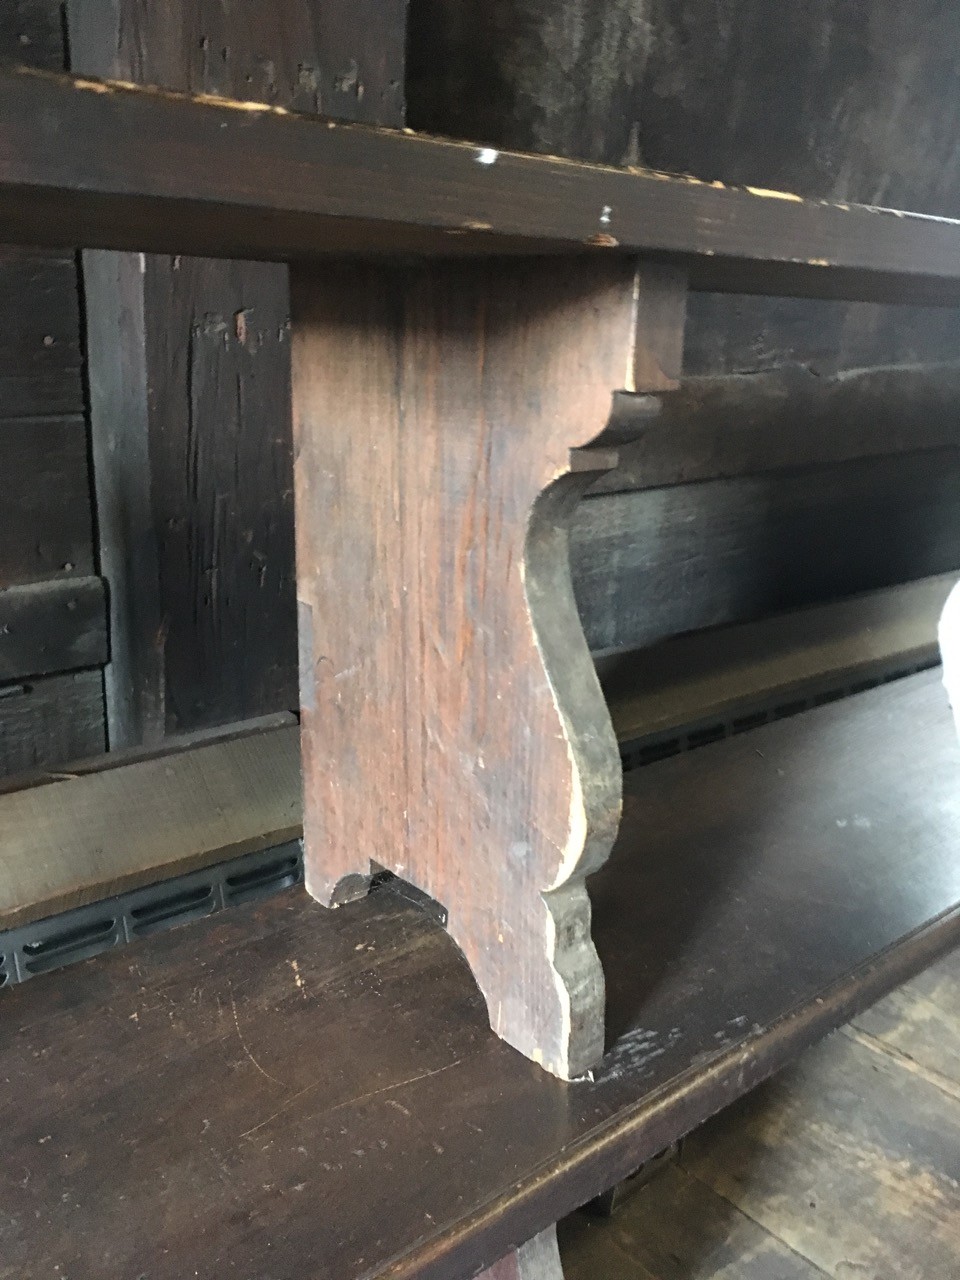
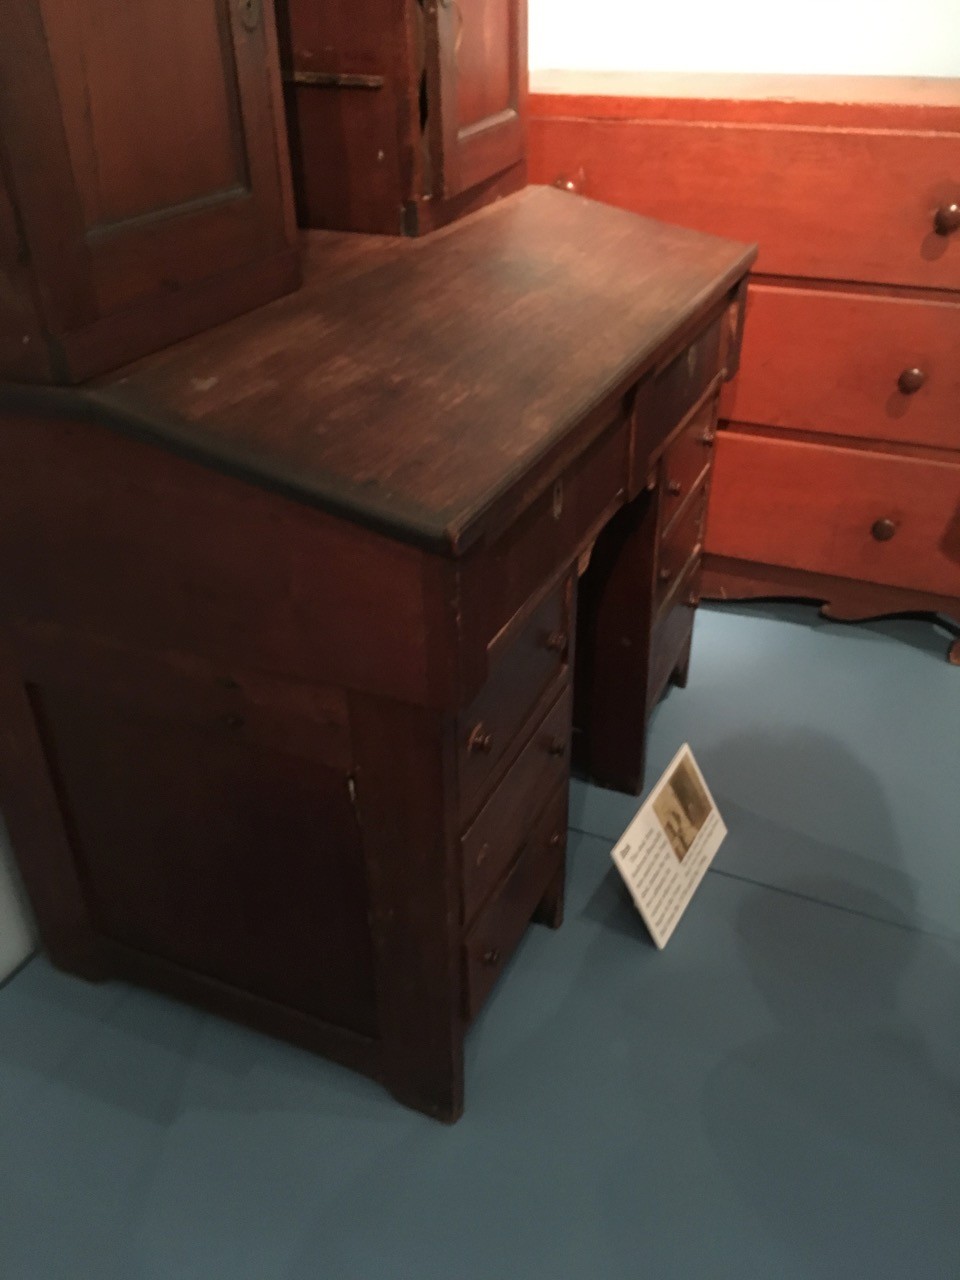
There was a small chest in the visitor center museum that I found interesting. The base is a scallop. Furthermore, it appears that the front is joined to the sides with a few half-lap joints. The back looks to be nailed or screwed on.
Small Chest
Half-lap joint and back
Top
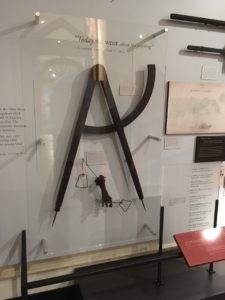
Giant dividers
And of course, the museum had the largest set of dividers I have ever seen. Each leg was at least three feet long. A notation indicated that they were used for “drawing circles and arcs for the construction of buildings, wagon wheels, and other round structures.”
I only had a chance to tour through a handful of buildings in the village. Another trip will need to happen in the near future.
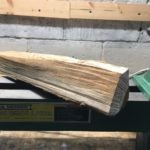 I have a few pieces of firewood left over from a camping trip earlier this year. I am not sure of the species, though I suspect it may be cherry based upon how the heartwood had darkened while it was sitting in the workshop. I started by splitting the piece and attempting to square it up with an ax. One end was fairly close to square, however the other end remained more like a pentagon. Figuring that was close enough to be put to the lathe, I chose the smaller/squarer end as the side that would receive the ferrule and mounted it to the lathe.
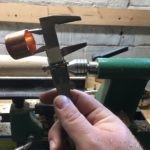 The wood was roughed down to generally round. Then I used calipers to take an inside diameter measurement of the piece of copper pipe I used as the ferrule. After locking that down, I was able to take a parting tool and the calipers to bring the end down to the proper width.